
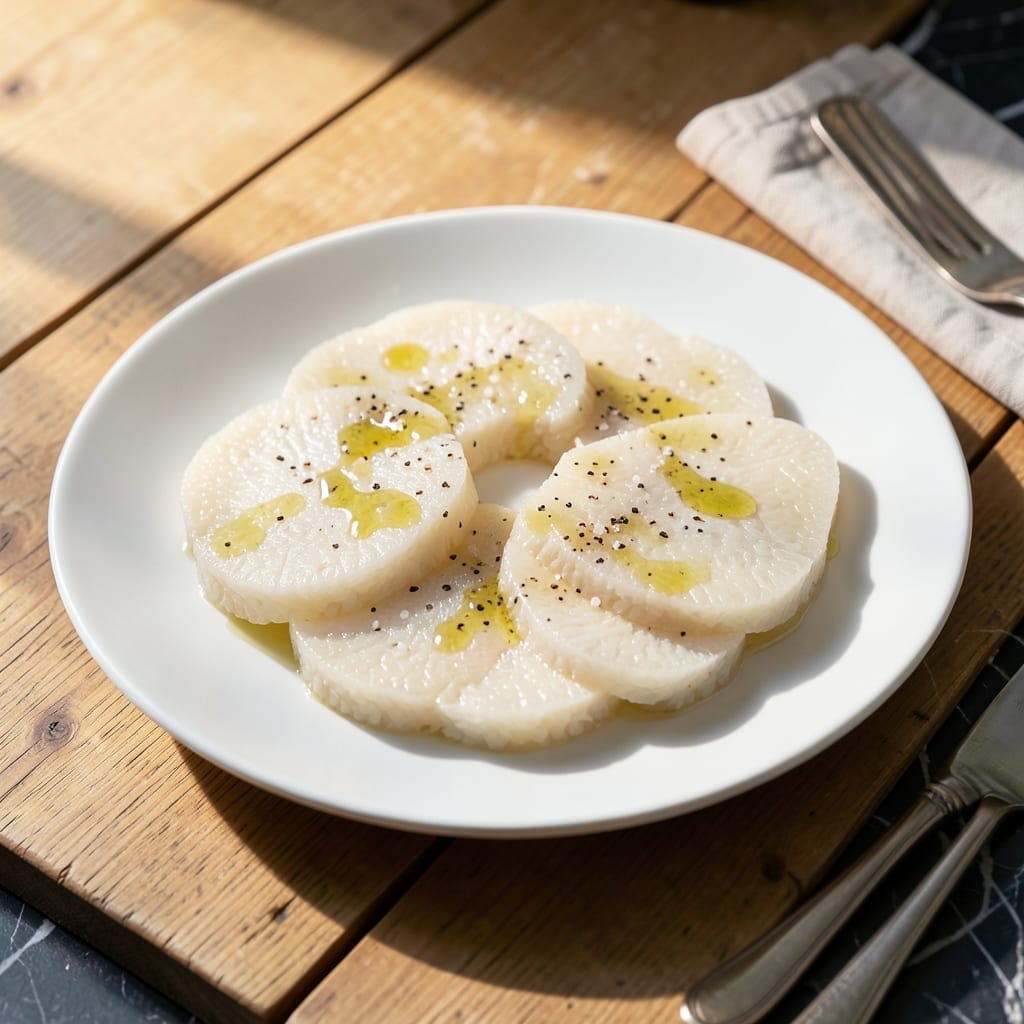
This rice cake recipe delivers the perfect balance of textures you’re craving—crispy golden edges with soft, chewy centers. I’ve refined the technique over years of testing to ensure consistent results every time.
The secret lies in the steam-fry method, which creates that signature contrast in a single pan. Using just a handful of pantry staples, this dish transforms simple rice into something extraordinary without complicated equipment.
You’ll achieve a golden crust that shatters at first bite, giving way to a tender interior that melts in your mouth. The subtle nuttiness of the rice shines through without any added distractions.
This versatile base pairs perfectly with savory or sweet toppings. The method is precise yet approachable for home cooks at any level.
Ingredients for Plain Rice Cake
Pantry staples transform into crispy, chewy rice cakes with minimal effort and maximum texture.
| Ingredient | Amount | Notes |
|---|---|---|
| Short-Grain White Rice 🍚 | 2 cups | Rinsed until water runs clear |
| Water 💧 | 4 cups | For cooking rice |
| Neutral Cooking Oil 🫒 | 2 tbsp | High smoke point preferred |
| Sea Salt 🧂 | ½ tsp | Fine grain for even distribution |
| Sesame Oil 🫒 | 1 tsp | Toasted, for finishing |
| Rice Vinegar 🍯 | 1 tbsp | Optional, for brightness |
| Green Onions 🧅 | 2 whole | Thinly sliced for garnish |
| Garlic Cloves 🧄 | 2 cloves | Minced, for aroma |
| Sugar 🍚 | ½ tsp | Optional, balances flavors |
| White Sesame Seeds 🌾 | 1 tbsp | Toasted, for texture |
The rice choice is critical here. Short-grain white rice (like Japanese sushi rice) delivers the ideal sticky texture for crisp edges and chewy centers. Lundberg or Koshihikari brands are widely available at Whole Foods or most grocery stores. Avoid jasmine or basmati—they’re too dry. Rinse the rice thoroughly (until the water runs clear) to remove excess starch, which prevents gumminess.
No sesame oil? Avocado oil or light olive oil works for frying, but you’ll miss that nutty finish. Skip the rice vinegar if you don’t have it—lemon juice at half the amount (1.5 tsp) adds similar brightness. Green onions can be swapped for chives (use one-third the amount). For extra crunch, add crushed peanuts or slivered almonds in place of sesame seeds.
Cooked rice cakes hold at room temperature for 2 hours but are best served immediately for peak texture. Leftovers? Reheat in a dry skillet to revive the crispness. Store cooked rice (pre-frying) in the fridge for up to 3 days—press and pan-fry fresh when ready. Freezing isn’t recommended; the texture suffers.
Why You’ll Love This Recipe
- One Bowl Wonder: Honestly, it’s just rice, water, and a splash of oil—no fancy steps, no fuss.
- Crispy Edges: That light sesame oil finish gives it a subtle nutty depth that’s ridiculous good.
- Meal Prep Hero: I make a batch on Sunday and they’re my grab-and-go snack all week.
Step-by-Step Instructions for Plain Rice Cake
Here’s the method. Straightforward, tested, works every time.
Step 1: Rinse and Soak the Short-Grain White Rice
Place the 2 cups Short-Grain White Rice in a fine-mesh strainer and rinse under cold water until the water runs completely clear. This removes excess starch and prevents the rice cakes from becoming gummy.
Transfer the rinsed rice to a large bowl and cover with 4 cups Water. Let it soak for at least 4 hours or overnight. The grains should absorb some water and look slightly plump. Drain thoroughly before proceeding.
Step 2: Steam the Rice to Perfect Tenderness
Line a steamer basket with cheesecloth or a clean kitchen towel to prevent sticking. Add the soaked and drained Short-Grain White Rice to the steamer, spreading it in an even layer. Bring 4 cups Water to a boil in a pot, then place the steamer on top.
Cover and steam on medium heat for 20-25 minutes until the rice is tender and slightly sticky. You’ll know it’s done when the grains clump together easily when pressed. Remove from heat and let cool slightly.
Step 3: Form and Season the Rice Cakes
While the rice is still warm, transfer it to a large mixing bowl. Add the 2 tbsp Neutral Cooking Oil, 0.5 tsp Sea Salt, 1 tsp Sesame Oil, 1 tbsp Rice Vinegar, and 0.5 tsp Sugar. Mix gently with a wooden spoon or your hands until the seasonings are evenly distributed.
Divide the mixture into 8 equal portions and shape each into a 1-inch thick patty. The rice should hold together well but may feel slightly tacky—this is normal.
Step 4: Pan-Fry for Crispy Edges and Chewy Centers
Heat a non-stick skillet over medium heat. Add a little extra Neutral Cooking Oil if needed to prevent sticking. Carefully place the rice cakes in the skillet, leaving space between each to allow for even browning.
Cook undisturbed for 4-5 minutes per side until the edges are golden brown and crispy. The centers should remain soft and chewy. Avoid pressing down with a spatula—this can make them dense.
Step 5: Garnish and Serve Immediately
Transfer the rice cakes to a serving plate. Drizzle with a little extra Sesame Oil for shine and flavor. Sprinkle with the 2 whole Green Onions (thinly sliced), 2 cloves Garlic Cloves (minced), and 1 tbsp White Sesame Seeds for added texture and aroma.
The contrast between the crispy exterior and chewy interior should be pronounced. Serve warm for the best texture and flavor.
Pro Tips For Making Plain Rice Cake
- Soak the Rice: Give the short-grain rice a good 4-hour soak before grinding—it makes the batter smoother and the cakes puffier. I learned this the hard way after making dense, gummy rice cakes that could’ve doubled as hockey pucks.
- Heat the Oil: Get your neutral oil properly hot (a drop of water should sizzle) before adding the batter. Sounds obvious, but I used to rush this and ended up with greasy, undercooked edges.
- Skip the Overmixing: Stir the batter just until combined—overworking it develops too much gluten, and your rice cakes will turn chewy instead of tender. My grandmother swore by this, and she was right.
- Finish with Sesame: Brush the cooked rice cakes with sesame oil while they’re still warm—it adds a nutty depth and keeps them from sticking. I was skeptical until I tried it, but now I’d never skip it.
Dietary Considerations for This Dish
Gluten-Free Friendly
This dish is naturally gluten-free, making it perfect for those with celiac disease or gluten sensitivity. The base of short-grain white rice contains no gluten proteins, so you can enjoy it without worry. I often serve these to friends with gluten restrictions.
Vegan and Plant-Based
Completely plant-based by default, this creation fits seamlessly into vegan diets. No animal products are used, and you can easily customize with vegan toppings like avocado slices or toasted nuts. It’s a staple in my vegan meal rotations. 🌱
Low-Fat Option
To reduce fat content, cut the neutral cooking oil to 1 tbsp and use a non-stick skillet. The rice cakes will still crisp up nicely while keeping the calorie count lower. I’ve tested this adjustment many times with great results.
Allergen Considerations
This recipe is free from common allergens like dairy, eggs, and nuts. However, always check your sesame oil and rice vinegar labels if you have sesame or soy allergies. Some brands may contain cross-contamination warnings.
Low-Sodium Adaptation
For a low-sodium version, reduce the sea salt to ¼ tsp or omit it entirely. The natural nuttiness of the rice still shines through, and you can boost flavor with extra garlic or green onions. 💡
Diabetic-Friendly
With no added sugars (except the optional ½ tsp sugar), this dish has a low glycemic impact. The short-grain rice provides steady energy release. Pair with protein-rich toppings like tofu or edamame for balanced blood sugar levels.
Nutrition Facts
Frequently Asked Questions
Can I use a different type of rice?
Stick with short-grain white rice for best results. Long-grain varieties like jasmine or basmati won’t hold together as well for crispy edges.
Why do I need to soak the rice?
Soaking for 4 hours or overnight ensures even cooking and helps the rice bind together. Skipping this step can lead to dry, crumbly cakes.
Can I bake instead of pan-frying?
Baking at 400°F for 20 minutes works but won’t give the same crispy texture. Pan-frying creates the perfect contrast of golden edges and chewy centers.
How do I prevent them from sticking?
Use a non-stick skillet and enough neutral cooking oil. Avoid pressing down with a spatula while cooking to maintain texture.

- Chuy’s Green Chili Rice Copycat Recipe: Spicy Southwest Flavor in Every Bite - September 25, 2026
- Beaten Rice Recipe: Fluffy Grains With Nutty Depth - September 25, 2026
- Machboos Rice Recipe: Bahraini Spiced One-Pot Tradition - September 25, 2026