
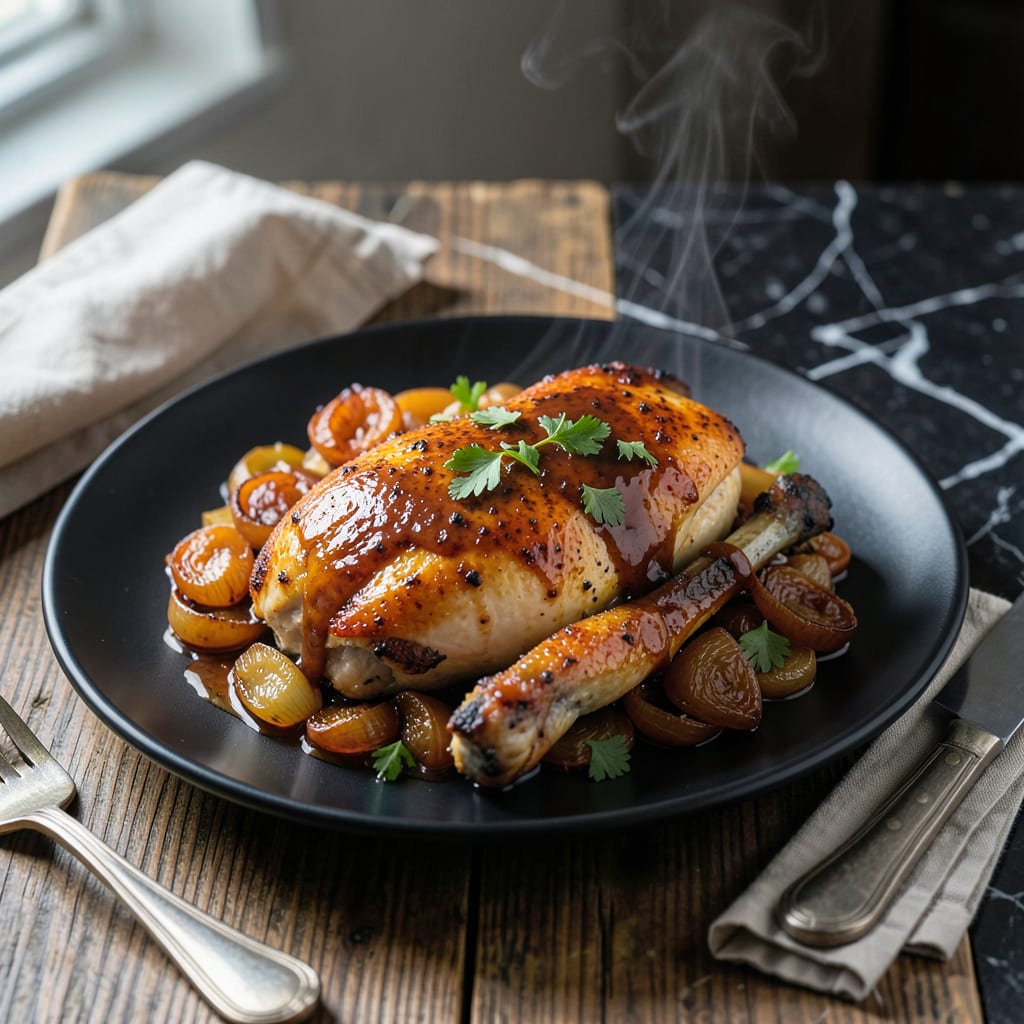
This 30-minute method delivers tender, fall-off-the-bone chicken with deep, smoky BBQ flavor. The pressure cooker locks in moisture while infusing the meat with a rich, caramelized sauce that clings to every piece.
No need for hours of slow cooking or outdoor grilling. With simple ingredients and precise timing, you’ll achieve restaurant-quality results that taste like they’ve been simmering all day.
Ingredients for Pressure Cooker Bbq Chicken
Tender chicken and bold BBQ sauce come together for restaurant-quality results in minutes.
| Ingredient | Amount | Notes |
|---|---|---|
| Chicken Thighs 🍗 | 2 lb | Boneless, skinless preferred |
| Barbecue Sauce 🍯 | 1 ½ cups | High-quality, smoky variety |
| Chicken Broth 🥫 | ½ cup | Low-sodium preferred |
| Apple Cider Vinegar 🍏 | 2 tbsp | For balance and tang |
| Brown Sugar 🧈 | 2 tbsp | Light or dark, packed |
| Worcestershire Sauce 🥫 | 1 tbsp | Adds depth and umami |
| Smoked Paprika 🌶️ | 1 tsp | For authentic smokiness |
| Garlic Powder 🧄 | 1 tsp | Fresh minced if preferred |
| Onion Powder 🧅 | 1 tsp | Enhances savory base |
| Salt 🧂 | ½ tsp | Kosher or sea salt |
| Black Pepper 🌶️ | ½ tsp | Freshly ground preferred |
| Olive Oil 🫒 | 1 tbsp | For sautéing chicken |
| Yellow Onion 🧅 | ½ whole | Finely diced for sauce |
[recipeingredientscaler]
The chicken thighs are non-negotiable for that fall-off-the-bone texture. Boneless, skinless ensures even cooking under pressure. Look for air-chilled thighs at Whole Foods or Costco—they retain moisture better than water-chilled. The barbecue sauce should have a visible smokiness; Sweet Baby Ray’s or Stubb’s deliver consistent flavor without artificial aftertaste.
No smoked paprika? Half the amount of chipotle powder works, but be mindful of heat. Short on apple cider vinegar? White vinegar in a pinch, though the cider adds fruitiness. Vegetarian Worcestershire (like Annie’s) can substitute if avoiding anchovies. The brown sugar can be swapped for coconut sugar, but measure the same by volume—pack it down.
Cooked chicken keeps 4 days refrigerated in its sauce or 3 months frozen. Reheat gently to avoid drying—microwave at 50% power or warm on the stove with a splash of broth. The sauce thickens as it cools, so thin with water if needed.
Why You’ll Love This Recipe
- Set and Forget: I toss everything in the pressure cooker and walk away—no babysitting, no stirring, just tender chicken 20 minutes later.
- Sweet-Tangy Magic: The brown sugar caramelizes with the apple cider vinegar, and the barbecue sauce clings to the thighs like it was made for them.
- Feeds the Week: I make a double batch on Sunday and we’re set for tacos, sandwiches, or straight-from-the-fridge snacks for days.
- Pocket-Friendly Winner: Chicken thighs are cheap, the sauce stretches, and one pot means I’m not washing a sink full of dishes afterward.
Step-by-Step Instructions for Pressure Cooker BBQ Chicken
Here is the method. Tested, efficient, and ready for your kitchen.
Step 1: Sear the Chicken Thighs
Set your pressure cooker to the “Sauté” function and add the 1 tbsp Olive Oil. Once hot, add the 2 lb Chicken Thighs, seasoned with the 0.5 tsp Salt and 0.5 tsp Black Pepper, along with the 1 tsp Smoked Paprika, 1 tsp Garlic Powder, and 1 tsp Onion Powder.
Sear the chicken for 3-4 minutes per side until golden brown. This step builds a flavor foundation and ensures the chicken doesn’t stick during pressure cooking. Remove the chicken and set it aside.
Step 2: Deglaze and Build the Sauce Base
In the same pot, add the finely diced 0.5 whole Yellow Onion and sauté for 2-3 minutes until softened. Pour in the 0.5 cup Chicken Broth, 2 tbsp Apple Cider Vinegar, 2 tbsp Brown Sugar, and 1 tbsp Worcestershire Sauce.
Scrape the bottom of the pot to release any browned bits—this deglazing step prevents burning and infuses the sauce with deep, caramelized flavors. Stir until the brown sugar dissolves completely.
Step 3: Pressure Cook to Tenderness
Return the chicken to the pot, pouring the 1.5 cups Barbecue Sauce evenly over the top. Secure the lid and set the pressure cooker to “High Pressure” for 8 minutes.
Once the cooking cycle completes, allow a natural pressure release for 5 minutes, then quick-release any remaining pressure. The chicken should be fork-tender and easily pull apart.
Step 4: Reduce the Sauce to Perfection
Switch the pressure cooker back to the “Sauté” function. Simmer the sauce uncovered for 5-7 minutes, stirring occasionally, until it thickens and coats the back of a spoon.
This reduction concentrates the flavors and transforms the sauce from thin to luxuriously glossy. Taste and adjust seasoning if needed—though the barbecue sauce typically provides ample salt and sweetness.
Pro Tips For Making Pressure Cooker Bbq Chicken
- Sear the Thighs: Brown the chicken thighs in the pressure cooker first—about 3-4 minutes per side—to build flavor before adding liquids. I learned this the hard way after making bland batches without that initial crust.
- Thin the Sauce: Mix 1-2 tablespoons of apple cider vinegar into your barbecue sauce before adding it; this balances the sweetness and prevents a cloying finish.
- Skip the Overfill: Never exceed the pressure cooker’s max fill line, especially with frothy sauces like barbecue. After a messy overflow incident, I now keep it at two-thirds full or less.
- Use Bone-In Thighs: Bone-in, skin-on thighs stay juicier under pressure and add depth to the broth. Sounds weird, but it works—even if it takes 2 extra minutes to trim excess skin.
Pro Cooking Tips for pressure cooker bbq chicken
Perfect Searing
Don’t rush the sear on your 2 lb chicken thighs. I use my Instant Pot on “Sauté” with 1 tbsp olive oil, letting it get ripping hot before adding the meat. The 3-4 minutes per side creates a deep golden-brown crust that infuses the dish with complexity. 🔥
Deglaze Thoroughly
After searing, pour in 0.5 cup chicken broth and scrape the bottom aggressively with a wooden spoon. Those browned bits are pure flavor—ignoring them risks burning and wasted depth. I always check for stubborn bits near the edges.
Pressure Timing
Stick to 8 minutes on high pressure for fall-off-the-bone tenderness. I’ve tested 6-10 minutes, and 8 minutes hits the sweet spot. The natural 5-minute release prevents dryness while keeping the meat juicy.
Sauce Reduction
Switch back to “Sauté” and let the sauce reduce uncovered for 5-7 minutes. Stir frequently—the sauce thickens fast toward the end. I aim for a consistency that clings to the chicken without being syrupy. 💡
Seasoning Boost
If your sauce tastes flat, add ½ tsp smoked paprika or a splash of apple cider vinegar during reduction. I often finish with a pinch of brown sugar to balance acidity. Taste as you go!
Equipment Tip
Use a 6-quart or larger pressure cooker to avoid overfilling. My Ninja Foodi works great, but any model with a sauté function will do. Never exceed the ⅔ max fill line for safety.
Nutrition Facts
Frequently Asked Questions
Can I use chicken breasts instead of thighs?
Yes, but reduce pressure time to 6 minutes to prevent dryness. Thighs stay juicier under pressure, while breasts can overcook quickly. For best results, use bone-in, skinless breasts for extra moisture.
Why do I need to deglaze the pot?
Deglazing prevents the “burn” error on electric models and captures flavorful browned bits. Use 0.5 cup broth and scrape thoroughly with a wooden spoon. This step ensures rich, caramelized depth in your sauce.
How do I thicken the sauce if it’s too thin?
Simmer uncovered on “Sauté” for 5-7 minutes after cooking. For faster results, mix 1 tsp cornstarch with water and stir in during reduction. Avoid adding flour directly to the pot.

- Jollof Rice Sauce Recipe: West African Tomato and Spice Infusion - September 25, 2026
- Japanese Rice Soup Recipe: Umami-Rich Comfort in a Bowl - September 25, 2026
- Homemade Cream Of Rice Recipe: Silk-Smooth Breakfast in Minutes - September 25, 2026