
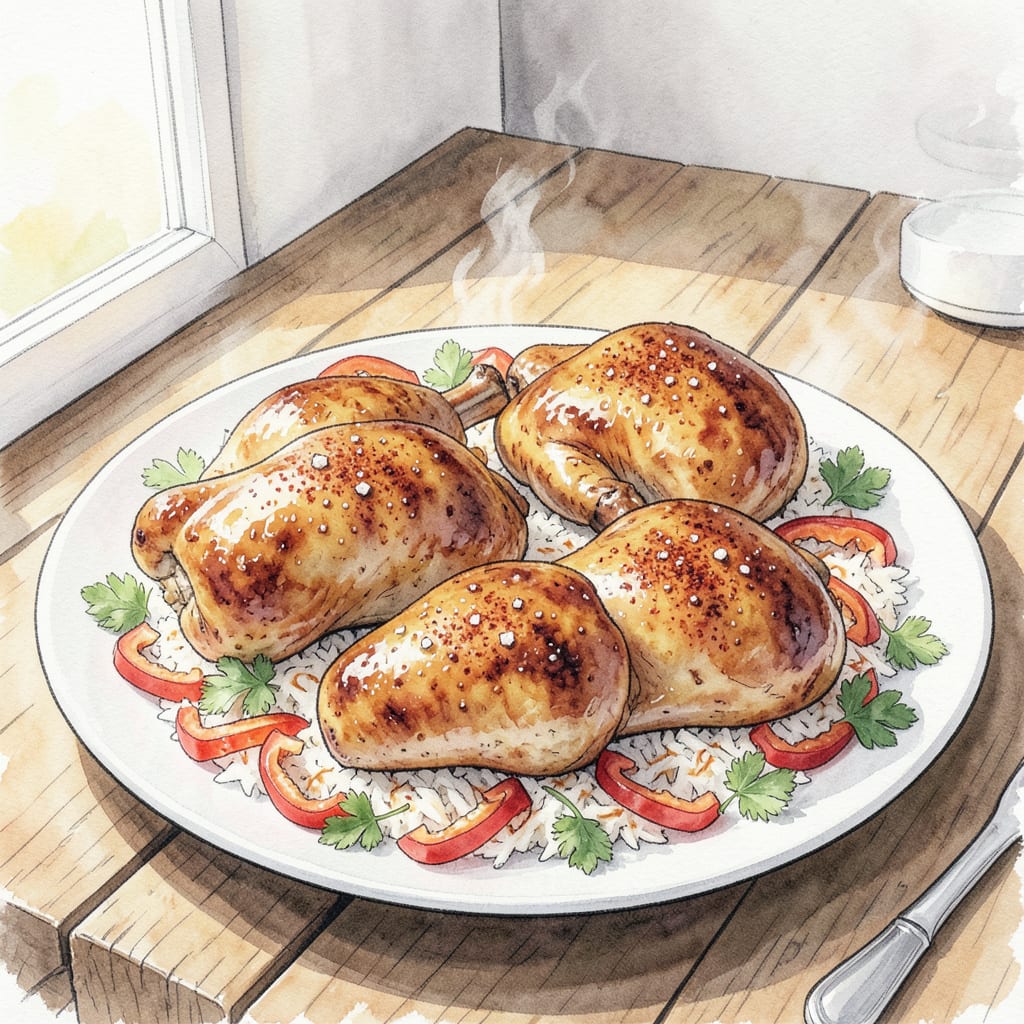
Achieving perfectly cooked bone-in chicken thighs with crispy skin and juicy meat is easier than you think. The secret lies in proper seasoning and precise temperature control.
By following this recipe, you’ll get restaurant-quality results with minimal effort. The combination of high heat for searing and lower temperatures for finishing creates that perfect contrast between crispy exterior and tender interior.
Ingredients for Recipe for Bone in Chicken Thighs
Crispy skin and juicy meat start with quality chicken and precise seasoning.
| Ingredient | Amount | Notes |
|---|---|---|
| Bone-In Chicken Thighs 🍗 | 4 pieces | Skin-on preferred for crispy texture |
| Kosher Salt 🧂 | 2 tsp | Diamond Crystal or similar flake salt |
| Black Pepper 🌶️ | 1 tsp | Freshly ground black pepper |
| Garlic Powder 🧄 | 1 tsp | Or 2 cloves fresh minced |
| Paprika 🌿 | 1 tsp | Smoked or sweet paprika |
| Olive Oil 🫒 | 2 tbsp | For searing chicken thighs |
| Fresh Rosemary 🌿 | 2 sprigs | Optional for aromatic flavor |
| Lemon Wedges 🍋 | 4 pieces | For serving with chicken |
For the best results, use high-quality bone-in chicken thighs with skin intact. Most grocery stores carry them, but butcher shops often have better options. Freshness matters—check the sell-by date. If you’re feeling fancy, grab some organic or pasture-raised for better flavor.
No garlic powder? Use 2-3 fresh cloves minced instead. Want more heat? Add 1/2 tsp cayenne to the seasoning mix. The rosemary is optional but adds a nice herbal note—just tuck the sprigs under the chicken during roasting. If you don’t have rosemary, thyme works too at the same amount.
Leftover chicken keeps for 4 days in the fridge. Reheat in the oven at 350°F to maintain crispiness. Freeze for up to 3 months—thaw overnight in the fridge before reheating. Store lemon wedges in an airtight container in the fridge.
Step-by-Step Instructions for Bone-In Chicken Thighs
Follow these precise steps to achieve perfectly crispy-skinned and juicy bone-in chicken thighs every time.
Step 1: Prepare the Chicken Thighs
Start by patting the 4 pieces Bone-In Chicken Thighs dry with paper towels, ensuring both sides are completely moisture-free. This step is crucial for achieving that perfect crispy skin. I like to be thorough here, as excess moisture can prevent the skin from crisping up properly.
Next, mix together the 2 tsp Kosher Salt, 1 tsp Black Pepper, 1 tsp Garlic Powder, and 1 tsp Paprika in a small bowl. I find that using freshly ground black pepper makes a noticeable difference in the flavor. Sprinkle this spice mixture evenly over both sides of the chicken thighs, making sure they’re fully coated.
Step 2: Sear the Chicken Thighs
Heat 2 tbsp Olive Oil in a large skillet over medium-high heat until it reaches a temperature where it shimmers but doesn’t smoke. I prefer using a cast-iron skillet for this step as it retains heat exceptionally well. Carefully place the chicken thighs skin-side down in the hot oil. Sear for 5-7 minutes until the skin achieves a deep golden brown and crispy texture. Don’t touch them during this time—patience is key to getting that perfect sear.
Once the skin is crispy, flip the chicken thighs over and sear the other side for an additional 2-3 minutes. The second side won’t get as crispy, but it should still develop a nice golden color. Remove the chicken from the skillet and set it aside on a plate.
Step 3: Finish Cooking the Chicken
Reduce the heat to medium and add the 2 sprigs Fresh Rosemary to the same skillet. Let them infuse the oil with their aroma for about 1 minute. Then, return the chicken thighs to the skillet, skin-side up. If your skillet is oven-safe, transfer it directly to a preheated oven at 400°F. If not, finish cooking the chicken on the stovetop with the lid on, or transfer it to a baking dish.
Cook the chicken until it reaches an internal temperature of 165°F when measured at the thickest part. This typically takes 20-25 minutes in the oven or 15-20 minutes on the stovetop with the lid on. I always use a meat thermometer to ensure accuracy, as cooking times can vary based on the size of the thighs.
Step 4: Rest and Serve
Once the chicken is cooked through, remove it from the heat and let it rest for 5-10 minutes before serving. This resting period allows the juices to redistribute throughout the meat, ensuring each bite is juicy and flavorful. Serve the chicken thighs with the 4 pieces Lemon Wedges on the side, allowing everyone to squeeze a bit of fresh lemon juice over their chicken for an added burst of brightness.
I find that this method consistently produces chicken thighs with crispy, golden skin and tender, juicy meat. The combination of proper seasoning, searing, and controlled cooking ensures a delicious result that’s sure to impress.
Health Benefits of These Flavors
Nutritional Powerhouse
Bone-in chicken thighs are an excellent source of high-quality protein, essential for muscle building and repair. A 3-ounce serving provides about 26 grams of protein, making it an ideal choice for those looking to maintain or build muscle mass. The protein content helps keep you full longer, supporting weight management efforts. 💪
Rich in Essential Minerals
Chicken thighs are particularly rich in iron and zinc, two minerals crucial for overall health. Iron supports healthy red blood cells, while zinc plays a vital role in immune function and wound healing. Using organic or pasture-raised chicken can potentially increase your intake of these beneficial minerals.
Healthy Fats and Vitamins
The dark meat of chicken thighs contains more healthy fats than white meat, contributing to a feeling of fullness and satisfaction. These thighs are also a good source of B vitamins, particularly niacin and vitamin B6, which are important for energy metabolism and brain health. The skin, when consumed, adds additional fat that helps absorb fat-soluble vitamins.
Benefits of Bone-In Cooking
Cooking chicken thighs with the bone in helps retain moisture and flavor, making the meat juicier and more tender. The bone also adds depth to the dish, enhancing the overall nutritional profile. This method of cooking can make meals more satisfying while providing essential nutrients.
Healthy Cooking Methods
By baking or roasting chicken thighs instead of frying, you can enjoy a healthier meal that’s lower in added fats. Pairing the chicken with vegetables like roasted carrots or steamed broccoli creates a balanced meal that’s both nutritious and delicious. The rosemary used in this recipe adds antioxidants without extra calories.
Meal Prep Friendly
Cooked chicken thighs can be stored in the refrigerator for up to 4 days or frozen for 3 months, making them a convenient option for meal prep. Reheating in the oven helps maintain the crispy skin, ensuring a satisfying meal even on busy days. This makes it easy to plan healthy meals ahead of time. 🔥
Nutrition Facts
Frequently Asked Questions
What’s the best way to ensure crispy skin on bone-in chicken thighs?
To achieve crispy skin, pat the chicken dry with paper towels before seasoning and cooking. This removes excess moisture that can prevent crispiness. Cooking at medium-high heat initially helps create that perfect crust.
Can I use boneless chicken thighs instead?
While you can substitute boneless chicken thighs, keep in mind they’ll cook faster and might not be as juicy. Bone-in thighs retain moisture better due to the bone acting as an insulator. If using boneless, reduce cooking time to 15-20 minutes at 400°F.
How do I know when the chicken is fully cooked?
The safest way to check is by using a meat thermometer. Chicken is done when it reaches an internal temperature of 165°F at the thickest part. Let it rest for 5-10 minutes before serving to allow juices to redistribute.
Can I prepare the chicken in advance?
Yes, you can season the chicken up to 24 hours in advance and store it in the refrigerator. Keep it uncovered on a wire rack over a baking sheet to help the skin dry out, which enhances crispiness when cooked.

- Jollof Rice Sauce Recipe: West African Tomato and Spice Infusion - September 25, 2026
- Japanese Rice Soup Recipe: Umami-Rich Comfort in a Bowl - September 25, 2026
- Homemade Cream Of Rice Recipe: Silk-Smooth Breakfast in Minutes - September 25, 2026