
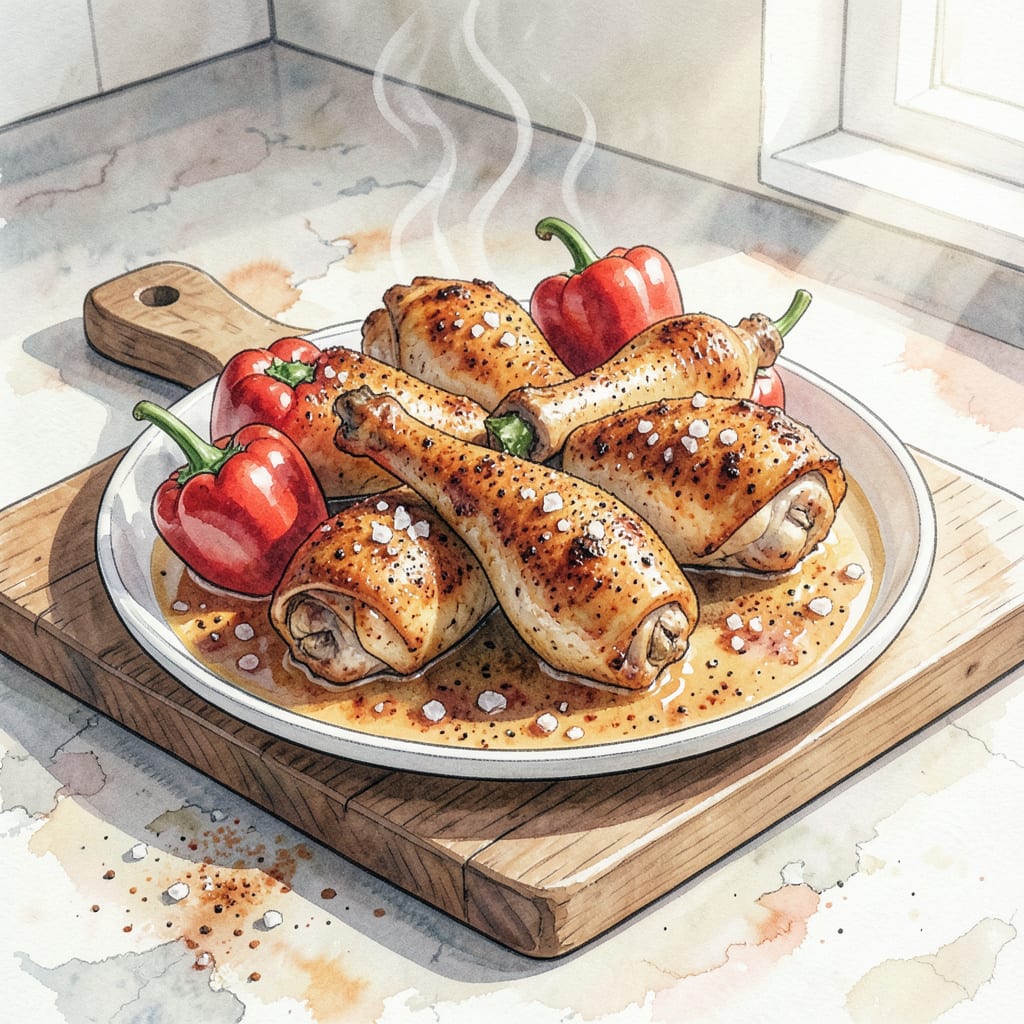
I’ve perfected a stovetop chicken leg recipe that delivers crispy skins and juicy meat every time. This method ensures tender chicken with a flavorful crust, all achieved in under 30 minutes.
The secret lies in proper browning and temperature control, resulting in perfectly cooked chicken legs with a satisfying crunch. Serve with your favorite sides for a complete meal that’s sure to impress.
Ingredients for Recipe for Chicken Legs on Stove Top
Crispy skins and juicy meat in under 30 minutes with these simple ingredients.
| Ingredient | Amount | Notes |
|---|---|---|
| Chicken Legs 🍗 | 4 whole | Bone-in, skin-on preferred |
| All-Purpose Flour 🌾 | 1 cup | For dredging chicken |
| Paprika 🌶️ | 2 tbsp | Smoked or sweet variety |
| Garlic Powder 🧄 | 1 tsp | Not garlic salt |
| Onion Powder 🧅 | 1 tsp | Fresh ground preferred |
| Salt 🧂 | 1 tsp | Kosher or sea salt |
| Black Pepper 🌶️ | ½ tsp | Freshly ground preferred |
| Olive Oil 🫒 | ¼ cup | For frying chicken |
| Butter 🧈 | 2 tbsp | Unsalted, for finishing |
| Fresh Parsley 🌿 | ¼ cup | Chopped, for garnish |
| Lemon Wedges 🍋 | 4 pieces | For serving |
The chicken quality matters. Organic or free-range makes a difference in flavor. I grab mine from Whole Foods or local butcher shops. For spices, Penzeys has the best selection. Fresh parsley is a must—adds brightness to the dish.
No smoked paprika? Regular paprika works too. For a gluten-free version, use gluten-free flour or cornstarch for dredging. If you prefer boneless chicken, adjust cooking time accordingly. The lemon wedges add a nice acidity—don’t skip them.
Leftovers keep for 3-4 days in the fridge. Reheat in the oven to maintain crispiness. You can also freeze cooked chicken for up to 3 months. Just thaw and reheat when needed.
Step-by-Step Instructions for Chicken Legs on Stovetop
Let’s get started with cooking these delicious chicken legs to perfection.
Step 1: Prepare the Chicken and Seasoning Mixture
In a shallow dish, combine the 1 cup All-Purpose Flour, 2 tbsp Paprika, 1 tsp Garlic Powder, 1 tsp Onion Powder, 1 tsp Salt, and 0.5 tsp Black Pepper. I like to mix these dry ingredients thoroughly to ensure they’re evenly distributed. This spice blend is what gives our chicken that amazing flavor.
Pat the 4 whole Chicken Legs dry with paper towels, making sure to remove any excess moisture. This step is crucial for achieving that crispy skin. Dredge the chicken legs in the flour mixture, coating them evenly and shaking off any excess. You’ll notice the chicken takes on a nice coating that will help it brown beautifully in the pan.
Step 2: Sear the Chicken Legs
Heat 0.25 cup Olive Oil in a large skillet over medium-high heat. When the oil shimmers and reaches a temperature of around 375°F, add the coated chicken legs, skin-side down. Sear for 5-7 minutes on each side, or until they develop a golden-brown crust. I always use a thermometer to ensure the oil is at the right temperature – it makes all the difference in getting that perfect crisp.
Once the chicken is seared, remove it from the skillet and set it aside on a plate. The chicken won’t be fully cooked at this point, but that’s okay – it’ll finish cooking in the next step. You’ll notice the skin is now beautifully browned and crispy, just as we promised.
Step 3: Finish Cooking the Chicken
Reduce the heat to medium and add 2 tbsp Butter to the same skillet. Once melted, tilt the pan to ensure the butter coats the bottom evenly. Return the chicken legs to the skillet, skin-side up. Cover the skillet with a lid and continue cooking for 15-20 minutes, or until the chicken reaches an internal temperature of 165°F. I like to check the temperature by inserting a meat thermometer into the thickest part of the leg – it’s the most accurate way to ensure it’s cooked through.
During this time, the chicken will finish cooking, and the meat will become tender and juicy. You’ll know it’s done when the meat thermometer reads 165°F and the juices run clear. This step is where the magic happens – the chicken becomes fall-off-the-bone tender while keeping that crispy exterior.
Step 4: Serve and Garnish
Once the chicken is cooked, remove it from the skillet and let it rest for a few minutes on a plate. Sprinkle 0.25 cup Fresh Parsley over the top for a fresh, herbaceous flavor. Serve with 4 pieces Lemon Wedges on the side – a squeeze of lemon juice adds a nice brightness to the dish. The combination of crispy skin, juicy meat, and fresh herbs is sure to impress.
Plate the chicken legs and enjoy the fruits of your labor! The crispy exterior gives way to tender, juicy meat that’s full of flavor. It’s a dish that’s sure to become a favorite in your household.
Essential Equipment for This Recipe
Essential Cookware
A large cast-iron skillet or heavy stainless steel pan is crucial for achieving that perfect crust on your chicken legs. I prefer Lodge cast iron for its heat retention and even cooking. The size matters – you’ll want at least 12 inches diameter to accommodate all four chicken legs without overcrowding.
Thermometer Necessity
An instant-read thermometer is non-negotiable for ensuring your chicken is cooked to a safe 165°F internal temperature. I swear by ThermoWorks Smoke for its accuracy and quick readings. This tool prevents overcooking and ensures juicy meat every time. Don’t rely on cooking time alone – temperature is key 🔥.
Additional Tools
You’ll need tongs for handling the chicken legs during cooking. I like silicone-tipped tongs as they grip the chicken without damaging the skin. A meat thermometer probe with a long cord allows you to monitor the temperature without lifting the lid. For preparation, have a shallow dish for dredging and a plate for resting the chicken.
Optional but Helpful
A lid for your skillet is essential for finishing the chicken, but if your pan doesn’t have one, a sheet pan lid or even aluminum foil will work. Some cooks like to use a wire rack on a sheet pan for resting the chicken to maintain crispiness, though it’s not mandatory. For serving, have fresh parsley on hand for garnish and lemon wedges for brightness.
Equipment Care Tips
Proper care extends the life of your cookware. Clean your cast iron skillet immediately after use with hot water and a stiff brush – avoid soap. For stainless steel pans, a gentle scrub with Bar Keepers Friend removes stubborn residue. Store your thermometer properly to maintain its calibration and accuracy.
Nutrition Facts

- Jollof Rice Sauce Recipe: West African Tomato and Spice Infusion - September 25, 2026
- Japanese Rice Soup Recipe: Umami-Rich Comfort in a Bowl - September 25, 2026
- Homemade Cream Of Rice Recipe: Silk-Smooth Breakfast in Minutes - September 25, 2026