
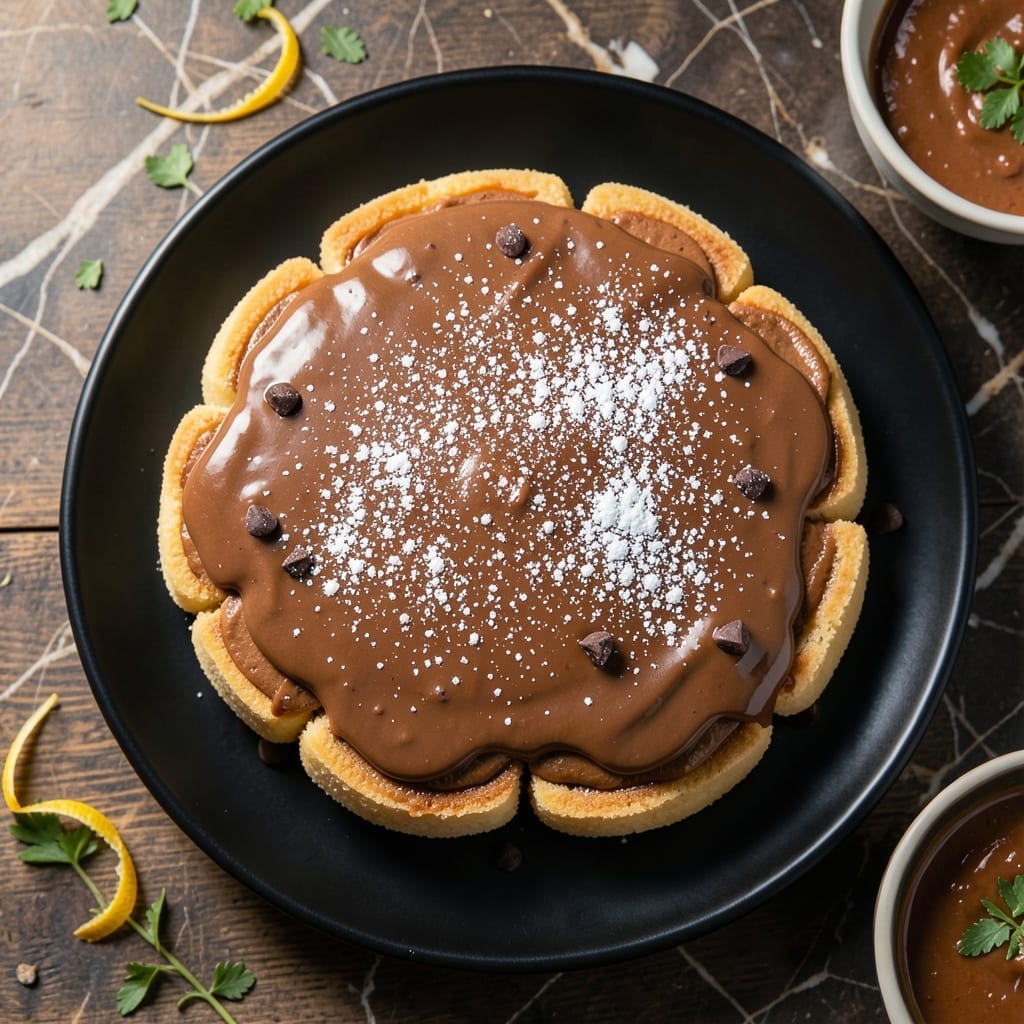
I’ve perfected a no-bake treat that combines the best of both worlds: the light crunch of rice cakes and the irresistible flavor of Reese’s. This recipe requires no oven, no complicated steps—just a few minutes and simple ingredients.
The magic happens by layering creamy peanut butter between rice cakes, then coating them in melted chocolate. It’s a foolproof method that delivers that classic candy taste with a satisfying texture.
What you get is a bite-sized dessert with a perfect balance of sweet, salty, and crunchy. Each piece is rich enough to satisfy a craving but light enough to enjoy without guilt.
Ideal for parties, snacks, or a quick sweet fix. Here’s how to make them.
Ingredients for Rice Cake Reese’s
Just a handful of pantry staples for this no-bake chocolate peanut butter treat.
| Ingredient | Amount | Notes |
|---|---|---|
| Rice Cakes 🍚 | 8 pieces | Plain or lightly salted |
| Creamy Peanut Butter 🥜 | 1 cup | Smooth, no sugar added preferred |
| Semi-Sweet Chocolate Chips 🍫 | 2 cups | Or chocolate bars, chopped |
| Coconut Oil 🥥 | 1 tbsp | For smoother chocolate coating |
| Powdered Sugar 🧂 | ¼ cup | Optional, for dusting |
| Vanilla Extract 🌿 | 1 tsp | Pure extract preferred |
| Sea Salt 🧂 | ¼ tsp | For sprinkling on top |
| Honey 🍯 | 2 tbsp | Or maple syrup for vegan |
The peanut butter is the star here. Jif or Skippy work great, but natural peanut butter (the kind with oil on top) gives a richer taste. Trader Joe’s and Whole Foods have solid organic options. For rice cakes, Quaker or Lundberg are widely available—avoid the flavored kinds, as they compete with the chocolate.
No semi-sweet chocolate chips? Dark chocolate at 60-70% works too (just chop it fine). Coconut oil can be swapped for vegetable oil or butter if needed. Out of rice cakes? Pretzels or graham crackers add a fun twist (adjust quantity to match). The honey is optional—skip it if you prefer less sweetness.
Store these in an airtight container at room temp for up to 5 days. They also freeze well for 1 month—thaw 10 minutes before serving. Layer with parchment paper to prevent sticking.
Why You’ll Love This Recipe
- 5-Minute Magic: I melt the chocolate and peanut butter together in one bowl, then dip—no baking, no waiting, just instant satisfaction.
- Crunch Meets Creamy: That crisp rice cake base with the rich peanut butter and chocolate combo? It’s like a Reese’s, but way more fun to eat.
- Party or Snack: I’ve served these at gatherings and also stashed them in my desk for a 3 p.m. pick-me-up.
- Budget-Friendly Batch: A bag of rice cakes and a jar of peanut butter make dozens—way cheaper than buying individual candies and just as crave-worthy.
Step-by-Step Instructions for Rice Cake Reese’s
This no-bake method delivers perfect chocolate-peanut butter treats with minimal effort.
Step 1: Prepare the Peanut Butter Filling
In a medium bowl, combine the 1 cup Creamy Peanut Butter, 2 tbsp Honey, and 1 tsp Vanilla Extract. Stir vigorously until the mixture becomes smooth and fully integrated—the honey will lighten the peanut butter slightly.
I’ve found that using a silicone spatula helps scrape every last bit from the bowl. The filling should be thick but spreadable. If it seems too stiff, let it sit at room temperature for 5 minutes before using. This consistency ensures it clings to the rice cakes without sliding off.
Step 2: Assemble the Rice Cake Sandwiches
Lay out the 8 pieces Rice Cakes on a clean work surface. Spread approximately 2 tablespoons of the peanut butter mixture onto the flat side of each rice cake, leaving a slight border at the edges. The rice cakes should be plain or lightly salted to let the peanut butter flavor shine.
Place a second rice cake on top of each, gently pressing down to create sandwiches. You’ll have 4 complete sandwiches ready for dipping. Check that the filling is evenly distributed—this prevents lopsided coating later.
Step 3: Melt the Chocolate Coating
In a microwave-safe bowl, combine the 2 cups Semi-Sweet Chocolate Chips and 1 tbsp Coconut Oil. Microwave in 30-second intervals, stirring between each, until the chocolate is completely smooth and glossy. This usually takes 1.5-2 minutes total.
The coconut oil creates a thinner, more workable coating that hardens beautifully. Watch for steam—it’s your signal the chocolate is getting close. Stop heating as soon as it’s fully melted to avoid burning. The mixture should flow easily off a spoon.
Step 4: Dip and Finish the Treats
Dip each sandwich into the melted chocolate, using a fork to help coat all sides completely. Let any excess drip off for 10 seconds before placing on a parchment-lined baking sheet. The chocolate should cover the entire sandwich with a thin, even layer.
While the chocolate is still wet, sprinkle with 0.25 tsp Sea Salt and dust with 0.25 cup Powdered Sugar if desired. The salt enhances the chocolate-peanut butter combination, while the powdered sugar adds a delicate sweetness. Let the treats set at room temperature for 15-20 minutes until the chocolate hardens completely.
Pro Tips For Making Rice Cake Reese’S
- Warm the Peanut Butter: Microwave the peanut butter for 15-20 seconds before spreading—it glides onto rice cakes smoothly instead of tearing them apart. I learned this the hard way after ruining three cakes with stubborn, cold peanut butter.
- Use Thick Rice Cakes: Skip the thin, crispy ones; the thick, soft rice cakes hold up better to the peanut butter and chocolate layers without turning soggy. Sounds obvious now, but my first batch was a crumbly disaster.
- Melt Chocolate Slowly: Heat the chocolate chips and coconut oil in 20-second bursts, stirring between each, to avoid seizing. After burning a batch by rushing it, I finally figured out that patience actually changes the outcome here.
- Dust Before Chilling: Sprinkle powdered sugar on top right after adding the chocolate layer, before chilling—it sticks better than trying to add it after. This isn’t the prettiest method, but it’s the tastiest.
Dietary Considerations for This Dish
Gluten-Free Friendly
These treats are naturally gluten-free since rice cakes contain no wheat. I always double-check the label on my Quaker or Lundberg rice cakes to confirm they’re certified gluten-free. The other ingredients like peanut butter and chocolate chips are typically safe, but verify no cross-contamination if you have celiac disease.
Vegan Adaptations
To make this vegan, swap the honey for 2 tbsp maple syrup and use dairy-free chocolate chips. Enjoy Life brand makes great vegan chocolate chips that melt beautifully. The peanut butter and coconut oil are already plant-based, so no other changes are needed.
Nut Allergy Warning
This recipe contains peanut butter, so it’s unsafe for anyone with a peanut allergy. For nut-free versions, try sunflower seed butter instead. SunButter is a popular brand that works well, though the flavor will differ slightly from the classic Reese’s taste. 💡
Lower Sugar Option
To reduce sugar, use natural peanut butter with no added sugar and dark chocolate chips at 70% cacao or higher. Skip the powdered sugar and honey entirely. The result is less sweet but still rich and satisfying.
Protein Boost
For extra protein, spread an additional 1 tbsp of peanut butter between each rice cake layer. This adds about 4g of protein per sandwich while keeping the texture perfect. I often do this when making these for a post-workout snack.
Diabetic Considerations
If managing blood sugar, opt for sugar-free chocolate chips and replace honey with a sugar-free syrup. Portion control is key—stick to one sandwich per serving to keep carbs in check. The fiber in peanut butter helps slow sugar absorption. ⚡
Nutrition Facts
Frequently Asked Questions
Can I use crunchy peanut butter instead of creamy?
Yes, but the texture will be slightly different. Crunchy adds extra bits of peanut that some enjoy. For the smoothest filling that sticks best to rice cakes, creamy is recommended.
How do I keep the chocolate from pooling at the bottom?
Use a fork to lift the sandwich out of the chocolate, letting excess drip for 10 seconds before placing on parchment. A thin, even coat prevents puddles.
Can these be made ahead of time?
Store in an airtight container at room temperature for up to 5 days. They also freeze well for 1 month—thaw 10 minutes before serving.

- Jollof Rice Sauce Recipe: West African Tomato and Spice Infusion - September 25, 2026
- Japanese Rice Soup Recipe: Umami-Rich Comfort in a Bowl - September 25, 2026
- Homemade Cream Of Rice Recipe: Silk-Smooth Breakfast in Minutes - September 25, 2026