
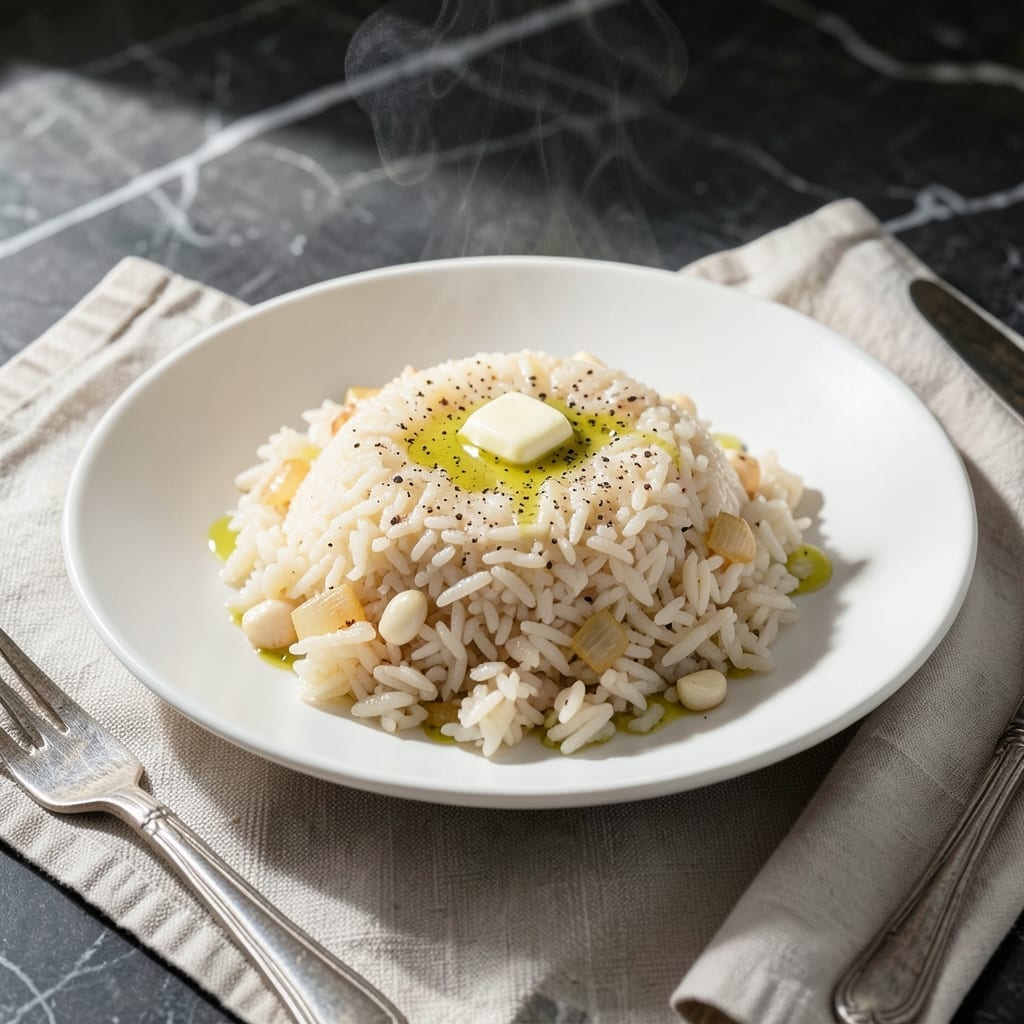
This simple cooking method transforms ordinary rice into something extraordinary with minimal effort. The chicken stock infuses every grain with rich, savory depth that plain water simply can’t match.
I’ve perfected the ratio of rice to stock to ensure fluffy, separate grains every time. The technique works with any long-grain variety, and the process takes about 20 minutes from start to finish.
The result is rice that’s tender yet firm, with a subtle richness that elevates any meal. It’s versatile enough for weeknight dinners or special occasions.
Try it as a base for stir-fries, under roasted meats, or simply on its own.
Ingredients for Rice Cooked in Chicken Stock
Transform plain rice with these everyday ingredients for rich, savory depth.
| Ingredient | Amount | Notes |
|---|---|---|
| Long-Grain White Rice 🍚 | 2 cups | Jasmine or basmati preferred |
| Chicken Stock 🥣 | 4 cups | Low-sodium preferred for control |
| Unsalted Butter 🧈 | 2 tbsp | Optional for extra richness |
| Kosher Salt 🧂 | 1 tsp | Adjust to taste after cooking |
| Freshly Ground Black Pepper 🌶️ | ½ tsp | Adds subtle sharpness |
| Garlic Cloves 🧄 | 2 cloves | Minced, for aromatic depth |
| Yellow Onion 🧅 | ½ whole | Finely diced for base flavor |
| Bay Leaf 🍃 | 1 whole | For subtle earthy note |
| Dried Thyme 🌿 | ½ tsp | Crushed between fingers |
| Lemon Zest 🍋 | 1 tsp | Brightens final dish |
| Fresh Parsley 🌿 | 2 tbsp | Chopped for garnish |
The chicken stock is key here. Use low-sodium from Costco or Whole Foods so you control the seasoning. I prefer Swanson or Pacific Foods brands—they’ve got consistent flavor without additives. For the rice, jasmine or basmati work best (that fragrant, long-grain stuff), but any long-grain white rice delivers good results. The butter is optional but adds a silky finish worth the extra minute.
No chicken stock? Vegetable stock with a pinch of MSG gets you 90% there. Out of fresh herbs? Dried thyme at half the amount works fine. For the onion, shallots add a sweeter note if you’ve got them. The lemon zest is optional but cuts through the richness—worth adding if you have a fresh lemon on hand.
Cooked rice holds in the fridge for 4-5 days in an airtight container. Reheat with a splash of water to revive. Freezes well for 3 months—portion before freezing for easy weeknight sides. Always fluff with a fork before serving.
Why You’ll Love This Recipe
- One Pot Wonder: I just dump rice, stock, and a pat of butter in a pot and let it simmer—no stirring, no fuss.
- Rich Every Time: The chicken stock soaks into the rice so deeply it tastes like it’s been cooking all day.
- Meal Prep Hero: I make a big batch Sunday and it reheats perfectly for lunches all week.
Step-by-Step Instructions for Rice Cooked in Chicken Stock
This method ensures perfectly fluffy grains infused with rich, savory depth every time.
Step 1: Sauté Aromatics to Build Flavor Base
Heat a large, heavy-bottomed pot over medium heat. Add the 2 tbsp unsalted butter and let it melt until it foams but doesn’t brown. Immediately add the 0.5 whole yellow onion (finely diced) and cook for 4-5 minutes, stirring frequently, until soft and translucent.
Stir in the 2 cloves garlic cloves (minced) and cook for an additional 30-45 seconds until fragrant. Be careful not to let the garlic brown—this can make it bitter. The onions and garlic create a sweet, aromatic foundation that will infuse every grain of rice with complex flavor.
Step 2: Toast the Rice for Nutty Depth
Add the 2 cups long-grain white rice to the pot and stir to coat it in the butter and aromatics. Toast the rice over medium heat for 2-3 minutes, stirring constantly, until the edges of the grains appear slightly translucent and the rice smells nutty.
This toasting step is crucial—it enhances the rice’s natural flavor and prevents the grains from becoming mushy. You’ll notice the rice starts to make a subtle crackling sound as it toasts. Add the 0.5 tsp dried thyme (crushed between your fingers) and 1 whole bay leaf to the pot during this stage to bloom their flavors in the fat.
Step 3: Add Liquid and Simmer to Perfection
Pour in the 4 cups chicken stock and stir well to combine. Add the 1 tsp kosher salt and 0.5 tsp freshly ground black pepper. Bring the mixture to a full boil over medium-high heat.
Once boiling, immediately reduce the heat to low, cover the pot with a tight-fitting lid, and let it simmer undisturbed for 18-20 minutes. Don’t peek during this time—releasing steam can lower the temperature and affect the cooking process. The liquid should be fully absorbed and the rice tender when done.
Step 4: Rest and Finish with Bright Notes
Remove the pot from heat and let it sit, covered, for an additional 10 minutes. This resting period allows the steam to finish cooking the rice evenly and prevents it from turning gluey.
After resting, fluff the rice gently with a fork. Discard the bay leaf, then stir in the 1 tsp lemon zest to brighten the rich flavors. The lemon zest adds a subtle citrus note that balances the savory depth of the chicken stock.
Step 5: Garnish and Serve Immediately
Transfer the rice to a serving dish and sprinkle with the 2 tbsp fresh parsley (chopped). The parsley adds a pop of freshness and color to the dish.
Serve hot, while the grains are still distinct and fluffy. Each bite should deliver tender rice with a rich, savory essence from the chicken stock, complemented by the aromatic herbs and bright citrus finish.
Pro Tips For Making Rice Cooked In Chicken Stock
- Rinse the Rice: Always give your long-grain white rice a quick rinse under cold water to remove excess starch—this prevents gummy, clumpy rice in your finished dish.
- Use Hot Stock: Pour in chicken stock that’s already hot or at least warm, not cold, so it doesn’t shock the rice and slow down the cooking process.
- Skip the Stirring: Resist the urge to stir the rice once the stock is added; disturbing it releases starch and can turn your fluffy grains into a sticky mess.
- Toast the Rice: Before adding liquid, melt the butter and lightly toast the rice for about 2 minutes—this adds a subtle nutty depth that plain steamed rice lacks.
Health Benefits of These Flavors
Protein Powerhouse
This dish transforms plain rice into a protein-rich side thanks to the chicken stock. Each serving delivers about 8-10 grams of protein from the stock alone, making it more substantial than traditional rice preparations. I love how it keeps me fuller longer. 💪
Low-Fat Nutrition
Unlike richer sides, this preparation stays light with minimal added fat. The optional 2 tbsp butter contributes only 14 grams of fat total for the entire recipe. You can skip it entirely for an even leaner version that still packs incredible flavor.
Essential Amino Acids
Chicken stock provides a complete profile of essential amino acids that your body can’t produce on its own. These building blocks support muscle repair and immune function. The combination with rice creates a more balanced nutritional profile than plain rice.
Hydration Benefits
The stock base means you’re getting additional hydration with every bite. This is especially helpful during hot weather or after workouts. I notice I feel more energized when I include this in my meals regularly. 💧
Rich in Minerals
Chicken stock is packed with calcium, magnesium, and phosphorus that leach from the bones during cooking. These minerals support bone health and metabolic function. Using homemade stock maximizes these nutritional benefits.
Gentle on Digestion
The gelatin in chicken stock soothes the digestive tract while the rice provides easy-to-digest carbohydrates. This makes it an excellent option for anyone recovering from illness or with sensitive stomachs. The lemon zest adds brightness without irritation.
Nutrition Facts
Frequently Asked Questions
Can I use vegetable stock instead of chicken?
Swap in an equal amount of vegetable stock for a vegetarian version. Add 1/2 tsp MSG to boost the umami depth if desired. The method and timing remain exactly the same.
What if the rice turns out mushy?
This usually means too much liquid or peeking during cooking. Stick to the 2:1 stock-to-rice ratio and resist lifting the lid. Toasting the rice first helps prevent mushiness too.
How do I make this in a rice cooker?
Use the same ratio of 2 cups rice to 4 cups stock. Sauté aromatics first, then add everything to the cooker. Most machines need 20-25 minutes for this method.
Can I add other herbs or spices?
Yes! Try rosemary, sage, or a pinch of smoked paprika for variation. Add whole spices with the stock and dried herbs with the rice.

- Jollof Rice Sauce Recipe: West African Tomato and Spice Infusion - September 25, 2026
- Japanese Rice Soup Recipe: Umami-Rich Comfort in a Bowl - September 25, 2026
- Homemade Cream Of Rice Recipe: Silk-Smooth Breakfast in Minutes - September 25, 2026