
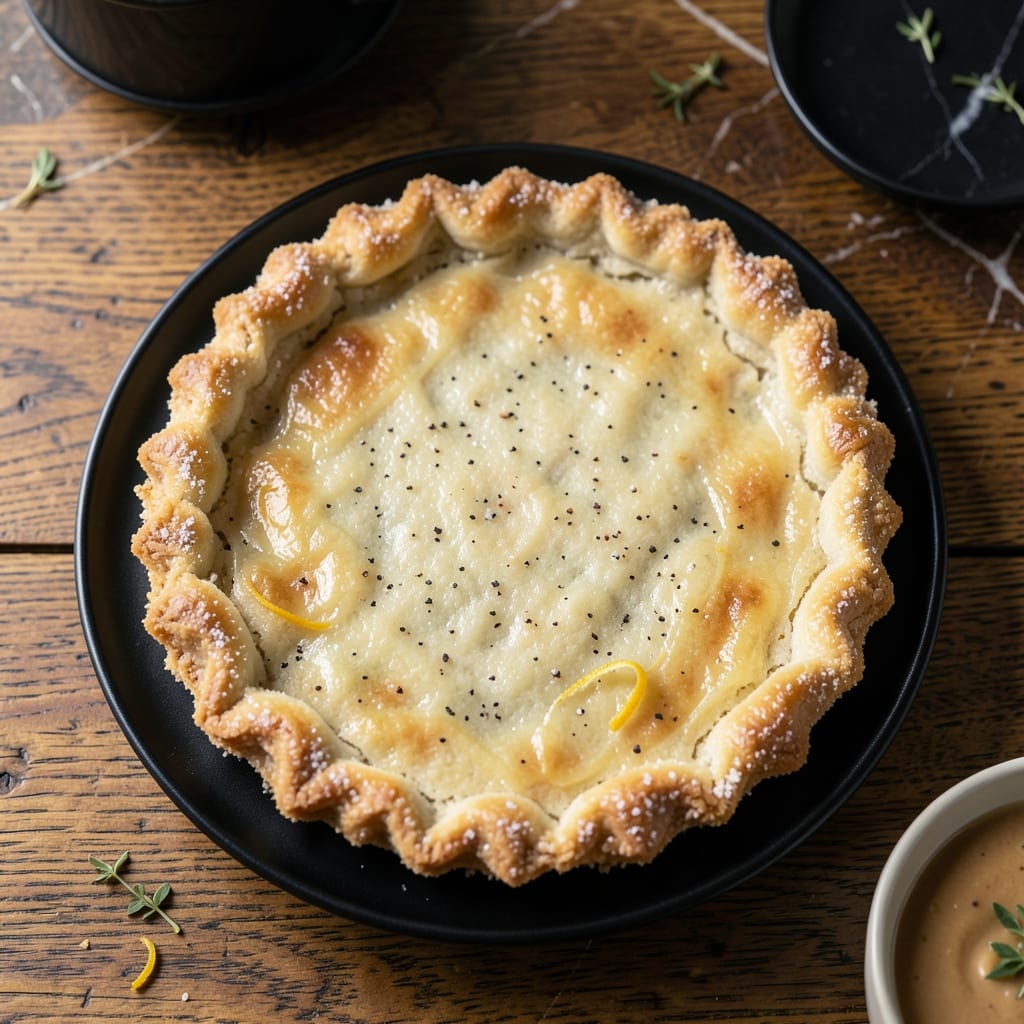
I developed this pie crust after years of testing gluten-free alternatives, determined to create something that rivaled traditional versions. This recipe delivers flaky layers and a tender bite without compromising texture or flavor.
The secret lies in the combination of rice flour and cold vegan butter, which creates pockets of steam for that signature flakiness. I also use a touch of apple cider vinegar to enhance the dough’s elasticity, making it easier to roll and shape.
What you’ll achieve is a perfect golden crust that holds its shape when baking, whether for sweet pies or savory quiches. It browns beautifully and has a delicate crumb that’s gluten-free without tasting like it.
This method works in any kitchen, even the smallest Boston apartment. The results speak for themselves.
Ingredients for Rice Flour Pie Crust
Nine ingredients for a gluten-free crust that actually rivals traditional versions. Flaky, tender, perfect.
| Ingredient | Amount | Notes |
|---|---|---|
| White Rice Flour 🌾 | 2 cups | Fine, well-sifted for best texture |
| Tapioca Starch 🌾 | ½ cup | Adds chewiness to crust |
| Xanthan Gum 🧪 | 1 tsp | Helps bind gluten-free dough |
| Vegan Butter 🧈 | ¾ cup | Very cold, cubed into small pieces |
| Sea Salt 🧂 | ½ tsp | Fine grain for even distribution |
| Granulated Sugar 🍚 | 1 tbsp | Optional, for sweet crusts |
| Apple Cider Vinegar 🍏 | 1 tbsp | Enhances dough elasticity |
| Ice Water 💧 | ⅓ cup | As cold as possible |
| Gluten-Free Baking Powder 🧂 | ½ tsp | Ensures proper rise |
| psyllium husk powder 🌾 | 1 tsp | Optional for extra structure |
The rice flour base is non-negotiable here. Bob’s Red Mill or Authentic Foods brands have the finest grind (worth the splurge). Vegan butter must be rock-solid—Miyoko’s or Earth Balance work best. Keep it in the freezer until you’re ready. The xanthan gum isn’t just filler; it’s what gives this crust structure without gluten. If your kitchen is warm, chill your mixing bowl first.
No xanthan gum? Psyllium husk powder at the same amount works in a pinch. Swap tapioca starch for cornstarch (texture changes slightly). Coconut oil instead of vegan butter alters flavor but still flaky. The vinegar is key—don’t skip it. For savory crusts, omit the sugar and add a pinch of garlic powder. All ingredients are naturally gluten-free, but double-check labels if celiac.
Dough keeps in the fridge for 3 days or freezes beautifully for 1 month (wrap tightly in plastic). Roll between parchment paper to prevent sticking. Baked crusts stay crisp for 2 days at room temperature in an airtight container. The cold butter is the secret—don’t let it soften (that’s what creates those flaky layers).
Why You’ll Love This Recipe
- I’ll be real: this crust saves every holiday dessert spread for my gluten-sensitive friends.
- No Fuss Mixing: Honestly, it’s just whisk and press—the rice flour and tapioca starch blend so smoothly with the vegan butter.
- Buttery Crisp: That flaky edge? All thanks to the vegan butter and sea salt combo, it’s ridiculously good.
- Gluten-Free Hero: I’ll be real: this crust saves every holiday dessert spread for my gluten-sensitive friends.
Step-by-Step Instructions for Rice Flour Pie Crust
This method delivers a flaky, gluten-free crust that holds its shape beautifully.
Step 1: Combine Dry Ingredients for Structure
In a large bowl, whisk together the 2 cups White Rice Flour, 0.5 cup Tapioca Starch, 1 tsp Xanthan Gum, 0.5 tsp Sea Salt, 1 tbsp Granulated Sugar, and 0.5 tsp Gluten-Free Baking Powder until fully incorporated. The xanthan gum and psyllium husk powder work as binders, replacing the gluten that would normally hold the dough together.
Add the 1 tsp psyllium husk powder and whisk again. This step ensures even distribution of all dry components, which is critical for a uniform texture in the finished crust. You should see no streaks of flour or starch at the bottom of the bowl.
Step 2: Cut in Cold Vegan Butter
Add the 0.75 cup Vegan Butter, which should be very cold and cubed into small, uniform pieces. Using a pastry cutter or your fingertips, work the vegan butter into the dry ingredients until the mixture resembles coarse crumbs with pea-sized butter pieces visible throughout.
Here’s the thing—don’t overwork it. You want those butter chunks to remain intact because they create the flaky layers as they melt during baking. If the mixture starts to clump together or the butter begins to soften, pause and chill the bowl in the refrigerator for 10 minutes before continuing.
Step 3: Add Liquids and Form the Dough
Create a well in the center of the mixture and add the 1 tbsp Apple Cider Vinegar and 0.33 cup Ice Water. The vinegar enhances elasticity in gluten-free baking, while the ice-cold water prevents the vegan butter from melting prematurely.
Using a fork, gently mix the liquids into the dry ingredients until the dough just begins to come together. It will appear shaggy and slightly crumbly—that’s perfect. Turn the dough out onto a lightly floured surface (use white rice flour for dusting) and gently press it into a cohesive ball. Avoid kneading, as this can toughen the crust.
Step 4: Chill and Roll Out the Crust
Wrap the dough ball tightly in plastic wrap and refrigerate for at least 1 hour. This chilling step allows the vegan butter to re-solidify and the psyllium husk to fully hydrate, making the dough easier to handle and less likely to crack.
After chilling, roll the dough between two sheets of parchment paper to ⅛-inch thickness. The parchment prevents sticking and makes it easy to transfer the crust to your pie dish. Look for a smooth, even surface with visible flecks of vegan butter—this indicates you’ve achieved the right texture for a flaky result.
Step 5: Blind Bake for a Perfect Finish
Transfer the rolled dough to a pie dish, pressing it gently into the bottom and up the sides. Trim any excess dough, leaving a slight overhang for crimping. For a single-crust pie, prick the bottom all over with a fork to prevent air bubbles during baking.
Preheat your oven to 375°F. Line the crust with parchment paper and fill with pie weights or dried beans. Blind bake for 15 minutes, then remove the weights and parchment and bake for an additional 10-12 minutes until the edges are light golden brown. This ensures a crisp, fully cooked crust ready for your filling.
Pro Tips For Making Rice Flour Pie Crust
- Chill the Dough: After mixing, refrigerate the dough for at least 30 minutes—this prevents the vegan butter from melting too soon and helps the xanthan gum bind properly.
- Weigh Your Flours: I learned this the hard way—rice flour and tapioca starch compact differently, so use a scale for accuracy (1:1 volume ratios often fail here).
- Skip Warm Butter: Resist the urge to soften the vegan butter first; cold, cubed butter cuts into the flour better for that flaky texture you want.
- Blind Bake First: For crisp crusts, pre-bake the shell at 375°F for 10-12 minutes with pie weights—rice flour crusts can get soggy if filled raw.
Creative Variations of This Dish
Sweet Nutty Variation
Add ½ cup finely chopped toasted almonds or pecans to the dry ingredients for a nutty depth that pairs perfectly with fruit fillings. I toast my nuts in a dry skillet over medium heat for 5-7 minutes until fragrant. 💛
Savory Herb Crust
For quiches or pot pies, omit the granulated sugar and add 1 tbsp dried herbs like thyme, rosemary, or oregano. I use Penzeys brand for the freshest flavor. This creates a savory crust that complements hearty fillings beautifully.
Chocolate Dessert Shell
Reduce the White Rice Flour to 1¾ cups and add ¼ cup cocoa powder for a chocolate crust ideal for cream pies. The cocoa adds richness without affecting the flaky texture. I recommend Hershey’s Special Dark for best results.
Citrus Zest Twist
Add 1 tbsp lemon or orange zest to the dry ingredients for a bright, citrusy note. This works especially well with berry fillings. I zest my citrus just before using to preserve the fresh, aromatic oils.
Coconut Flour Blend
Replace ¼ cup of the White Rice Flour with coconut flour for a subtle coconut flavor. Note that coconut flour absorbs more liquid, so add 1-2 tbsp extra ice water as needed. I use Bob’s Red Mill coconut flour for consistent results.
This variation adds a tropical twist while maintaining the flaky texture. 🌟
Nutrition Facts
Frequently Asked Questions
Can I use a different gluten-free flour?
Stick with white rice flour for best texture. Almond or coconut flour will make the crust too dense. For a blend, try substituting up to 25% with sorghum flour.
Why does my dough crack when rolling?
It’s likely too warm. Chill the dough for 1 hour before rolling, and use rice flour to dust the surface. If it still cracks, patch it gently with your fingers.
How do I prevent a soggy bottom?
Blind bake the crust first at 375°F for 15 minutes with pie weights. Also, brush the baked crust with a thin layer of melted vegan butter before adding the filling.
Can I make this ahead of time?
Yes! The dough keeps in the fridge for 3 days or can be frozen for up to 1 month. Roll and blind bake the crust a day ahead for convenience.

- Chuy’s Green Chili Rice Copycat Recipe: Spicy Southwest Flavor in Every Bite - September 25, 2026
- Beaten Rice Recipe: Fluffy Grains With Nutty Depth - September 25, 2026
- Machboos Rice Recipe: Bahraini Spiced One-Pot Tradition - September 25, 2026