
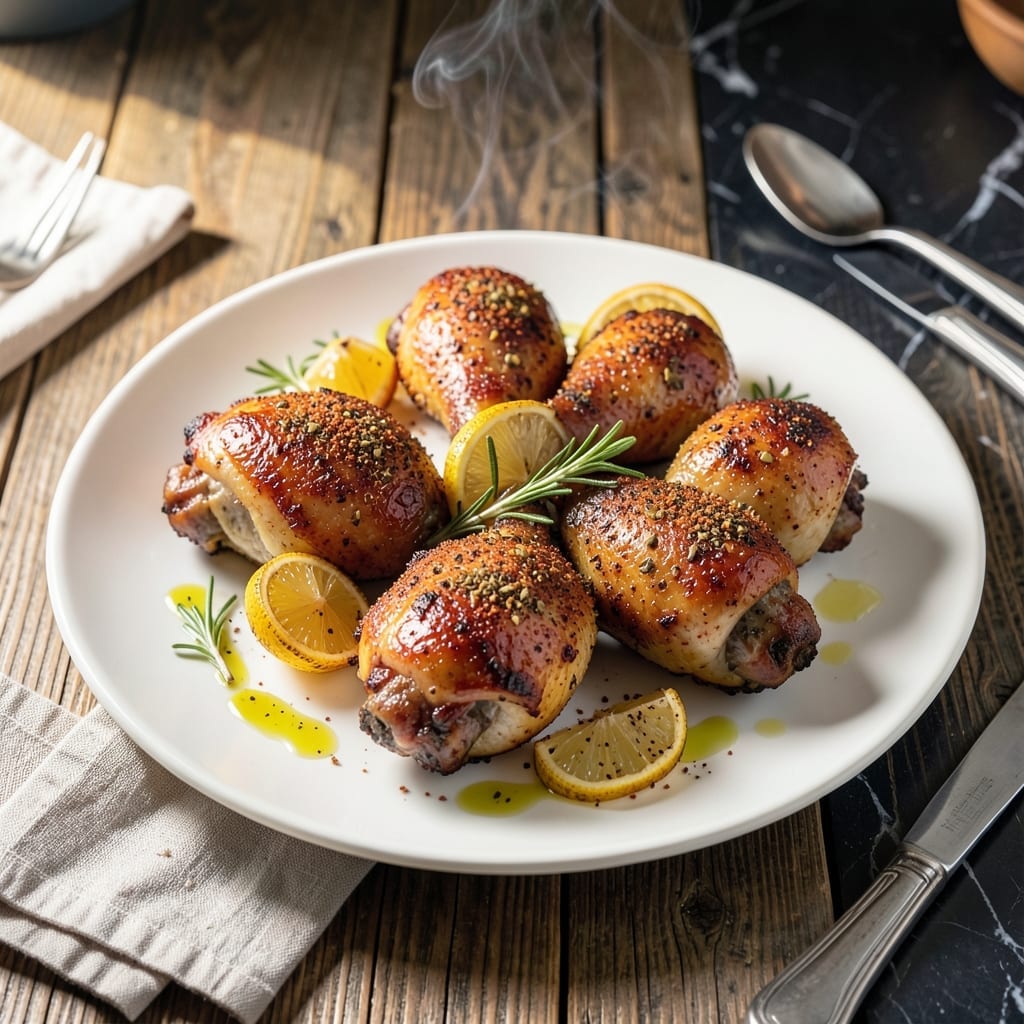
There’s a simple way to achieve crispy roasted chicken drumsticks with a bold smoky flavor that never fails. The key is a dry rub with paprika and a high-heat oven to render the skin perfectly.
This method guarantees juicy meat inside and a golden, crispy exterior outside. A short rest after roasting locks in moisture and ensures every bite is packed with flavor.
With just a few basic ingredients and 45 minutes, you’ll have restaurant-quality drumsticks ready to serve. The smoky paprika rub adds depth without overpowering the natural taste of the chicken.
Pair with roasted vegetables or a fresh salad for a complete, satisfying meal. Here’s how to make it.
Ingredients for Roasted Chicken Drumsticks
Simple ingredients, bold smoky flavor. Nothing complicated here, just good chicken and spices.
| Ingredient | Amount | Notes |
|---|---|---|
| Chicken Drumsticks 🍗 | 2 ½ lb | Skin-on, bone-in preferred |
| Smoked Paprika 🌶️ | 2 tbsp | For smoky depth of flavor |
| Garlic Powder 🧄 | 1 tbsp | Not garlic salt |
| Onion Powder 🧅 | 1 tbsp | Balances the rub |
| Dried Oregano 🍃 | 1 tsp | Mediterranean variety preferred |
| Salt 🧂 | 1 ½ tsp | Kosher or sea salt |
| Black Pepper 🌶️ | 1 tsp | Freshly ground for best flavor |
| Olive Oil 🫒 | 2 tbsp | For coating drumsticks |
| Brown Sugar 🍚 | 1 tbsp | For caramelized crust |
| Cayenne Pepper 🔥 | ¼ tsp | Adjust for heat preference |
| Fresh Parsley 🌿 | ¼ cup | Chopped, for garnish |
The chicken is the star here—skin-on, bone-in drumsticks give you that crispy exterior. Look for plump pieces with even sizing (about 4-6 oz each) at your butcher or Whole Foods meat counter. Avoid pre-brined or seasoned chicken, as the salt content can throw off your rub. The paprika should be smoked for that signature depth, and freshness matters—check the expiration date.
No smoked paprika? Regular paprika with a pinch of chipotle powder works in a pinch. Out of garlic powder? Fresh minced garlic at half the amount, but reduce the olive oil slightly to compensate. For a sweeter crust, swap brown sugar for maple syrup. The cayenne is optional—skip it for kid-friendly versions or double it for heat lovers.
Store raw chicken in the coldest part of your fridge and use within 2 days. The dry rub ingredients keep in a cool, dark place for 6 months. Cooked drumsticks stay fresh for 4 days refrigerated or freeze for up to 3 months.
Why You’ll Love This Recipe
- One Pan Wonder: I toss the drumsticks with the spices, throw them on a sheet pan, and the oven does the rest.
- Smoky and Herby: That smoked paprika with the oregano gives it a deep, rich flavor that’s honestly hard to resist.
- Weeknight Hero: I’ve served this for quick family dinners and even brought it to potlucks—always a hit.
- Budget Friendly: Drumsticks are cheap, and a little spice goes a long way. I stretch this to feed four for under ten bucks.
Step-by-Step Instructions for Roasted Chicken Drumsticks
This method ensures crispy skin and juicy meat with a smoky, caramelized crust every time.
Step 1: Prepare and Season the Drumsticks
Pat the 2.5 lb chicken drumsticks completely dry with paper towels. This removes excess moisture, which is essential for achieving crispy skin. I press down firmly with each towel to absorb as much liquid as possible from the surface and cavity.
In a small bowl, combine the 2 tbsp smoked paprika, 1 tbsp garlic powder, 1 tbsp onion powder, 1 tsp dried oregano, 1.5 tsp salt, 1 tsp black pepper, 1 tbsp brown sugar, and 0.25 tsp cayenne pepper. Stir until evenly mixed—this blend creates the signature smoky-sweet flavor profile.
Drizzle the 2 tbsp olive oil over the drumsticks and rub it into every crevice. Then coat each piece thoroughly with the spice mixture, pressing it into the skin so it adheres well. Let them sit at room temperature for 20-30 minutes while the oven preheats.
Step 2: Arrange and Preheat for Optimal Crisping
Preheat your oven to 425°F and position a rack in the center. This high temperature is critical for rendering the fat and crisping the skin before the meat overcooks. I always use the center rack for even heat distribution.
Line a rimmed baking sheet with foil and place a wire rack on top. This setup allows hot air to circulate underneath the drumsticks, ensuring they crisp evenly on all sides. Arrange the drumsticks on the rack, leaving 1 inch of space between each piece to prevent steaming.
Step 3: Roast Until Golden and Crisp
Roast the drumsticks for 35-40 minutes, flipping them halfway through the cooking time. You’ll know they’re ready to flip when the skin on the bottom side is deep golden brown and starting to crisp. Use tongs to turn them carefully to avoid piercing the skin.
Continue roasting until the internal temperature reaches 175°F when measured in the thickest part of the meat, not touching the bone. At this point, the skin should be dark golden brown and crispy, and the juices should run clear when pierced with a knife.
Step 4: Rest and Garnish for Serving
Transfer the drumsticks to a serving platter and let them rest for 5-10 minutes. This short rest allows the juices to redistribute, ensuring the meat stays moist when you bite in. Don’t skip this step—cutting into them too soon will cause the juices to spill out onto the plate.
Sprinkle with the 0.25 cup fresh parsley just before serving. The bright, fresh flavor of the parsley balances the richness of the smoky, caramelized rub. Serve immediately while the skin is still crispy.
Pro Tips For Making Roasted Chicken Drumsticks
- Pat Them Dry: I learned this the hard way—dry the drumsticks thoroughly with paper towels before seasoning, or the skin steams instead of crisps, even with that beautiful smoked paprika rub.
- High Heat First: Start at 425°F for 20 minutes to render the fat and set the skin, then drop to 375°F to finish cooking through without burning the spices.
- Skip the Crowding: Resist the urge to cram all the drumsticks on one tray—give each at least an inch of space so the heat circulates and they roast, not steam.
- Bloom the Spices: Sounds weird, but it works: toss the drumsticks with oil and spices, then let them sit for 10 minutes before roasting so the garlic, onion, and oregano wake up and stick better.
Troubleshooting roasted chicken drumsticks
Skin Not Crispy
If your drumsticks aren’t crispy, your oven likely wasn’t hot enough. Always preheat to 425°F and use the center rack. Also, ensure you patted the chicken completely dry before seasoning. Any moisture prevents proper browning. 🔥
Uneven Cooking
If some pieces cook faster than others, check your oven’s hot spots. Rotate the baking sheet halfway through the 35-40 minute cook time. Using a wire rack ensures even air circulation, so don’t skip it.
Dry Meat
Overcooking is the usual culprit. Pull the drumsticks when internal temp hits 175°F—not higher. Resting for 5-10 minutes is crucial to redistribute juices. Without resting, all that moisture ends up on your cutting board.
Rub Not Sticking
If your spice mix won’t adhere, the chicken may still be too wet. Pat it very dry with paper towels first. Then, coat lightly with olive oil before applying the rub. Press the spices firmly into the skin.
Burnt Spices
Sugars in the rub can burn at high heat. If you see black spots, reduce oven temp to 400°F and extend cooking time by 5-10 minutes. Keep an eye on them after 30 minutes to catch this early.
Soggy Bottoms
This happens when drumsticks sit in their own juices. Always use a wire rack on your baking sheet, and never crowd the pan. Leave at least 1 inch between pieces. This lets air flow underneath for all-over crispiness. 💡
Nutrition Facts
Frequently Asked Questions
What temperature should the oven be?
Preheat to 425°F for the crispiest skin. This high heat renders the fat and creates a golden crust while keeping the meat juicy.
How do I keep the skin from getting soggy?
Pat the drumsticks very dry before seasoning and use a wire rack on your baking sheet. This allows air to circulate underneath for even crisping.
Can I use boneless drumsticks?
Yes, but reduce cooking time to 20-25 minutes. Bone-in takes longer to cook through. Watch closely to avoid drying out.
How long should I let them rest before serving?
Rest for 5-10 minutes after roasting. This critical step lets juices redistribute, ensuring moist meat with every bite.

- Jollof Rice Sauce Recipe: West African Tomato and Spice Infusion - September 25, 2026
- Japanese Rice Soup Recipe: Umami-Rich Comfort in a Bowl - September 25, 2026
- Homemade Cream Of Rice Recipe: Silk-Smooth Breakfast in Minutes - September 25, 2026