
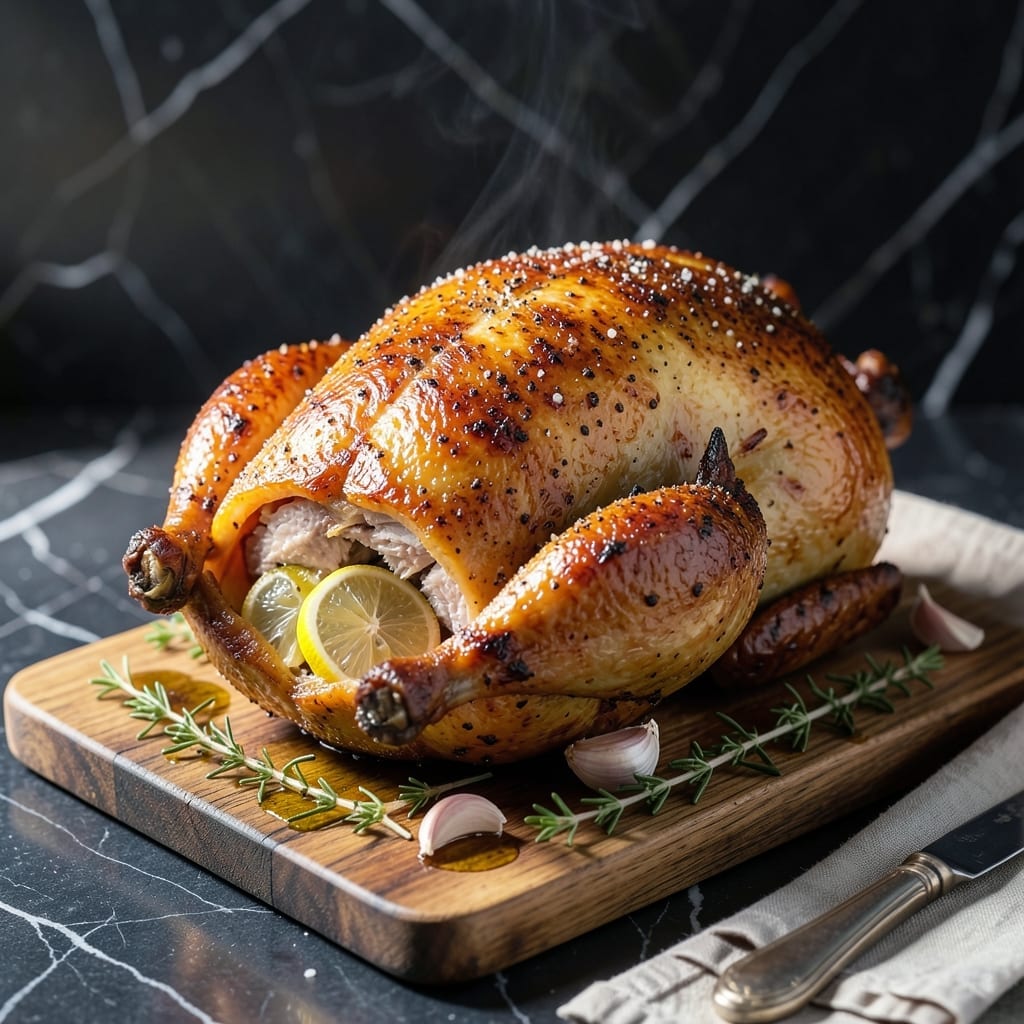
This rotisserie chicken recipe delivers the perfect balance of golden crisp skin and succulent meat every time. I’ve refined the method to ensure consistent results with minimal effort.
The key lies in a simple dry brine and proper seasoning before roasting. This approach guarantees flavor penetrates deep into the meat while the skin crisps to perfection.
You’ll end up with juicy, tender chicken that’s versatile for meals all week. The aroma alone makes it worth the effort.
Serve it hot or use the leftovers in salads, sandwiches, or soups. This method never fails.
Ingredients for Rotissarie Chicken
A handful of pantry staples transforms whole chicken into juicy, crisp-skinned perfection every time.
| Ingredient | Amount | Notes |
|---|---|---|
| Whole Chicken 🍗 | 4 lb | Giblets removed, patted dry |
| Kosher Salt 🧂 | 1 tbsp | Diamond Crystal preferred |
| Black Pepper 🌶️ | 1 tsp | Freshly ground |
| Garlic Powder 🧄 | 1 tsp | Not garlic salt |
| Onion Powder 🧅 | 1 tsp | Fine grind preferred |
| Dried Thyme 🌿 | 1 tsp | Crushed for better distribution |
| Dried Rosemary 🌿 | 1 tsp | Crushed for better distribution |
| Paprika 🌶️ | 1 tsp | Sweet or smoked variety |
| Unsalted Butter 🧈 | 4 tbsp | Melted for basting |
| Lemon 🍋 | 1 whole | Halved for cavity |
| Fresh Thyme Sprigs 🌿 | 4 sprigs | Optional for garnish |
| Fresh Rosemary Sprigs 🌿 | 2 sprigs | Optional for garnish |
The chicken quality is paramount. Opt for air-chilled, free-range whole chicken around 4 pounds—Kosher or organic if available. Whole Foods and Trader Joe’s carry excellent options. Ensure the skin is intact and dry before seasoning; this is critical for achieving that golden crisp finish. Avoid pre-brined birds as they can become overly salty.
Substitutions are minimal but possible. No garlic powder? Use half the amount of granulated garlic. Short on fresh herbs for garnish? Dried herbs at one-third the quantity work in a pinch. The butter can be replaced with olive oil for a different flavor profile, though the richness will differ. Always use unsalted butter to control sodium levels precisely.
Store the raw chicken in the coldest part of your refrigerator for up to 2 days before cooking. Leftovers keep 4-5 days refrigerated or can be frozen for 3 months. Reheat gently to preserve moisture and crispness.
Why You’ll Love This Recipe
- Set It & Forget It: I just season the chicken, pop it in the oven, and let it do its thing—no babysitting required.
- That Garlic Kick: The garlic and onion powder give it this deep, savory flavor that makes every bite worth it.
- Meal Prep Magic: One chicken, endless possibilities—tacos, salads, sandwiches, you name it.
- Leftovers for Days: I get at least three meals out of one bird, and the flavor only gets better.
Step-by-Step Instructions for Rotisserie Chicken
This method ensures crispy skin and juicy meat with even seasoning throughout.
Step 1: Prepare and Season the Whole Chicken
Remove the giblets from the 4 lb Whole Chicken and pat it completely dry with paper towels. This step is crucial for achieving crispy skin, as moisture inhibits browning. I always check the cavity thoroughly to ensure no moisture remains.
In a small bowl, combine the 1 tbsp Kosher Salt, 1 tsp Black Pepper, 1 tsp Garlic Powder, 1 tsp Onion Powder, 1 tsp Dried Thyme, 1 tsp Dried Rosemary, and 1 tsp Paprika. Rub this seasoning blend generously over the entire surface of the chicken, including under the skin and inside the cavity. The spices should create a visible, even coating.
Step 2: Add Aromatics and Truss the Chicken
Place the 1 whole Lemon (halved) inside the cavity of the chicken along with 4 sprigs Fresh Thyme Sprigs and 2 sprigs Fresh Rosemary Sprigs. These aromatics will infuse the meat with bright, herbal notes as it cooks.
Truss the chicken securely with kitchen twine, tying the legs together and tucking the wings under the body. This compact shape ensures even cooking and helps maintain the bird’s structure on the rotisserie spit. A well-trussed chicken rotates more evenly, leading to consistent browning.
Step 3: Secure to Rotisserie and Begin Cooking
Thread the chicken onto the rotisserie spit, ensuring it is balanced and centered. Secure it tightly with the spit forks—this prevents the chicken from spinning unevenly or slipping during cooking. I always double-check the balance by resting the spit on the grill grates before starting the motor.
Preheat your grill or rotisserie oven to 375°F with indirect heat. Once at temperature, attach the spit and begin rotating. Cook the chicken for approximately 1 hour and 15 minutes, basting occasionally with the 4 tbsp Unsalted Butter (melted) during the first 30 minutes of cooking.
Step 4: Monitor and Finish Cooking
Check the chicken periodically for even browning. You’re aiming for a deep golden brown color across the entire surface. If some areas are browning faster than others, rotate the spit manually to even out the color.
The chicken is done when an instant-read thermometer inserted into the thickest part of the thigh (avoiding the bone) registers 165°F. At this point, the juices should run clear, and the skin should be crisp and deeply colored. If the skin isn’t as crisp as you’d like, move the chicken to direct heat for the final 5 minutes to crisp it up.
Step 5: Rest and Serve
Once fully cooked, remove the chicken from the rotisserie and transfer it to a cutting board. Tent loosely with foil and let it rest for 15 minutes. This resting period allows the juices to redistribute, ensuring moist, flavorful meat throughout.
Carve the chicken and serve immediately. The skin should be crisp and seasoned, while the meat remains tender and succulent. Garnish with additional Fresh Thyme Sprigs or Fresh Rosemary Sprigs for a finishing touch, if desired.
Pro Tips For Making Rotissarie Chicken
- Dry the Skin: Pat the chicken completely dry with paper towels before seasoning—I learned this the hard way after ending up with soggy skin more times than I care to admit.
- Season Under Skin: Loosen the skin over the breasts and thighs, then rub some of the salt, pepper, garlic, and onion powder directly onto the meat. Sounds weird, but it works.
- Rest Before Carving: Let the chicken rest 15-20 minutes after cooking, tented with foil. I skip this when I’m in a rush, but the meat is noticeably juicier when I don’t.
- Use a Thermometer: Pull the chicken when the thickest part of the thigh hits 165°F—after burning three batches, I finally figured out guessing never works.
Wine and Beer Pairings for rotissarie chicken
White Wine Pairings
A crisp Sauvignon Blanc from New Zealand cuts through the richness with its bright acidity and citrus notes. I love how the grapefruit and lime flavors complement the herb seasoning. A 4-ounce pour per person is perfect for balancing the meal. 🍷
Red Wine Options
For red wine lovers, a light-bodied Pinot Noir from Oregon works beautifully. Its red fruit notes and subtle earthiness won’t overpower the chicken. Serve slightly chilled at 55°F for best results.
Craft Beer Choices
A Belgian-style witbier with coriander and orange peel notes enhances the thyme and rosemary flavors. I recommend Hoegaarden or Blue Moon for widely available options. Serve at 45°F in a chilled glass. 🍺
Lager Pairings
A clean, crisp Pilsner like Samuel Adams Noble Pils provides a refreshing contrast to the savory seasoning. The carbonation cleanses your palate between bites, making each taste like the first.
Non-Alcoholic Option
For non-drinkers, sparkling lemon water with a sprig of fresh rosemary mirrors the chicken’s aromatics. Add 1 tsp honey per glass for subtle sweetness that complements the herbs.
Nutrition Facts
Frequently Asked Questions
What size chicken works best?
A 4 lb bird is ideal for even cooking and crispy skin. Larger chickens may need more time, while smaller ones can dry out. Always check the internal temperature reaches 165°F.
Can I use a regular oven instead?
Yes! Place the chicken on a rack in a roasting pan at 425°F for about 1 hour and 15 minutes. Flip halfway for even browning. The results will be similar.
Why rest the chicken after cooking?
Resting for 15 minutes lets juices redistribute, ensuring moist meat. Skipping this step can cause dryness as juices escape when sliced. Always tent with foil to retain heat.
Can I skip trussing the chicken?
Not recommended. Trussing ensures even cooking and prevents uneven browning. It also keeps the shape compact for better rotation on the spit.

- Jollof Rice Sauce Recipe: West African Tomato and Spice Infusion - September 25, 2026
- Japanese Rice Soup Recipe: Umami-Rich Comfort in a Bowl - September 25, 2026
- Homemade Cream Of Rice Recipe: Silk-Smooth Breakfast in Minutes - September 25, 2026