
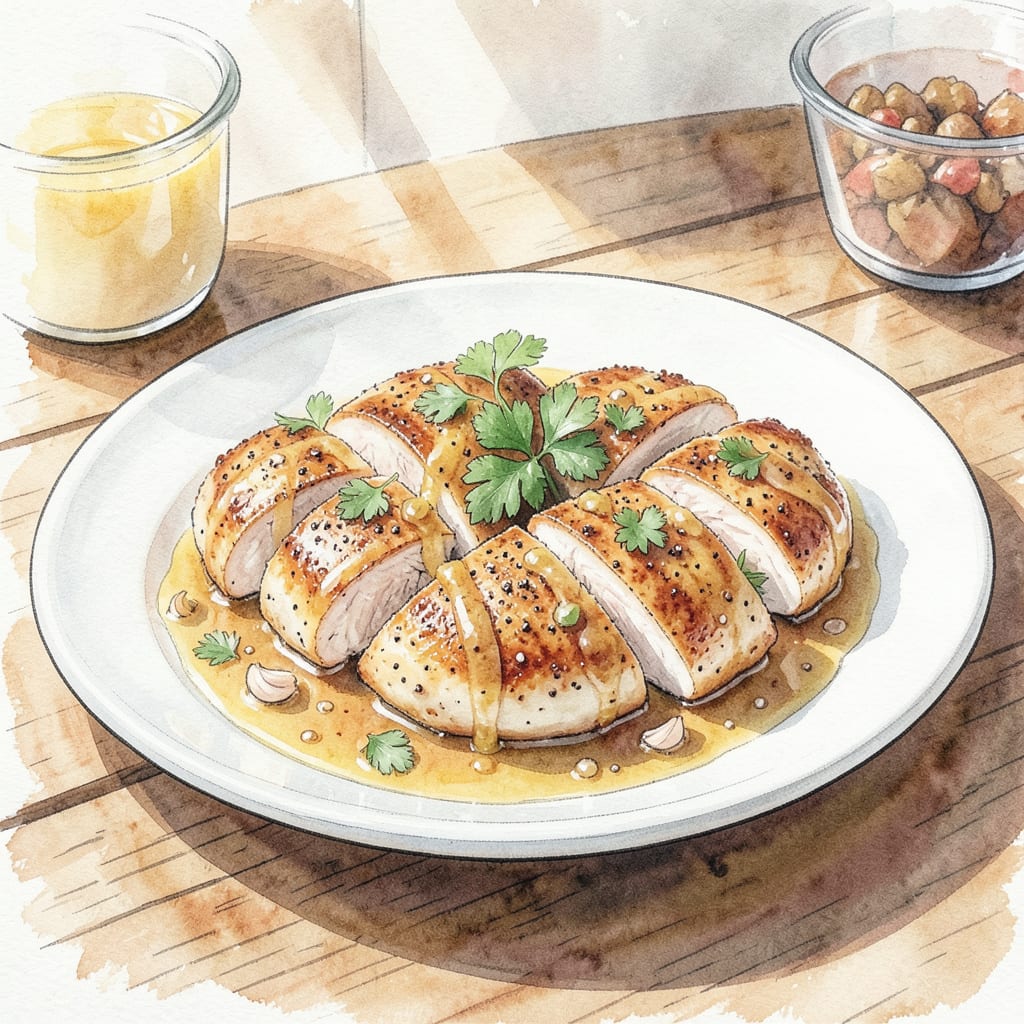
I’ve perfected a sauteed chicken recipe that delivers pan-seared perfection in just minutes. This dish is ideal for busy weeknights when you need a quick yet satisfying meal that’s ready in 20 minutes or less.
The secret to this recipe’s success lies in achieving a golden-brown crust while keeping the chicken juicy and tender. By following my simple technique, you’ll be able to create a restaurant-quality meal that’s sure to impress. Let’s get cooking!
Ingredients for Sauteed Chicken
Quality ingredients make all the difference in this sauteed chicken recipe.
| Ingredient | Amount | Notes |
|---|---|---|
| Chicken Breast Cutlets 🍗 | 1 ½ lb | Pounded to even thickness |
| All-Purpose Flour 🌾 | 1 cup | For dredging chicken |
| Unsalted Butter 🧈 | 4 tbsp | For pan-searing |
| Olive Oil 🫒 | 2 tbsp | For pan-searing |
| Garlic Cloves 🧄 | 4 cloves | Minced |
| Fresh Parsley 🌿 | ¼ cup | Chopped, for garnish |
| Lemon Juice 🍋 | 2 tbsp | Freshly squeezed |
| Salt 🧂 | 1 tsp | Kosher salt preferred |
| Black Pepper 🌶️ | ½ tsp | Freshly ground |
| Paprika 🌶️ | ½ tsp | Smoked or sweet |
| Chicken Broth 🍜 | ½ cup | Low-sodium |
| White Wine 🍷 | ¼ cup | Dry white wine |
For the best results, use high-quality chicken breast cutlets pounded to even thickness. I prefer to buy mine from Whole Foods or my local butcher. Fresh parsley adds a bright finish—wrap it in damp paper towels and store in the fridge for up to 5 days.
No white wine? Additional chicken broth works as a substitute. For a different flavor profile, try substituting thyme or oregano for the paprika. If you don’t have kosher salt, use regular salt but reduce the amount by one-third. The garlic can be minced ahead of time and stored in olive oil.
This dish reheats beautifully in the microwave or on the stovetop. Store leftovers in an airtight container for up to 3 days. The chicken can be prepped ahead—dredge in flour and store in the refrigerator for up to 24 hours before cooking.
Step-by-Step Instructions for Sauteed Chicken
Here’s the method that delivers pan-seared perfection every time, with minimal effort.
Step 1: Prepare the Chicken for Searing
Start by seasoning the 1.5 lb Chicken Breast Cutlets with 1 tsp Salt, 0.5 tsp Black Pepper, and 0.5 tsp Paprika on both sides. I like to make sure they’re evenly coated to enhance the flavor. Next, dredge the seasoned chicken cutlets in the 1 cup All-Purpose Flour, shaking off any excess flour to prevent a thick coating that might fall off during cooking.
The flour coating helps create a golden-brown crust on the chicken. Make sure the chicken is pounded to an even thickness before you start, as this ensures uniform cooking.
Step 2: Sear the Chicken to Perfection
Heat 2 tbsp Olive Oil and 2 tbsp Unsalted Butter in a large skillet over medium-high heat. Once the butter starts to foam, add the chicken cutlets. Cook for 3-4 minutes per side until they develop a golden-brown crust and reach an internal temperature of 165°F. Transfer the cooked chicken to a plate and tent it with foil to keep warm.
Don’t overcrowd the skillet; cook the chicken in batches if necessary. This ensures that each piece has enough room to cook evenly and develop that perfect crust.
Step 3: Create the Pan Sauce
In the same skillet, add the 4 cloves minced Garlic Cloves and cook for 1 minute until fragrant. Be careful not to burn the garlic, as it can quickly turn bitter. Pour in the 0.25 cup White Wine and 0.5 cup Chicken Broth, scraping up any browned bits from the bottom of the pan with a wooden spoon. Let the liquid simmer for 2-3 minutes until it reduces slightly and intensifies in flavor.
Stir in the 2 tbsp Lemon Juice and the remaining 2 tbsp Unsalted Butter. The butter adds richness and helps thicken the sauce to a velvety consistency. Season with additional salt and pepper if needed.
Step 4: Finish and Serve
Return the chicken to the skillet and spoon some of the pan sauce over the top of each cutlet. Let it simmer for another 1-2 minutes to heat the chicken through and allow the flavors to meld. Garnish with 0.25 cup chopped Fresh Parsley before serving.
Serve the sautéed chicken hot, with the pan sauce spooned over the top. The combination of the crispy exterior, juicy interior, and flavorful sauce makes for a dish that’s sure to impress.
Dietary Considerations for This Dish
Gluten-Free Considerations
This sauteed chicken recipe can be made gluten-free by substituting the all-purpose flour with a 1:1 gluten-free flour blend. I recommend using Bob’s Red Mill Gluten-Free Flour for best results. The gluten-free flour helps maintain the crispy coating while making the dish accessible to those with gluten sensitivities.
Keto and Low-Carb Adaptations
To make this dish keto-friendly, replace the all-purpose flour with almond flour or coconut flour. Be aware that coconut flour absorbs more liquid, so you may need to adjust the amount used. I suggest starting with ½ cup coconut flour and adding more as needed. The result is a deliciously crispy exterior that’s low in carbs.
Dairy-Free Modifications
For a dairy-free version, substitute the unsalted butter with dairy-free alternatives like coconut oil or vegan butter. When using coconut oil, be mindful of its lower smoke point compared to butter, and monitor the heat to prevent burning. The pan sauce can be made without butter by using additional olive oil or a dairy-free substitute.
Low-Sodium Adjustments
To reduce sodium, use low-sodium chicken broth and omit or reduce the added salt. You can also replace the salt with a salt-free seasoning blend. I like to use herbs de Provence or Italian seasoning to add flavor without extra salt. Be sure to taste and adjust seasoning throughout the cooking process.
Paleo and Whole30 Variations
For Paleo or Whole30 diets, use almond flour or coconut flour for dredging, and replace the white wine with additional chicken broth. Ensure that your chicken broth is compliant with your dietary needs by checking the ingredients list. These modifications make the dish suitable for various dietary restrictions while maintaining its delicious flavor profile. 🌟
By making these simple adjustments, you can enjoy this sauteed chicken recipe while adhering to your specific dietary needs. Whether you’re gluten-free, keto, dairy-free, or following another diet, these modifications help you create a meal that’s both satisfying and compliant with your requirements.
Nutrition Facts
Frequently Asked Questions
What’s the best way to ensure my sauteed chicken stays juicy?
The key to juicy chicken is not overcooking it. Cook the chicken for 3-4 minutes per side until it reaches an internal temperature of 165°F. Letting it rest for a few minutes before serving also helps retain moisture.
Can I make this recipe without white wine?
Yes, you can substitute the white wine with additional chicken broth or omit it altogether. The wine adds depth of flavor, but the dish will still be delicious without it. For an extra rich flavor, you can add a splash of lemon juice.
How do I prevent the chicken from becoming too dry?
To prevent dry chicken, make sure not to overcook it. Use a thermometer to check for doneness, and don’t overcrowd the skillet. Cooking in batches if necessary ensures even cooking and helps maintain the chicken’s natural juices.
Can I prepare the chicken ahead of time?
Yes, you can dredge the chicken in flour and store it in the refrigerator for up to 24 hours before cooking. This step can save you time when you’re ready to cook. Just be sure to let the chicken come to room temperature before sautéing for even cooking.

- Jollof Rice Sauce Recipe: West African Tomato and Spice Infusion - September 25, 2026
- Japanese Rice Soup Recipe: Umami-Rich Comfort in a Bowl - September 25, 2026
- Homemade Cream Of Rice Recipe: Silk-Smooth Breakfast in Minutes - September 25, 2026