
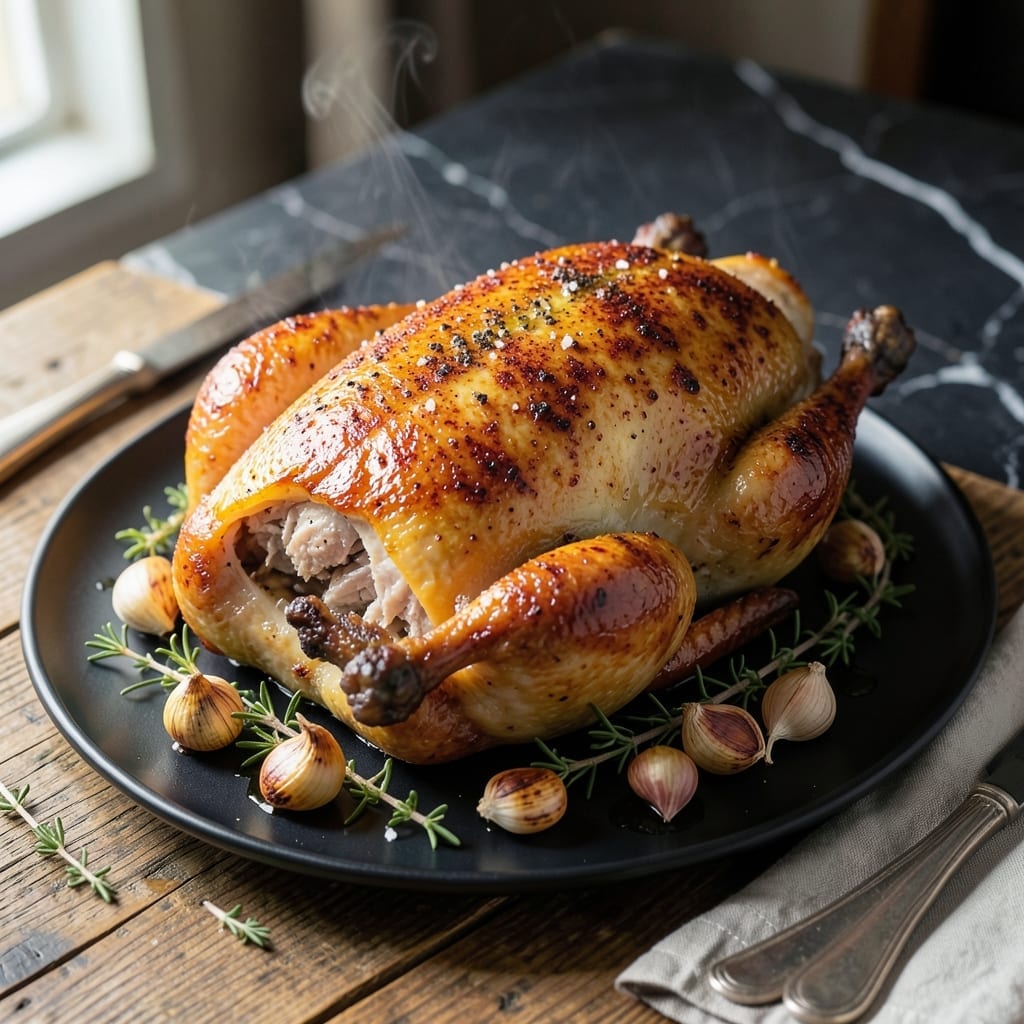
This method for butterflied chicken delivers crispy skin and even cooking throughout. I’ve tested various approaches, and spatchcocking is the most reliable way to achieve consistent results.
By removing the backbone and flattening the bird, the chicken cooks faster and more evenly. The exposed skin crisps up beautifully under high heat, creating a golden, crispy finish that’s hard to resist.
The process is straightforward and requires minimal prep. Once you try this technique, you’ll never go back to roasting a whole chicken the traditional way.
Serve it with your favorite sides for a meal that’s both impressive and effortless. Here’s how to do it right.
Ingredients for Spatch Chicken
Whole chicken, bold spices, and a few fresh herbs. Simple setup, stunning results.
| Ingredient | Amount | Notes |
|---|---|---|
| Whole Chicken 🍗 | 1 whole | 3-4 lb, backbone removed |
| Kosher Salt 🧂 | 1 ½ tbsp | Diamond Crystal preferred |
| Black Pepper 🌶️ | 1 tsp | Freshly cracked for best flavor |
| Garlic Powder 🧄 | 1 tsp | Not garlic salt |
| Onion Powder 🧅 | 1 tsp | Adds depth to seasoning |
| Smoked Paprika 🌶️ | 1 tsp | For subtle smoky aroma |
| Dried Thyme 🌿 | 1 tsp | Crushed between fingers |
| Dried Rosemary 🍃 | 1 tsp | Crushed between fingers |
| Olive Oil 🫒 | 2 tbsp | Extra-virgin for richness |
| Unsalted Butter 🧈 | 4 tbsp | Melted for basting |
| Lemon 🍋 | 1 whole | Zested and juiced |
| Fresh Rosemary Sprigs 🍃 | 2 whole | For aromatics |
| Fresh Thyme Sprigs 🌿 | 4 whole | For aromatics |
The chicken is the star here. Look for a 3-4 lb bird—small enough to cook through without drying out, large enough to feed a family. I grab mine from Whole Foods (their air-chilled birds have better texture) or Costco for value. The skin should be dry when you start—pat it thoroughly with paper towels. This is what gives you that crispy finish the intro promises.
No fresh herbs? Dried at one-third the amount works in a pinch (just mix them into the dry rub). Swap smoked paprika for regular if you prefer milder flavor. The lemon can be bottled juice (2 tbsp) if fresh isn’t available, but you’ll miss the aromatic oils from the zest. For extra crispiness, add 1 tsp baking powder to the seasoning mix—it helps break down proteins in the skin.
The butterflied chicken keeps 3-4 days in the fridge, but honestly it’s best fresh out of the oven. Leftovers make killer sandwiches though. You can prep the dry rub and butter mixture 1 day ahead—just store separately. Always bring the chicken to room temp before cooking for even results.
Why You’ll Love This Recipe
- One Pan Wonder: I just flatten the chicken, rub it with salt, pepper, garlic and onion powder, and let the oven do the rest.
- Crispy and Juicy: The spatchcock method gives me golden skin while keeping the meat tender every single time.
- Feeds a Crowd: Between us, this whole chicken serves four with leftovers for sandwiches the next day.
- Budget Friendly: Honestly, it’s cheaper than buying individual chicken parts and tastes way better.
Step-by-Step Instructions for Spatch Chicken
Butterflying the chicken guarantees even cooking and maximum crispiness every time.
Step 1: Prepare and Season the Chicken
Pat the whole chicken completely dry inside and out with paper towels. This is non-negotiable—moisture is the enemy of crispy skin. Place it breast-side down on your work surface. Using kitchen shears, cut along both sides of the backbone and remove it completely.
Flip the chicken over and press down firmly on the breastbone until you hear it crack. This flattens the bird for even cooking. Rub the entire surface and cavity with the 1.5 tbsp Kosher Salt, 1 tsp Black Pepper, 1 tsp Garlic Powder, 1 tsp Onion Powder, 1 tsp Smoked Paprika, 1 tsp Dried Thyme, and 1 tsp Dried Rosemary. Let it sit uncovered in the refrigerator for 1 hour to dry the skin.
Step 2: Preheat and Prepare for Roasting
Preheat your oven to 450°F. Remove the chicken from the refrigerator and let it come to room temperature for 30 minutes. This ensures even cooking throughout. Meanwhile, zest the 1 whole Lemon, then cut it in half and juice it.
Place the 2 whole Fresh Rosemary Sprigs and 4 whole Fresh Thyme Sprigs inside the cavity of the chicken. These will infuse the meat with aroma as it roasts. Position the chicken breast-side up on a wire rack set in a baking sheet.
Step 3: Roast and Baste for Crispy Skin
Drizzle the 2 tbsp Olive Oil over the chicken, rubbing it evenly across the skin. Place the chicken in the oven on the middle rack. Roast for 30 minutes to start building color and rendering fat.
After 30 minutes, carefully brush the melted 4 tbsp Unsalted Butter mixed with the lemon zest and juice over the entire surface of the chicken. Return it to the oven and continue roasting, basting every 10-15 minutes, until the skin is deep golden brown and crispy, and the thickest part of the thigh registers 165°F on an instant-read thermometer, about 45-60 minutes total.
Step 4: Rest and Serve
Transfer the spatchcocked chicken to a cutting board and tent loosely with foil. Let it rest for 10-15 minutes. This resting period allows the juices to redistribute, ensuring moist meat and crispy skin.
Carve the chicken into pieces and serve immediately. The skin should be shatteringly crisp, and the meat juicy and flavorful from the aromatic herbs and citrus. Any pan juices can be spooned over the top for extra flavor.
Pro Tips For Making Spatch Chicken
- Dry the Skin: Pat the chicken skin completely dry before seasoning—this guarantees that crispy, golden finish instead of steamed skin.
- Season Under the Skin: Slide your fingers between skin and meat to rub the salt, garlic powder, and onion powder directly onto the flesh. I learned this the hard way after years of bland-tasting skin.
- Start Skin-Side Down: Place the chicken skin-side down first in a hot pan or on the grill for 6-8 minutes to render fat and prevent sticking.
- Rest Before Serving: Let the bird rest 10 minutes under foil after cooking—it keeps the juices locked in, and the temp will rise another 5-10 degrees as it sits.
Common Mistakes When Making Great spatch chicken
Uneven Seasoning
Don’t just sprinkle the dry rub on top—get it into every nook and cranny. I use 1.5 tbsp Kosher Salt and work it under the skin and inside the cavity. This ensures the thighs and wings get as much flavor as the breasts.
Skipping the Dry
Wet skin equals soggy skin. After seasoning, let the chicken sit uncovered in the fridge for 1 hour. This dries the surface, which is key for that shatteringly crispy finish the intro promises.
Cold Chicken in Oven
Taking the bird straight from the fridge to the oven causes uneven cooking. Let it sit at room temperature for 30 minutes after the fridge drying step. This helps the meat cook through without drying out. 🔥
Overcrowded Pan
Use a wire rack on a baking sheet, not a crowded roasting pan. This allows hot air to circulate around the entire bird, ensuring the skin crisps evenly. I learned this the hard way with my first attempt.
Skipping the Baste
The butter mixture with lemon and herbs isn’t just for flavor—it’s the secret to golden, crispy skin. Baste every 10-15 minutes after the first 30 minutes of roasting. Don’t skip this step.
Cutting Too Soon
Resting for 10-15 minutes lets the juices redistribute. If you carve immediately, all that flavor ends up on the cutting board, not in your meal. Trust me, the wait is worth it.
Nutrition Facts
Frequently Asked Questions
What’s the best way to butterfly the chicken?
Place it breast-side down and use kitchen shears to cut along both sides of the backbone. Remove the backbone, then flip and press down firmly on the breastbone until it cracks and flattens.
Can I use a different temperature?
450°F is ideal for crispy skin, but 425°F works if you prefer slower cooking. Adjust time accordingly and always check for 165°F in the thickest part.
Why rest the chicken before carving?
Resting for 10-15 minutes lets juices redistribute. Skipping this step means dry meat and lost flavor on the cutting board. Patience pays off!
Can I use dried herbs instead of fresh?
Yes! Use dried herbs at 1/3 the amount of fresh. Mix them into the dry rub for even distribution. The flavor will still shine.

- Jollof Rice Sauce Recipe: West African Tomato and Spice Infusion - September 25, 2026
- Japanese Rice Soup Recipe: Umami-Rich Comfort in a Bowl - September 25, 2026
- Homemade Cream Of Rice Recipe: Silk-Smooth Breakfast in Minutes - September 25, 2026