
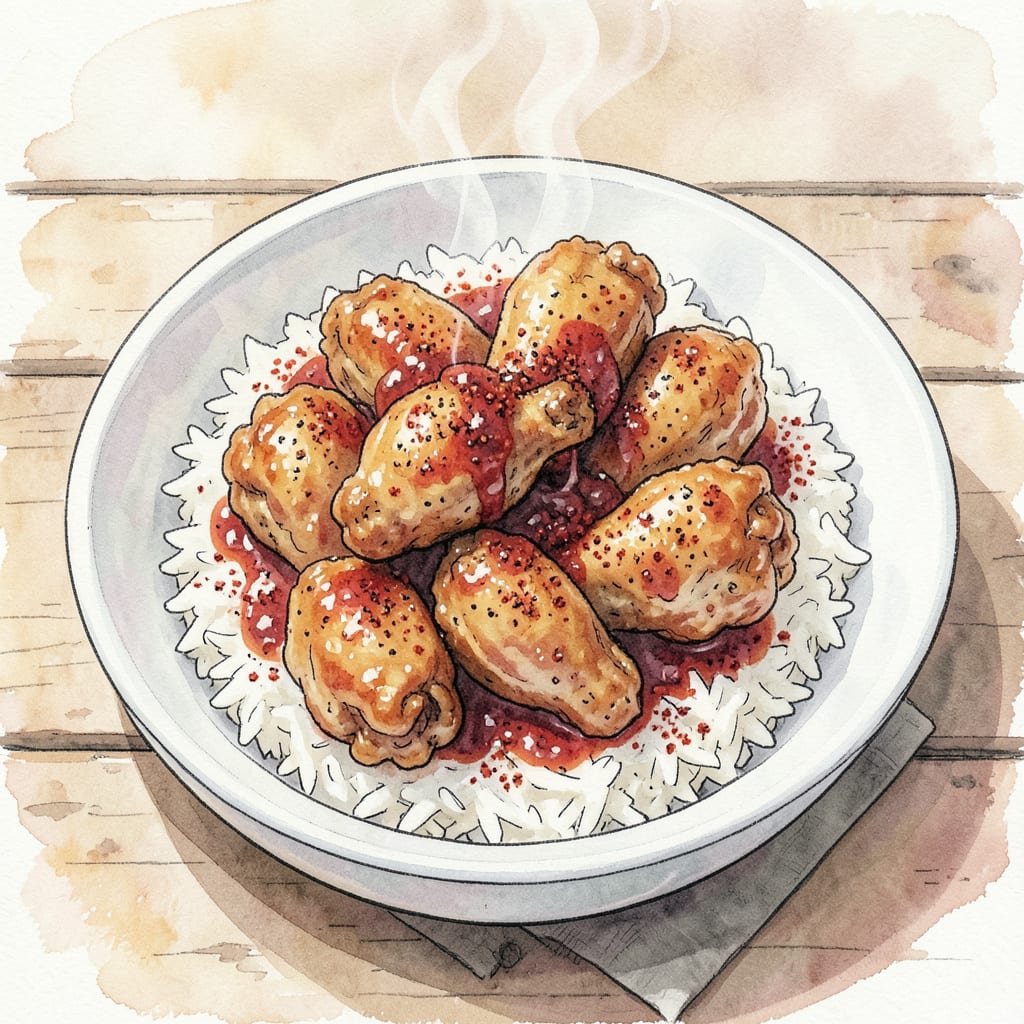
I’ve perfected the best fried chicken recipe that delivers crispy outside and juicy inside. This recipe uses a special blend of spices and a double-frying technique to achieve restaurant-quality results.
Cooking at 375°F ensures a golden crust while keeping the meat tender. With simple ingredients and precise cooking times, you’ll achieve perfectly fried chicken every time. Let’s get cooking and make this mouthwatering dish that’s sure to become a family favorite!
Ingredients for The Best Fried Chicken
Simple ingredients come together to create this crispy, juicy fried chicken masterpiece every time.
| Ingredient | Amount | Notes |
|---|---|---|
| Chicken Pieces 🍗 | 2 lb | Mix of legs, thighs, and breasts |
| All-Purpose Flour 🌾 | 2 cups | For dredging chicken |
| Paprika 🌶️ | 2 tbsp | Smoked or sweet variety |
| Garlic Powder 🧄 | 1 tbsp | Not garlic salt |
| Onion Powder 🧅 | 1 tbsp | Fresh ground preferred |
| Cayenne Pepper 🔥 | 1 tsp | Adjust for heat preference |
| Salt 🧂 | 1 tbsp | Kosher or sea salt |
| Black Pepper 🌶️ | 1 tsp | Freshly ground preferred |
| Buttermilk 🥛 | 2 cups | Full-fat for best results |
| Vegetable Oil 🫒 | 4 cups | For frying, peanut oil works too |
| Lard or Shortening 🥓 | 1 cup | Optional for extra crispiness |
| Fresh Parsley 🌿 | ¼ cup | Chopped, for garnish |
For the crispiest coating, Pillsbury or White Lily all-purpose flour works best. If you can find Caputo or another Italian flour, it makes a noticeable difference in texture. For the chicken, mix of legs, thighs, and breasts gives best results—don’t debone as bones help retain moisture. I usually buy from Whole Foods or local butcher for quality.
No buttermilk? Milk with 1 tbsp white vinegar or plain yogurt makes a decent substitute. For extra heat, increase cayenne to 1.5 tsp. The lard or shortening is optional but adds a restaurant-quality crispiness. If using, mix with vegetable oil for frying. For a lighter coating, try cornstarch or potato starch with the flour.
Fried chicken is best fresh, but leftovers keep 3-4 days in the fridge. Reheat in a 375°F oven to crisp back up. You can freeze before frying for up to 3 months—just thaw in fridge before dredging. I portion mine into containers so they’re ready for lunch or dinner.
Step-by-Step Instructions for Achieving Crispy Fried Chicken
Follow my proven method to create the crispiest fried chicken with a juicy interior.
Step 1: Prepare the Chicken for Frying
Start by seasoning the 2 lb Chicken Pieces with 1 tbsp Salt and 1 tsp Black Pepper. I like to make sure each piece is coated evenly, so I use my hands to massage the seasoning into the meat. Next, pour the 2 cups Buttermilk into a large bowl and add the chicken pieces, making sure they’re fully submerged. If necessary, you can weight them down with a plate to keep them under the surface. Cover the bowl with plastic wrap and refrigerate for at least 2 hours or overnight for maximum tenderness.
The acidity in the buttermilk will break down the proteins in the chicken, resulting in tender and juicy meat. Don’t skip this step, as it’s crucial for achieving the best results.
Step 2: Create the Dredge for Crispy Coating
In a large shallow dish, combine the 2 cups All-Purpose Flour, 2 tbsp Paprika, 1 tbsp Garlic Powder, 1 tbsp Onion Powder, and 1 tsp Cayenne Pepper. Whisk the mixture until it’s well incorporated and there are no lumps. I like to use a fork to sift through the mixture one more time to ensure everything is evenly distributed.
This spice blend is what gives the fried chicken its signature flavor. Feel free to adjust the amount of cayenne pepper based on your desired level of heat.
Step 3: Dredge the Chicken for a Perfect Crust
Remove the chicken pieces from the buttermilk marinade, allowing any excess to drip off. Dredge the chicken in the flour mixture, pressing the coating onto the chicken to ensure it adheres well. I find that using a gentle pressing motion helps the coating stick without compacting it too much. Place the coated chicken on a wire rack set over a baking sheet to catch any excess flour.
Let the coated chicken sit at room temperature for 30 minutes to allow the coating to set. This step is crucial for achieving a crispy exterior that doesn’t fall off during frying.
Step 4: Fry the Chicken to Golden Perfection
Heat the 4 cups Vegetable Oil and 1 cup Lard or Shortening in a large Dutch oven or heavy pot to 350°F. Use a thermometer to monitor the temperature, as it’s crucial for achieving the perfect crust. Once the oil reaches the correct temperature, carefully add a few pieces of the coated chicken to the pot, being careful not to overcrowd it. Fry the chicken for 8-10 minutes or until it reaches a golden brown color and the internal temperature reaches 165°F.
Repeat the frying process with the remaining chicken pieces, adjusting the heat as necessary to maintain the oil temperature. Use a slotted spoon to remove the fried chicken from the oil and place it on a wire rack set over a baking sheet to drain any excess oil.
Step 5: Serve and Garnish
Once all the chicken is fried, sprinkle it with additional 1 tsp Black Pepper and garnish with 0.25 cup Fresh Parsley. Serve the fried chicken hot, either on its own or as part of your favorite meal. The crispy exterior and juicy interior will make this dish a crowd-pleaser.
For the best results, serve the fried chicken immediately. If you need to keep it warm, place it in a low-temperature oven (200°F) until you’re ready to serve.
Essential Equipment for This Dish
Essential Cooking Equipment
For perfect fried chicken, you’ll need a few key pieces of equipment. First, a large Dutch oven or heavy pot is essential for maintaining consistent oil temperature—I prefer Le Creuset for its heat retention. You’ll also need a candy thermometer to monitor oil temperature accurately.
Frying Tools
A slotted spoon or spider strainer is crucial for safely removing chicken from hot oil. I use a 12-inch spider strainer from All-Clad as it provides excellent control. For draining excess oil, a wire rack set over a baking sheet is indispensable.
Preparation Essentials
Have a large shallow dish for the flour dredge and a large bowl for the buttermilk marinade. I like using stainless steel or ceramic containers as they are easy to clean and non-reactive. A meat thermometer ensures your chicken reaches a safe 165°F internal temperature. 🔥
Optional Equipment
For extra crispy results, consider a deep fryer with temperature control. While not necessary, it helps maintain precise 350°F frying temperature. If you fry frequently, it’s worth the investment.
Storage Containers
For storing leftovers, have airtight containers ready. I use glass containers with snap-on lids as they keep food fresh and are microwave-safe. This helps maintain crispiness when reheating.
Reheating Tools
To reheat fried chicken, a baking sheet and oven thermometer are helpful. Reheat at 375°F to restore crispiness. This method works better than microwaving, which can make the coating soggy.
Nutrition Facts
Frequently Asked Questions
What’s the secret to making fried chicken crispy?
The key to crispy fried chicken is double-frying and using the right coating. Start with a buttermilk marinade to tenderize the chicken, then dredge in a seasoned flour mixture. Fry at 350°F for 8-10 minutes until golden brown.
Can I make this recipe without buttermilk?
Yes, you can substitute buttermilk with a mixture of 1 cup milk and 1 tbsp white vinegar or lemon juice. Let it sit for 5-10 minutes to thicken before using. This substitute works well in a pinch.
How do I store leftover fried chicken?
Store leftover fried chicken in an airtight container in the refrigerator for up to 3-4 days. To reheat, place the chicken on a baking sheet and bake in a 375°F oven until crispy again. This method helps maintain the crispy coating.
Can I freeze fried chicken before cooking?
Yes, you can freeze the breaded but unfried chicken pieces on a baking sheet, then transfer them to a freezer bag once frozen. When you’re ready to cook, fry them straight from the freezer at 350°F for an additional 2-3 minutes.

- Jollof Rice Sauce Recipe: West African Tomato and Spice Infusion - September 25, 2026
- Japanese Rice Soup Recipe: Umami-Rich Comfort in a Bowl - September 25, 2026
- Homemade Cream Of Rice Recipe: Silk-Smooth Breakfast in Minutes - September 25, 2026