
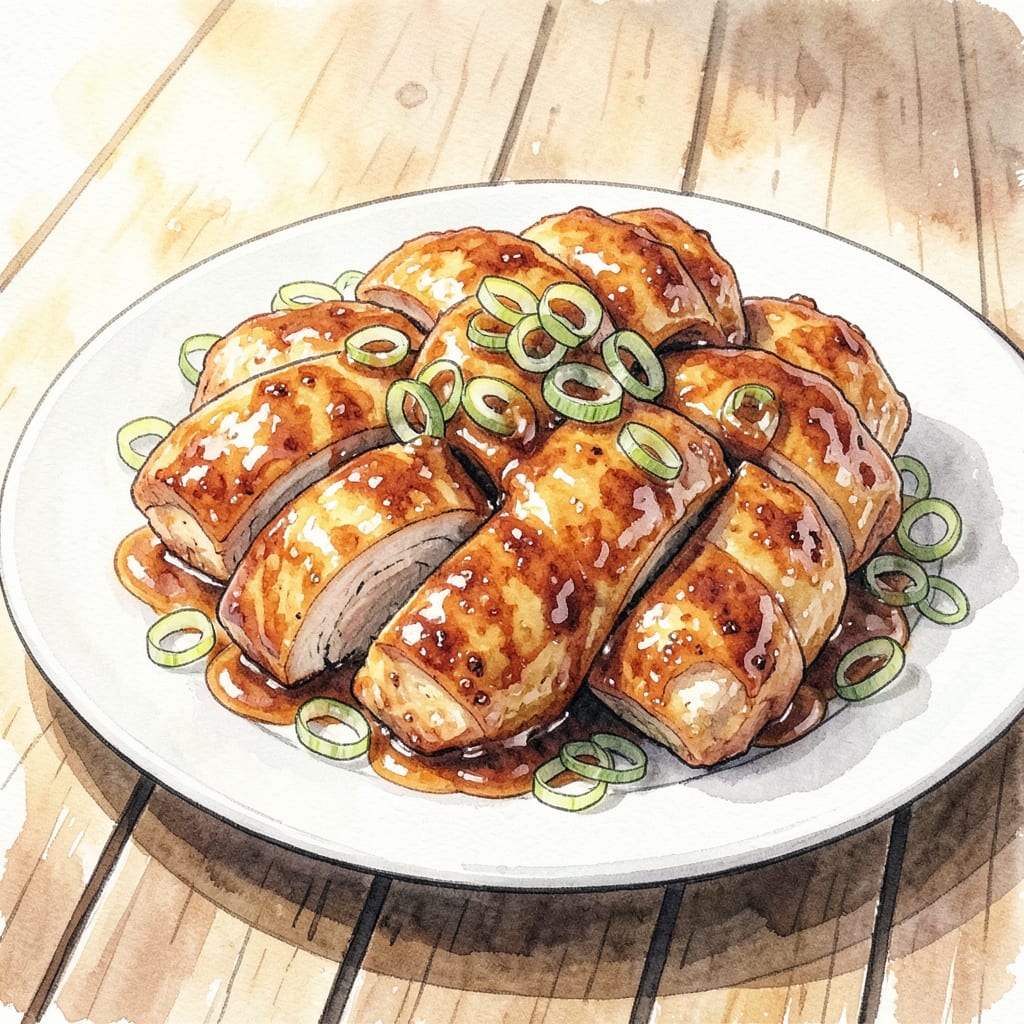
I’ve perfected my Veri Veri Teriyaki Chicken recipe to achieve that sweet glazed perfection you crave. This dish features tender chicken glazed in a rich, savory-sweet teriyaki sauce that’s both foolproof and impressive.
With simple ingredients and straightforward instructions, you’ll create a restaurant-quality meal that’s sure to become a favorite. Serve with steamed vegetables and rice for a complete dinner that’s ready in 30 minutes.
Ingredients for Veri Veri Teriyaki Chicken
Simple ingredients come together for this restaurant-quality teriyaki chicken dish in 30 minutes.
| Ingredient | Amount | Notes |
|---|---|---|
| Chicken Thighs 🍗 | 1 ½ lb | Boneless, skinless preferred |
| Soy Sauce 🧂 | ½ cup | Use low-sodium variety |
| Sake 🍶 | ¼ cup | Or dry white wine |
| Mirin 🍯 | ¼ cup | Or substitute with sugar |
| Brown Sugar 🍮 | 2 tbsp | Packed, not loose |
| Rice Vinegar 🥘 | 2 tbsp | Unseasoned, not sweetened |
| Garlic Cloves 🧄 | 4 cloves | Minced, fresh |
| Fresh Ginger 🌿 | 2 tbsp | Grated, peeled |
| Sesame Oil 🫒 | 1 tsp | For finishing, not cooking |
| Cornstarch 🌾 | 1 tbsp | For thickening sauce |
| Green Onions 🌿 | ¼ cup | Chopped, for garnish |
| Sesame Seeds 🌼 | 1 tbsp | Toasted, for garnish |
For the best teriyaki sauce, use low-sodium soy sauce—it lets you control the salt. I grab mine from Trader Joe’s or Asian markets for that authentic flavor. Sake is traditional, but dry white wine works too if you don’t have it on hand. Mirin can be tricky to find; if you can’t get it, a mix of sugar and vinegar can substitute (equal parts sugar and vinegar to make up the amount).
No fresh ginger? Dried ginger powder is a decent backup (use about one-third the amount). For a thicker sauce, make sure to whisk cornstarch well before adding. If you’re using sake or mirin, be aware that they add depth, but you can omit them if you don’t have them. Sesame oil is just for finishing—a little goes a long way since it’s strong. For garnish, green onions add freshness, and toasted sesame seeds bring that nice crunch.
This sauce thickens as it cools, so if you’re making it ahead, under-thicken it slightly before storing. It keeps in the fridge for up to 5 days. The chicken reheats beautifully in the microwave or on the stovetop. You can freeze the cooked chicken for up to 3 months—just thaw and reheat.
Step-by-Step Instructions for Sweet Glazed Teriyaki Chicken
Here’s the method that delivers perfect teriyaki chicken every time – straightforward and delicious.
Step 1: Prepare the Teriyaki Sauce
In a medium saucepan, combine the 0.5 cup Soy Sauce, 0.25 cup Sake, 0.25 cup Mirin, 2 tbsp Brown Sugar, and 2 tbsp Rice Vinegar. Whisk until the sugar dissolves completely, creating a smooth mixture. I’ve found that using low-sodium soy sauce helps balance the flavors without making the dish too salty.
Bring the mixture to a medium boil over medium heat, then reduce to a simmer. Let it cook for 5-7 minutes until it reduces slightly and develops a rich aroma. You’ll notice the sauce thickening – that’s when you know it’s ready. Remove it from heat and set aside to cool.
Step 2: Marinate the Chicken Thighs
Place the 1.5 lb Chicken Thighs in a large ziplock bag or a shallow dish. Add the 4 cloves Garlic Cloves and 2 tbsp Fresh Ginger to the chicken. Pour half of the cooled teriyaki sauce over the chicken, reserving the other half for later. Seal the bag or cover the dish, then refrigerate for at least 2 hours or overnight for maximum flavor.
The longer it marinates, the more tender and flavorful the chicken will be. I like to marinate mine for 4-6 hours for the best results. Make sure to flip the chicken halfway through the marinating time to ensure even coating.
Step 3: Cook the Chicken to Perfection
Preheat your grill or grill pan to medium-high heat. Remove the chicken from the marinade, letting any excess drip off. Grill the chicken for 6-8 minutes per side until it reaches an internal temperature of 165°F. You want the outside to be nicely caramelized while keeping the inside juicy.
If you’re using a grill pan, you might need to adjust the heat to prevent burning. Watch for those beautiful grill marks – they’re a sign of perfect cooking. Once done, transfer the chicken to a cutting board and let it rest for 5 minutes before slicing.
Step 4: Glaze and Finish the Dish
While the chicken rests, pour the reserved teriyaki sauce into a small saucepan. Add the 1 tbsp Cornstarch to the sauce and whisk until smooth. Bring the sauce to a simmer over medium heat and cook for 2-3 minutes until it thickens to your liking. Stir in the 1 tsp Sesame Oil for that authentic flavor.
Slice the rested chicken into thin strips. Brush the thickened teriyaki glaze over the chicken generously. Garnish with 0.25 cup Green Onions and 1 tbsp Sesame Seeds just before serving. The result is a beautifully glazed teriyaki chicken that’s sure to impress.
Serving Suggestions for This Dish
Classic Japanese Pairings
Steamed Japanese rice is the traditional base for this dish, as it absorbs the savory teriyaki sauce beautifully. I prefer short-grain Japanese rice for its sticky texture. For vegetables, steamed broccoli or stir-fried bok choy provides a nice contrast. You can also serve with pickled ginger for a authentic touch.
Modern Twists
For a contemporary presentation, serve the teriyaki chicken on a bed of cauliflower rice or alongside roasted vegetables like carrots and bell peppers. A fresh cucumber salad with thinly sliced cucumbers, rice vinegar, and sesame seeds adds a refreshing element. Consider adding edamame or stir-fried shiitake mushrooms for added protein and texture.
Garnishing Tips
Garnish with sesame seeds and thinly sliced green onions for a professional finish. Add a sprinkle of shichimi togarashi (Japanese seven-spice blend) for an extra kick. For a pop of color, include thinly sliced red chili peppers or pickled daikon radish. These garnishes not only enhance the visual appeal but also add layers of flavor.
Beverage Pairings
Pair this dish with a Japanese green tea, such as sencha or matcha, for an authentic experience. For those who prefer alcohol, a crisp sake or a Japanese beer like Asahi or Sapporo complements the flavors nicely. If you prefer wine, a dry Riesling or a Pinot Grigio works well.
Presentation Ideas
Serve the teriyaki chicken in a bowl with steamed rice and vegetables for a comforting meal. Alternatively, present it on a flat plate with the chicken sliced and arranged artfully, surrounded by your choice of sides. Using ceramic or wooden servingware can enhance the overall dining experience.
Nutrition Facts
Frequently Asked Questions
Can I use chicken breast instead of thighs?
Yes, you can use chicken breast, but thighs are recommended for their juicier texture and richer flavor. If using breast, cook for 5-6 minutes per side to prevent drying out. Breast meat cooks faster, so monitor the temperature closely to reach 165°F.
How long can I store leftover teriyaki chicken?
Properly stored in an airtight container, leftover teriyaki chicken keeps in the refrigerator for up to 3-4 days. Reheat gently in the microwave or on the stovetop to maintain moisture. You can also freeze cooked chicken for up to 3 months – thaw overnight before reheating.
Can I make teriyaki sauce ahead of time?
Absolutely! Teriyaki sauce can be made ahead and stored in the refrigerator for up to 5 days. The flavors will meld together beautifully, enhancing the taste. Give it a good stir before using, and if it’s too thick, thin it with a little water.
What’s the best way to prevent the sauce from burning?
To prevent burning, keep the sauce at a simmer rather than a full boil when reducing. Stir frequently, especially when adding cornstarch, as it can stick to the bottom of the pan. If you notice it thickening too quickly, remove from heat immediately.

- Jollof Rice Sauce Recipe: West African Tomato and Spice Infusion - September 25, 2026
- Japanese Rice Soup Recipe: Umami-Rich Comfort in a Bowl - September 25, 2026
- Homemade Cream Of Rice Recipe: Silk-Smooth Breakfast in Minutes - September 25, 2026