
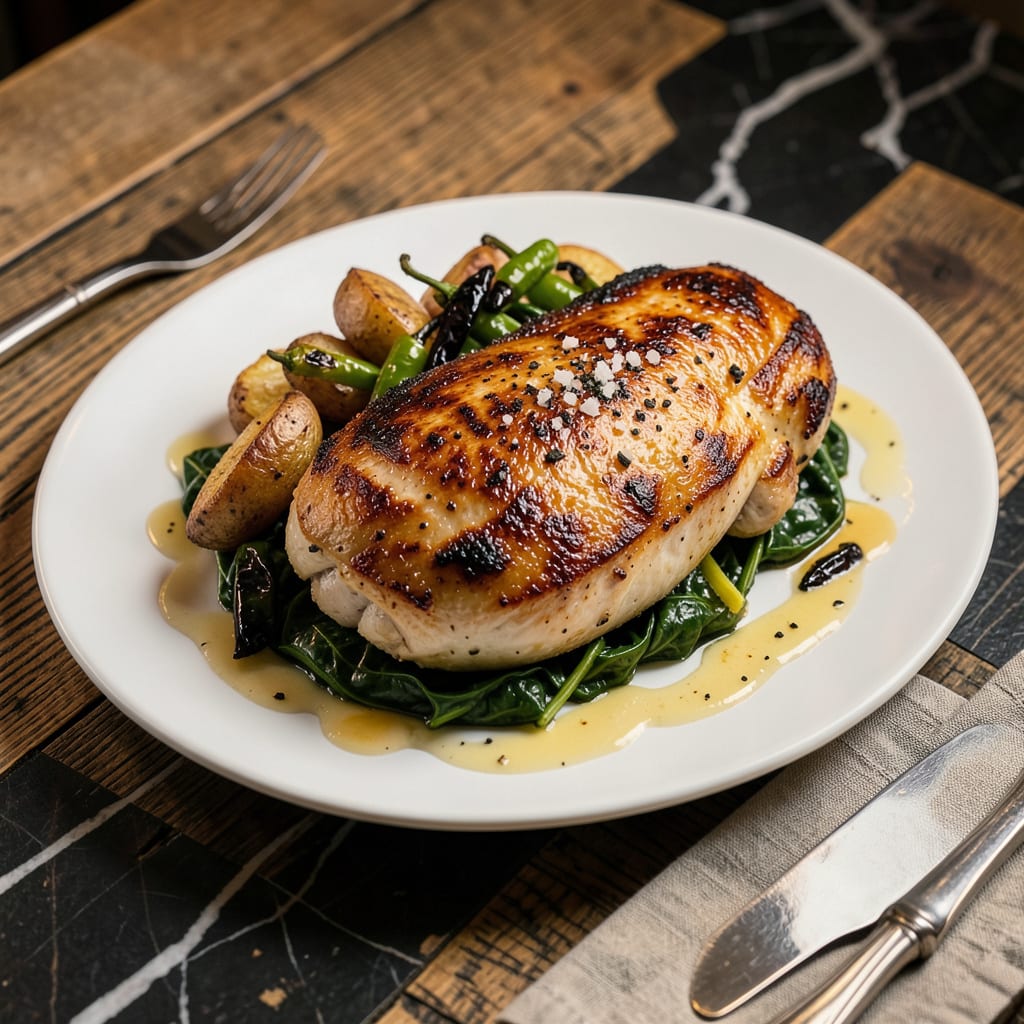
Searing chicken means cooking it quickly over high heat to create a flavorful brown crust on the surface. This Maillard reaction enhances taste and texture while locking in juices, typically done in a hot pan with oil before finishing the cooking process.
This technique transforms ordinary chicken into restaurant-quality dishes by developing complex flavors through browning. 🔥 The key lies in the chemical reaction between amino acids and reducing sugars, which creates that rich, caramelized exterior. I always recommend using a heavy-bottomed pan and ensuring the chicken is completely dry before it hits the oil—this prevents steaming and guarantees that perfect golden crust every time.
What many home cooks don’t realize is that searing isn’t just about color—it builds fundamental flavor layers that carry through the entire dish. The high heat creates hundreds of new flavor compounds that simply can’t be achieved through gentler cooking methods. Proper searing also creates a textural contrast between the crispy exterior and juicy interior that elevates the eating experience.
💡 In This Article
- The Science Behind Searing Chicken Perfectly
- Step-by-Step Guide to Searing Chicken Like a Pro
The Science Behind Searing Chicken Perfectly
When chicken hits a screaming-hot pan, two critical chemical reactions kick into gear. The Maillard reaction occurs when amino acids in the proteins react with reducing sugars at temperatures above 300°F, creating that complex, nutty flavor and golden-brown color.
Simultaneously, caramelization happens as natural sugars in the meat break down and transform into rich, sweet compounds. This isn’t just browning—it’s flavor alchemy happening right in your kitchen. 🔥
The magic happens between 325-450°F, where proteins denature and sugars undergo thermal decomposition. At 302°F, the Maillard reaction begins, but the sweet spot is around 350°F where reactions accelerate without burning. The crust forms as moisture evaporates and proteins coagulate, creating that satisfying textural contrast.
What’s fascinating is that these reactions produce hundreds of new aromatic compounds—some studies identify over 1,000 different flavor molecules in properly seared meat!
Temperature control is everything. Too low and you’ll steam the chicken instead of searing it, resulting in pale, soggy skin. Too high and you risk burning the exterior before the interior cooks. The ideal sear happens when the pan surface reaches 400-425°F—hot enough to create that instant sizzle when the chicken makes contact.
I always test my pan by flicking a drop of water on it; if it dances and evaporates immediately, we’re in the perfect searing zone. ✨
Here’s what most home cooks miss: the crust isn’t just for show. That browned surface contains flavor compounds that are 10-100 times more potent than those in the raw meat.
The reaction also creates a physical barrier that helps retain juices—properly seared chicken can lose up to 30% less moisture during cooking compared to poorly seared pieces. The difference between a mediocre chicken breast and a restaurant-quality one often comes down to these crucial minutes of high-heat contact.
The science extends to the equipment too. Cast iron pans excel because they retain heat consistently, while stainless steel allows better fond development for sauces. Even the oil matters—choices with high smoke points like avocado (520°F) or grapeseed (420°F) oil prevent bitter flavors from forming.
The thickness of your chicken pieces affects timing too; a 1-inch thick breast needs about 5-7 minutes per side, while thinner cuts may sear in just 2-3 minutes. 💫
What happens at the microscopic level is equally impressive. As the surface reaches 165°F internally, muscle fibers contract and push moisture toward the center, while the exterior develops that coveted crust. The contrast between the crispy exterior and juicy interior isn’t just textural—it’s a flavor delivery system.
Each bite releases aromatic compounds from the crust while the tender interior carries the meat’s natural flavors. This is why properly seared chicken tastes dramatically different from boiled or steamed versions.
Pro tip: Let your chicken rest for 5-10 minutes after searing. This allows the juices to redistribute throughout the meat rather than flooding your cutting board. The crust will also firm up slightly during this time, giving you that perfect balance of crispness and tenderness in every bite.
The science doesn’t stop when you remove the chicken from the pan—it continues working to create the best possible eating experience. ⚡

- Jollof Rice Sauce Recipe: West African Tomato and Spice Infusion - September 25, 2026
- Japanese Rice Soup Recipe: Umami-Rich Comfort in a Bowl - September 25, 2026
- Homemade Cream Of Rice Recipe: Silk-Smooth Breakfast in Minutes - September 25, 2026