
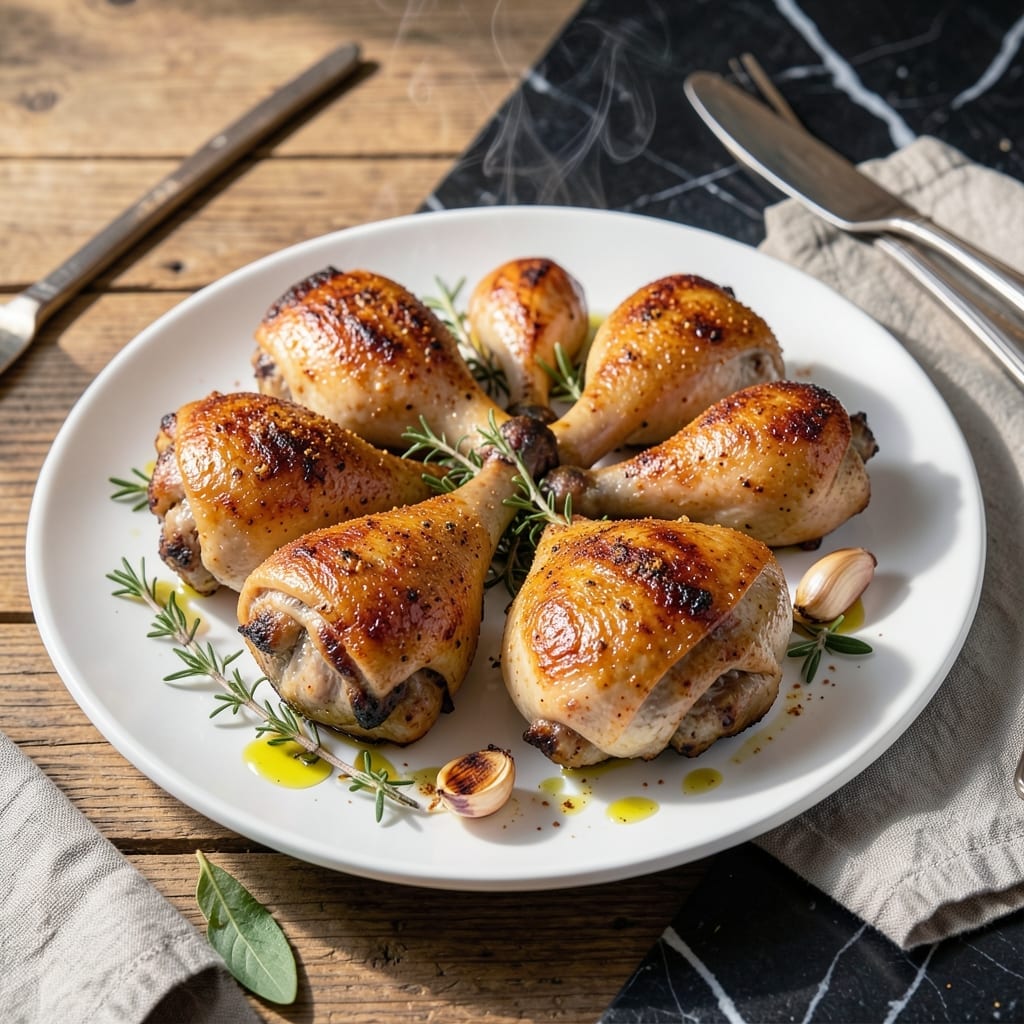
This chicken thigh recipe changed my weeknight dinner game forever. The skin comes out shatteringly crispy while the meat stays absurdly juicy every time.
I learned the hard way that high heat is non-negotiable for that perfect texture. A simple dry brine the night before amps up the flavor even more.
What you get is meat that nearly falls off the bone with skin so crisp it crackles. The contrast between the two is what makes this dish so amazing.
Serve it hot with your favorite sides. This method works for bone-in or boneless thighs.
Ingredients for Amazing Chicken Thigh
Pantry staples and fresh herbs make this weeknight winner come alive.
| Ingredient | Amount | Notes |
|---|---|---|
| Bone-In Chicken Thighs 🍗 | 2 lb | Skin-on, patted dry |
| Kosher Salt 🧂 | 1 tbsp | For dry brine |
| Black Pepper 🌶️ | 1 tsp | Freshly ground preferred |
| Garlic Powder 🧄 | 1 tsp | Even coating |
| Paprika 🌶️ | 1 tsp | Sweet or smoked variety |
| Onion Powder 🧅 | 1 tsp | Balances the spices |
| Olive Oil 🫒 | 2 tbsp | High smoke point for searing |
| Unsalted Butter 🧈 | 2 tbsp | Basted for extra crispiness |
| Fresh Rosemary 🌿 | 2 sprigs | Optional, for aroma |
| Fresh Thyme 🌿 | 2 sprigs | Optional, for garnish |
| Lemon 🍋 | 1 whole | Juiced for brightness |
The chicken is the star here—bone-in, skin-on thighs give you that crispy skin and juicy meat combo. I grab mine from Whole Foods or Costco (their organic thighs are fantastic). Pat them dry with paper towels before seasoning—this is non-negotiable for crispiness. If you can only find boneless, they’ll still work, but bone-in holds up better to high heat.
No fresh herbs? Dried rosemary or thyme at half the amount works fine. Out of garlic powder? Fresh minced garlic (about 2 cloves) is a good swap, but add it at the end to avoid burning. The paprika is mostly for color, so skip it if you don’t have any. For extra flavor, swap the olive oil for avocado oil—it handles high heat even better.
Dry-brined chicken keeps in the fridge for 2 days before cooking. Leftovers? Store in an airtight container for up to 4 days—reheat in the oven to keep the skin crisp. Freeze uncooked thighs for up to 9 months.
Why You’ll Love This Recipe
- One Pan Wonder: I just toss the thighs with salt, pepper, garlic powder, and paprika, then let the oven do the work.
- Smoky and Savory: That paprika gives it a deep, warm flavor that’s honestly addictive.
- Weeknight Hero: Between us, this is my go-to for busy evenings—ready in under 40 minutes.
- Budget Friendly: Bone-in thighs are cheap, and this recipe makes them taste like a million bucks.
Step-by-Step Instructions for Crispy Chicken Thighs
Here’s how I get perfect crispy skin and juicy meat every time—simple and foolproof.
Step 1: Dry Brine the Chicken Thighs
Start by patting the 2 lb Bone-In Chicken Thighs completely dry with paper towels. I’m thorough here—moisture is the enemy of crispiness. Then, season all sides generously with the 1 tbsp Kosher Salt, 1 tsp Black Pepper, 1 tsp Garlic Powder, 1 tsp Paprika, and 1 tsp Onion Powder.
This dry brine step is non-negotiable. I rub the seasoning into the skin and meat, ensuring every crevice gets coated. Let it sit uncovered in the fridge for at least 1 hour, or up to 12 hours for maximum flavor penetration and skin drying. You’ll notice the skin tightens slightly—that’s how you know it’s working.
Step 2: Sear the Chicken for Maximum Crisp
Heat the 2 tbsp Olive Oil in a large, heavy skillet (cast iron works best) over medium-high heat until shimmering. I use a skillet just big enough to fit the thighs snugly without crowding. Crowding steams the chicken instead of searing it.
Place the chicken skin-side down in the hot oil. Don’t touch it for 6-8 minutes—you want that skin to turn deep golden brown and crispy. I press down gently on each piece with a spatula for the first minute to ensure full contact with the pan. When it releases easily, it’s ready to flip.
Step 3: Baste with Butter and Herbs
Flip the chicken and immediately add the 2 tbsp Unsalted Butter, 2 sprigs Fresh Rosemary, and 2 sprigs Fresh Thyme to the pan. As the butter melts, tilt the skillet slightly and spoon the foamy butter over the chicken repeatedly for 2-3 minutes.
This basting step adds incredible flavor and helps crisp the skin even more. The herbs will sizzle and infuse the butter—you’ll smell it immediately. Keep the heat at medium to prevent burning. The chicken is done when the internal temperature reaches 165°F.
Step 4: Rest and Finish with Lemon
Transfer the chicken to a plate and let it rest for 5-10 minutes. This allows the juices to redistribute—skip this and you’ll lose all that succulence to your cutting board. While it rests, squeeze the 1 whole Lemon over the chicken.
The acidity from the lemon cuts through the richness and brightens all the flavors. I like to garnish with a few lemon wedges and the crispy herb sprigs from the pan. Serve immediately while the skin is still at its crispiest. The contrast between the shatteringly crisp skin and the tender, juicy meat underneath is what makes this dish truly amazing.
Pro Tips For Making Amazing Chicken Thigh
- Dry the Skin: Pat the chicken thighs very dry with paper towels before seasoning—this is the only way to get that crispy, golden skin.
- Season Aggressively: Don’t be shy with the kosher salt and paprika; bone-in thighs can handle it, and the flavor penetrates deeper than you’d expect.
- Start Skin-Side Down: Begin searing the thighs skin-side down in a hot pan and resist the urge to move them for at least 5 minutes to avoid sticking.
- Let Them Rest: After cooking, give the thighs 5-10 minutes under foil to redistribute the juices—I learned this the hard way after cutting into them too soon.
Troubleshooting amazing chicken thigh
Skin Not Crispy
If your skin isn’t crisping, the pan likely wasn’t hot enough or the chicken wasn’t dry. Heat your skillet over medium-high heat for 3-4 minutes before adding oil. Pat the thighs dry again right before cooking. Crowding the pan also steams instead of sears—cook in batches if needed. 🔥
Uneven Cooking
Thighs cooking unevenly usually means fluctuating heat. Use a heavy pan like cast iron that maintains steady temperature. If using gas, ensure the flame covers the pan bottom. Flip only once to avoid temperature drops from repeated handling.
Dry Meat
Overcooking is the culprit here. Pull the thighs when they hit 165°F internally—use an instant-read thermometer. Let them rest for 5-10 minutes before serving. This resting period lets juices redistribute, preventing dryness when cut.
Burnt Butter
Butter burns quickly at high heat. Reduce to medium heat when basting and move the pan off heat if the butter starts browning too fast. Clarified butter has a higher smoke point if you’re struggling with this. I keep a close eye during the final minutes.
Sticking to Pan
Sticking happens when the skin isn’t crispy enough to release. Ensure the skin is deep golden brown before flipping. If it resists, give it another 1-2 minutes. A well-seasoned cast iron pan helps release naturally.
Bland Flavor
Underseasoning is the most common issue. Don’t be shy with the dry brine—use the full 1 tbsp Kosher Salt. Let it sit uncovered in the fridge for at least 1 hour for maximum penetration. The salt draws out moisture then reabsorbs with flavor. 💡
Nutrition Facts
Frequently Asked Questions
What’s the secret to crispy skin?
Pat the thighs completely dry before seasoning and use medium-high heat in a hot skillet. Don’t move the chicken for 6-8 minutes to ensure a deep golden crust forms.
Can I use boneless thighs instead?
Yes, but bone-in thighs hold up better to high heat and stay juicier. If using boneless, reduce cooking time by 2-3 minutes per side to avoid drying out.
Why let the chicken rest before serving?
Resting for 5-10 minutes allows juices to redistribute, keeping the meat tender. Skipping this step can leave the meat dry when cut.
How do I prevent the butter from burning?
Lower the heat to medium while basting and move the pan off heat if the butter browns too quickly. Clarified butter works better for high-heat cooking.

- Beaten Rice Recipe: Fluffy Grains With Nutty Depth - September 25, 2026
- Machboos Rice Recipe: Bahraini Spiced One-Pot Tradition - September 25, 2026
- Recipe For Zucchini Rice Casserole: Cheesy Bake With Garden Freshness - September 25, 2026