
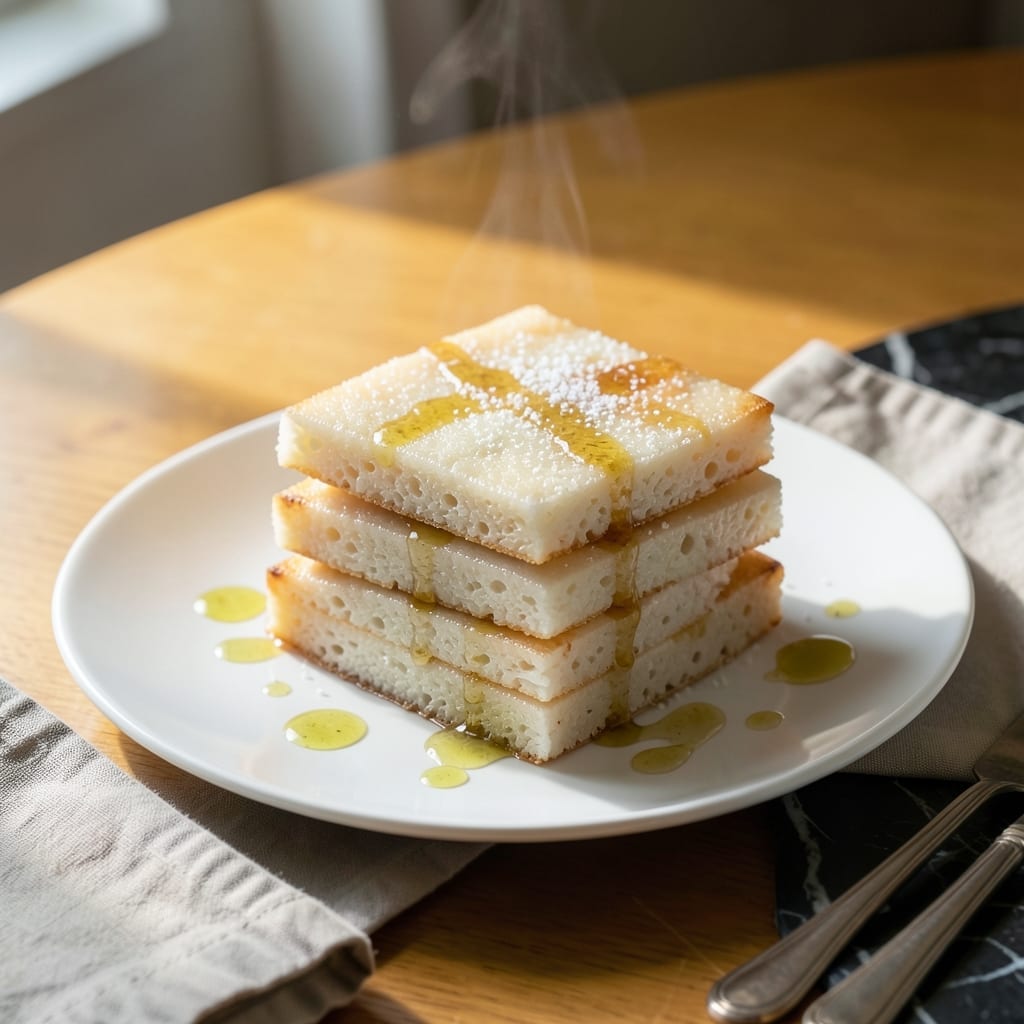
There’s a simple art to achieving rice cakes with crispy edges and tender centers at home. This method transforms basic ingredients into a satisfying dish with perfect texture contrast.
With precise cooking times and temperatures, this recipe delivers consistent results every time. The technique ensures the exterior develops a golden crunch while the inside stays soft and chewy.
Ingredients for American Rice Cake
Transform basic grains into golden, crisp-edged rice cakes with these carefully selected ingredients.
| Ingredient | Amount | Notes |
|---|---|---|
| Short-Grain White Rice 🍚 | 2 cups | Sushi rice variety preferred |
| Water 💧 | 4 cups | For cooking rice |
| Rice Vinegar 🍶 | 2 tbsp | Seasoned variety recommended |
| Granulated Sugar 🍚 | 1 tbsp | Dissolved in vinegar |
| Kosher Salt 🧂 | 1 tsp | Divided for seasoning |
| Neutral Oil 🫒 | 2 tbsp | For pan-frying cakes |
| Cornstarch 🌾 | 2 tbsp | For coating rice cakes |
| Sesame Seeds 🌰 | 1 tbsp | Toasted, for garnish |
| Green Onions 🧅 | 3 whole | Thinly sliced for topping |
| Soy Sauce 🥢 | 1 tbsp | For dipping sauce |
| Sriracha 🌶️ | 1 tsp | Optional for heat |
| Mayonnaise 🥛 | 2 tbsp | For spicy dipping sauce |
The rice selection is critical. Short-grain white rice—particularly sushi rice—delivers the necessary stickiness for cohesion without falling apart. Nishiki or Koshihikari brands at Whole Foods or Asian markets offer superior quality. Avoid long-grain varieties (they lack binding properties) and pre-cooked rice (too dry for proper texture development).
For the vinegar, seasoned rice vinegar provides balanced acidity, but apple cider vinegar works at one-third the amount in a pinch. No rice vinegar? Lemon juice offers similar brightness. The cornstarch coating is non-negotiable for achieving that signature crisp exterior—arrowroot powder can substitute if needed. Skip the sesame seeds? Crushed peanuts add comparable crunch.
Cooked rice cakes keep in an airtight container for 3 days refrigerated, though they’re best served immediately for peak texture. Reheat in a dry skillet to restore crispness. The dipping sauce components can be mixed and stored separately for up to 1 week.
Why You’ll Love This Recipe
- Set and Forget: I toss everything in the rice cooker and walk away—no stirring, no fuss.
- Sweet-Tangy Bite: The rice vinegar and sugar give it that addictive sweet-sour balance I crave.
- Meal Prep Hero: I make a big batch Sunday and grab one with peanut butter all week.
- Pantry Staples: Honestly, I always have these five ingredients on hand, so it’s a last-minute lifesaver.
Step-by-Step Instructions for American Rice Cakes
Follow my tested method for achieving that ideal contrast of crispy edges and chewy centers.
Step 1: Cook and Season the Short-Grain Rice
Rinse the 2 cups Short-Grain White Rice in a fine-mesh strainer until the water runs clear. This removes excess starch that could make your cakes gummy. Add the rice to a medium saucepan with the 4 cups Water and bring to a boil over high heat.
Once boiling, reduce to low heat, cover, and simmer for 15-18 minutes until the water is absorbed and the rice is tender. Remove from heat and let it sit covered for 10 minutes. Stir in the 2 tbsp Rice Vinegar, 1 tbsp Granulated Sugar, and ½ tsp Kosher Salt. Spread the rice on a baking sheet to cool completely.
Step 2: Shape and Coat the Rice Cakes
Once the rice is cool enough to handle, divide it into 8 equal portions (about ½ cup each). With wet hands, shape each portion into a 1-inch thick patty. The moisture from your hands prevents sticking and helps create a smooth surface.
Place the 2 tbsp Cornstarch on a plate. Lightly coat each rice cake on both sides with the cornstarch, pressing gently to adhere. This coating is crucial for achieving that golden, crispy exterior when pan-fried. Arrange the coated cakes on a plate and let them rest for 10 minutes to firm up.
Step 3: Pan-Fry to Crispy Perfection
Heat the 2 tbsp Neutral Oil in a large non-stick skillet over medium heat until shimmering. Add the rice cakes in a single layer, working in batches if necessary to avoid crowding. The oil should sizzle when the cakes hit the pan—this is your audio cue that the temperature is right.
Cook for 4-5 minutes per side until deep golden brown and crispy. Resist the urge to move them around—let them develop that beautiful crust before flipping. The cakes are ready to turn when they release easily from the pan and the edges appear crisp and golden. Transfer to a paper towel-lined plate to drain excess oil.
Step 4: Prepare the Spicy Dipping Sauce and Garnish
While the rice cakes are cooking, thinly slice the 3 whole Green Onions. In a small bowl, whisk together the 2 tbsp Mayonnaise, 1 tbsp Soy Sauce, and 1 tsp Sriracha until smooth. Taste and adjust seasoning if needed, though the combination should be perfectly balanced as written.
To serve, arrange the crispy rice cakes on a platter. Drizzle with the spicy dipping sauce or serve it on the side for dipping. Sprinkle with the sliced green onions and the 1 tbsp Sesame Seeds for added texture and visual appeal. The contrast of the crispy exterior, chewy interior, and creamy-spicy sauce makes these irresistible.
Pro Tips For Making American Rice Cake
- Soak the Rice: I learned this the hard way—give your short-grain rice a 30-minute soak before cooking to guarantee even texture and prevent those dreaded dry spots.
- Balance the Vinegar: After burning a batch, I realized rice vinegar needs to be measured precisely—start with 2 tablespoons per cup of rice, then adjust to taste.
- Press While Warm: Don’t wait for the rice to cool completely before pressing into the pan—warm rice binds better and holds its shape when sliced.
- Salt the Water: Sounds weird, but it works: add ½ teaspoon kosher salt to your rice cooking water—it seasons the grains from the inside out.
Best Sauces and Condiments for american rice cake
Classic Soy-Ginger Dip
Whisk together 3 tbsp soy sauce, 1 tbsp rice vinegar, 1 tsp grated ginger, and 1 tsp honey for a balanced Asian-inspired dip. I love how the ginger adds a zesty kick that complements the crispy texture beautifully. 💫
Spicy Sriracha Mayo
Mix ¼ cup mayonnaise with 1 tbsp sriracha and ½ tsp lime juice. This creamy, spicy sauce from the recipe adds richness that pairs perfectly with the rice cakes’ texture.
Sweet Chili Glaze
Combine 2 tbsp sweet chili sauce with 1 tsp sesame oil and a pinch of red pepper flakes. The sticky-sweet glaze with a hint of heat creates an addictive contrast to the savory cakes.
Garlic Herb Aioli
Blend ½ cup mayonnaise with 1 minced garlic clove and 1 tbsp chopped parsley. This Mediterranean-style dip offers a fresh, herby alternative that brightens each bite.
Peanut Satay Sauce
Stir 3 tbsp peanut butter with 1 tbsp soy sauce, 1 tsp lime juice, and 1 tsp brown sugar until smooth. Thin with water as needed. The nutty richness pairs wonderfully with the crisp edges. 🥜
Nutrition Facts
Frequently Asked Questions
Can I use long-grain rice instead of short-grain?
No, long-grain rice lacks the sticky texture needed to hold the cakes together. Short-grain white rice is essential for proper cohesion and chewiness.
Why do my rice cakes fall apart when frying?
This usually happens if the rice is too warm when shaping or if the cornstarch coating is skipped. Chill shaped cakes for 10 minutes before frying to improve stability.
Can I bake these instead of pan-frying?
Yes, but the texture will differ. Bake at 400°F for 20-25 minutes, flipping halfway. They won’t be as crispy as pan-fried but will still be delicious.
How do I store leftovers?
Keep in an airtight container in the fridge for up to 3 days. Reheat in a dry skillet to restore crispness.

- Jollof Rice Sauce Recipe: West African Tomato and Spice Infusion - September 25, 2026
- Japanese Rice Soup Recipe: Umami-Rich Comfort in a Bowl - September 25, 2026
- Homemade Cream Of Rice Recipe: Silk-Smooth Breakfast in Minutes - September 25, 2026