
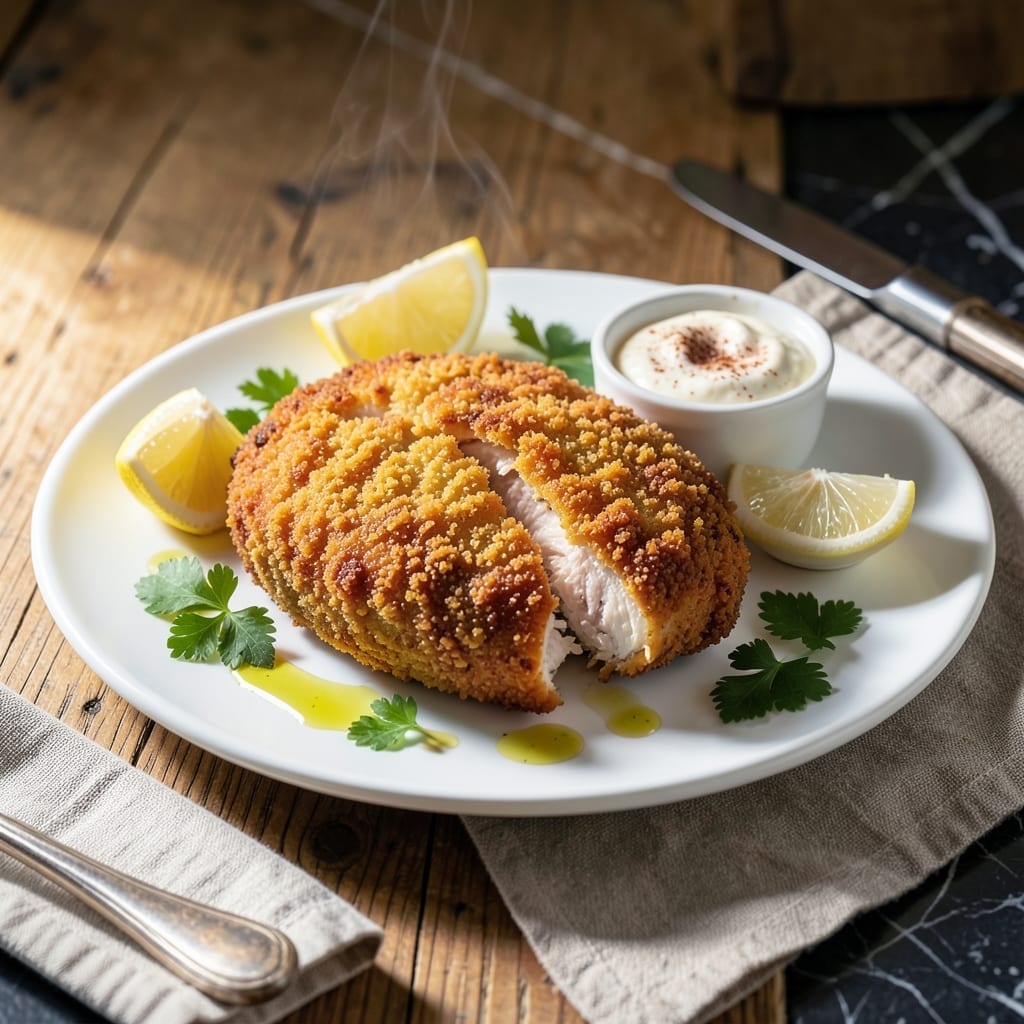
Recreating that signature Applebee’s-style chicken at home is easier than you think. This copycat version captures the same crispy coating and savory flavor that made the original famous.
The secret lies in a well-seasoned breading and the right frying technique. With just a few simple ingredients and careful attention to temperature, you’ll achieve professional results every time.
What you’ll get is golden, crispy chicken with a tender interior, coated in a flavorful crust that stays crunchy even after baking. It’s the perfect way to bring restaurant quality to your dinner table.
Serve with your favorite sides for a complete meal that tastes just like the original. Here’s how to make it.
Ingredients for Applebees Chicken
A handful of pantry staples and a quick trip to the grocery store. Golden, crispy results every time.
| Ingredient | Amount | Notes |
|---|---|---|
| Boneless, Skinless Chicken Breasts 🍗 | 1 ½ lb | Pounded to even thickness |
| All-Purpose Flour 🌾 | 1 ½ cups | For initial dredging |
| Large Eggs 🥚 | 2 whole | Beaten for binding |
| Buttermilk 🥛 | 1 cup | Full-fat for richness |
| Panko Breadcrumbs 🍞 | 2 cups | For extra-crispy coating |
| Cornstarch 🌽 | ¼ cup | Adds crunch to breading |
| Garlic Powder 🧄 | 1 tbsp | Enhances savory flavor |
| Onion Powder 🧅 | 1 tbsp | Balances seasoning blend |
| Paprika 🌶️ | 1 tbsp | Sweet or smoked variety |
| Salt 🧂 | 1 tsp | Diamond Crystal preferred |
| Black Pepper 🌶️ | ½ tsp | Freshly ground preferred |
| Cayenne Pepper 🔥 | ¼ tsp | Optional for heat |
| Vegetable Oil 🫒 | 4 cups | For deep frying |
| Dijon Mustard 🟡 | 1 tbsp | Adds tang to breading mix |
The chicken makes or breaks this. Boneless, skinless breasts pounded to even thickness cook evenly and stay tender. I grab mine from Costco—they’re consistent in size and quality. For the breading, Panko breadcrumbs are non-negotiable for that signature crunch. Skip the fine crumbs; they just don’t deliver the same texture. Look for Panko in the Asian aisle or near the breadcrumbs at most stores.
No buttermilk? Whole milk plus 1 tbsp vinegar or lemon juice works in a pinch—let it sit for 5 minutes. Swap Panko for crushed cornflakes if that’s what’s in the pantry (adds a nice sweetness). Short on spices? Seasoned salt at half the amount can cover multiple bases. The cayenne is optional, but it really elevates the savory profile—add it if you like a little kick.
The breaded chicken can rest in the fridge for up to 2 hours before frying—helps the coating stick better. Leftovers keep in the fridge for 3-4 days (reheat in the oven for best crunch). Freeze uncooked breaded pieces for up to 3 months—perfect for quick weeknight meals.
Why You’ll Love This Recipe
- One Pan Wonder: I love that this only dirties one bowl for the buttermilk-egg dip and another for the panko mix—minimal cleanup, maximum flavor.
- Crispy Outside, Juicy Inside: The buttermilk soak keeps the chicken tender while the panko gives that restaurant-style crunch I crave.
- Feeds a Crowd: I’ve served this at weeknight dinners and Sunday get-togethers—it’s always a hit with kids and adults alike.
- Budget Stretcher: Boneless chicken breasts on sale? This turns them into something special without breaking the bank.
Step-by-Step Instructions for Copycat Chicken With Crispy Coating
This method delivers that signature crunch and savory depth you expect from the restaurant version.
Step 1: Prep and Season the Chicken Breasts
Begin by pounding the boneless, skinless chicken breasts to an even ½-inch thickness using a meat mallet. This ensures even cooking and prevents dry spots. I place the chicken between two sheets of plastic wrap for a clean, controlled process.
Season both sides of the chicken generously with the salt, black pepper, and cayenne pepper. The cayenne adds a subtle kick that defines this copycat recipe. Let the seasoned chicken rest for 10 minutes to allow the spices to penetrate the surface.
Step 2: Create the Breading Station
Set up three shallow dishes for breading. In the first, whisk together the all-purpose flour, garlic powder, onion powder, and paprika until evenly combined. In the second, beat the large eggs with the buttermilk and Dijon mustard until smooth and slightly frothy.
In the third dish, combine the panko breadcrumbs with the cornstarch. The cornstarch is the secret to extra crunch—it creates a lighter, crispier texture than breadcrumbs alone. This three-step breading process builds layers of flavor and texture.
Step 3: Bread the Chicken for Maximum Crisp
Dredge each chicken breast in the flour mixture first, pressing gently to adhere. Shake off any excess—you want a thin, even coating. Next, dip the floured chicken into the egg and buttermilk mixture, allowing any excess to drip off for 5 seconds.
Finally, press the chicken into the panko and cornstarch mixture, turning to coat completely. Apply firm pressure to ensure the breading clings tightly. Place the breaded chicken on a wire rack set over a baking sheet and let it rest for 10 minutes to set the coating.
Step 4: Fry to Golden, Crispy Perfection
Heat the vegetable oil in a deep, heavy-bottomed pot or Dutch oven to 350°F. Use a deep-fry or candy thermometer for precision—this temperature is critical for achieving that golden-brown, crispy exterior without overcooking the chicken.
Carefully lower the breaded chicken into the hot oil, working in batches to avoid crowding the pot. Fry for 6-8 minutes per side until the coating is deep golden brown and the internal temperature reaches 165°F. The breading should be crisp enough to resist light pressure with tongs.
Transfer the fried chicken to a wire rack or paper towels to drain. The rack prevents the coating from becoming soggy by allowing air circulation on all sides. Serve immediately while hot and crispy.
Pro Tips For Making Applebees Chicken
- Pound the Chicken: Use a meat mallet to evenly pound the chicken breasts to about 1/2-inch thickness—this guarantees even cooking and prevents dry, overdone edges while the center catches up.
- Double Dip the Crust: After the buttermilk-egg soak, let the excess drip off for 5 seconds before pressing into panko, then repeat the dredge for a thicker, crunchier coating that actually clings to the chicken.
- Skip the Cold Oil: I learned this the hard way—always let your frying oil reach 350°F before adding the chicken, or you’ll end up with greasy, soggy breading instead of that signature crisp.
- Rest Before Frying: Give the breaded chicken a 10-minute rest on a wire rack before frying—it keeps the crust from sliding off and helps the coating set, which means less mess in your pan.
Essential Equipment for This Dish
Deep Fry Setup
For that perfect crisp, you need a heavy-bottomed pot or Dutch oven—I use my Lodge enameled cast iron. It distributes heat evenly and prevents hot spots that can burn your breading. A 5-6 quart capacity gives you enough room for oil and chicken without crowding.
Temperature Control
A deep-fry thermometer is non-negotiable for maintaining 350°F oil temperature. I recommend the Taylor Classic model—it’s accurate and easy to read. Without precise temperature control, you risk either soggy breading or dry chicken.
Draining Solutions
After frying, transfer chicken to a wire rack set over a baking sheet. This setup allows air circulation on all sides, keeping the coating crisp. Skip the paper towels—they trap steam and make your chicken soggy. I use a OXO cooling rack for its stability. 🔥
Breading Station
Three shallow dishes are essential for the breading process. I prefer stainless steel mixing bowls from Winco—they’re durable and easy to clean. The wide surface area makes dredging and coating more efficient, with less mess.
Safety Gear
Always keep tongs and a splatter screen nearby. I use OXO silicone-tipped tongs for a secure grip on slippery chicken. A stainless steel splatter screen prevents oil burns while still allowing you to monitor the frying process.
Alternative Options
No deep pot? Use an electric deep fryer like the Cuisinart CDF-200. It maintains temperature automatically and has a built-in filter. For air frying, a Cosori 5.8 quart works well at 375°F for 12-15 minutes.
Nutrition Facts
Frequently Asked Questions
Can I use chicken tenders instead of breasts?
Chicken tenders work perfectly and cook faster. Reduce frying time to 4-5 minutes per side since they’re thinner. They’ll still get that same crispy coating and juicy interior.
What if I don’t have buttermilk?
Make a quick substitute with 1 cup milk plus 1 tablespoon vinegar or lemon juice. Let it sit for 5 minutes before using. This creates the same tangy richness buttermilk provides.
Can I bake this instead of frying?
Yes, but for best results bake at 400°F for 20-25 minutes. Use a wire rack on a baking sheet and flip halfway. Spray with oil first to help the coating crisp up.
Why did my breading fall off?
This usually happens if the chicken wasn’t dry before breading or didn’t rest after coating. Pat the chicken very dry first, then let breaded pieces rest 10 minutes before frying.

- Jollof Rice Sauce Recipe: West African Tomato and Spice Infusion - September 25, 2026
- Japanese Rice Soup Recipe: Umami-Rich Comfort in a Bowl - September 25, 2026
- Homemade Cream Of Rice Recipe: Silk-Smooth Breakfast in Minutes - September 25, 2026