
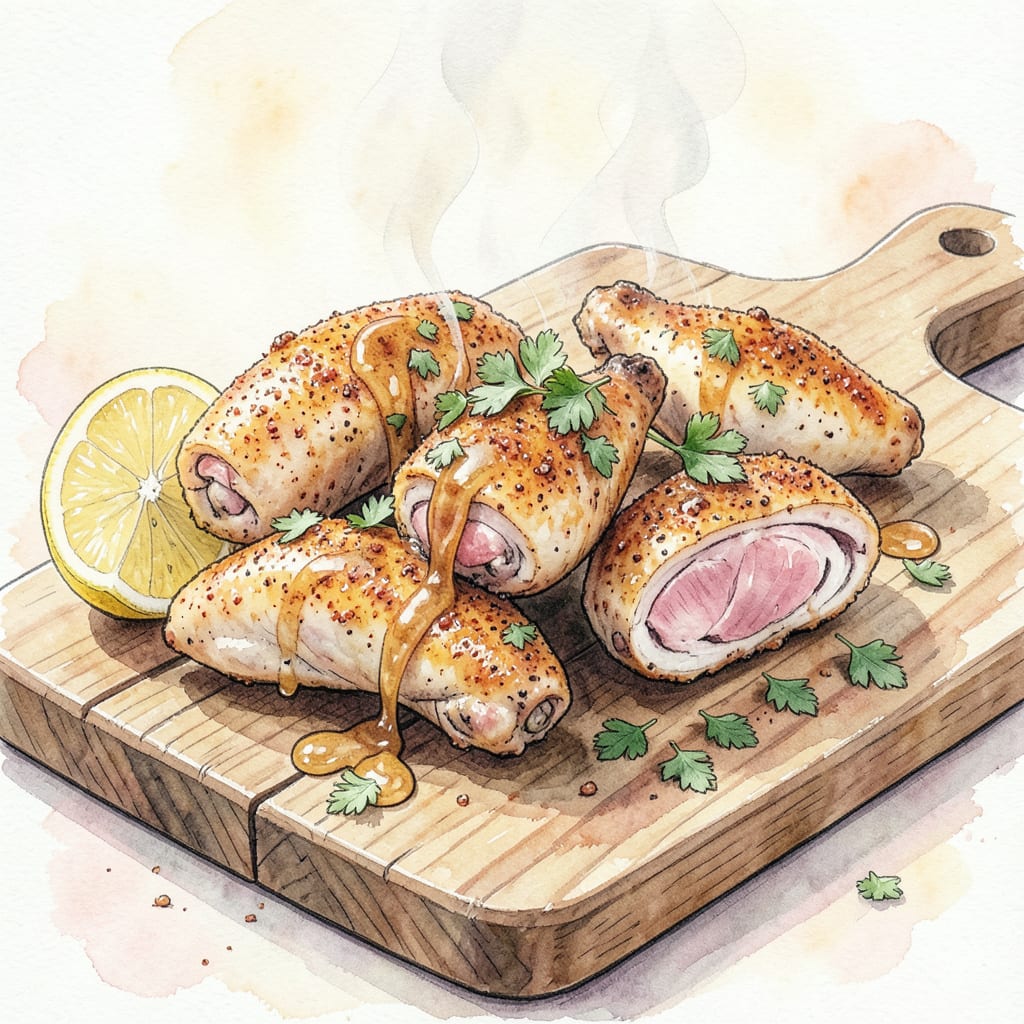
I’m sharing my secret recipe for baked boneless chicken wings that delivers on both crunch and juiciness. 🔥 These tender bites are coated in a special seasoning blend that creates a crispy exterior while maintaining a juicy interior.
Ready in just 30 minutes, this recipe is perfect for game day or any gathering. Serve with your favorite dipping sauce and celery sticks for a complete snack experience that’s both satisfying and delicious.
Ingredients for Baked Boneless Chicken Wings
Simple ingredients, big flavor. Get ready for crispy, juicy chicken in 30 minutes.
| Ingredient | Amount | Notes |
|---|---|---|
| Boneless Chicken Breast 🍗 | 1 ½ lb | Cut into bite-sized pieces |
| All-Purpose Flour 🌾 | 1 cup | For coating chicken |
| Paprika 🌶️ | 1 tbsp | Smoked or sweet variety |
| Garlic Powder 🧄 | 1 tsp | Not garlic salt |
| Onion Powder 🧅 | 1 tsp | Fresh ground preferred |
| Salt 🧂 | 1 tsp | Kosher or sea salt |
| Black Pepper 🌶️ | ½ tsp | Freshly ground preferred |
| Cayenne Pepper 🔥 | ¼ tsp | Adjust for heat preference |
| Buttermilk 🥛 | 1 cup | For marinating chicken |
| Panko Breadcrumbs 🍞 | 1 ½ cups | For crispy coating |
| Olive Oil 🫒 | 2 tbsp | For baking |
| Fresh Parsley 🌿 | ¼ cup | Chopped, for garnish |
The seasoning blend matters. Penzeys has great spice mixes, but you can make your own. I like to toast whole spices before grinding for extra depth. For the chicken, Costco and Whole Foods have good pre-cut options, or buy whole breasts and cube them yourself.
No buttermilk? Regular milk with 1 tbsp white vinegar works as a substitute. Want extra crispy coating? Try grinding Panko finer in a food processor. For heat lovers, increase cayenne to 0.5 tsp. The Panko can be toasted lightly in a dry pan for extra crunch before coating the chicken.
These keep well in the fridge for 3-4 days. Reheat in the oven at 375°F to crisp them back up. Freeze on a baking sheet, then transfer to a freezer bag for up to 3 months.
Step-by-Step Instructions for Baked Boneless Chicken Wings
Here’s the method that delivers crispy outside, juicy within – every single time.
👨🍳 Step 1: Prepare the Chicken and Marinade
Start by cutting the 1.5 lb Boneless Chicken Breast into bite-sized pieces. I like to make them uniform so they cook evenly. Place the chicken pieces in a large bowl and pour in the 1 cup Buttermilk. Mix well to ensure all pieces are coated. Cover the bowl with plastic wrap and refrigerate for at least 30 minutes or up to 2 hours for maximum tenderness.
The acidity in the buttermilk will break down the proteins, making the chicken incredibly tender. Don’t skip this step – it’s crucial for achieving that juicy interior we’re after.
👨🍳 Step 2: Create the Crisp Coating
In a shallow dish, mix together the 1 cup All-Purpose Flour, 1 tbsp Paprika, 1 tsp Garlic Powder, 1 tsp Onion Powder, 1 tsp Salt, 0.5 tsp Black Pepper, and 0.25 tsp Cayenne Pepper. The combination of spices here adds depth while the flour provides a base for our crispy coating.
In another shallow dish, place the 1.5 cups Panko Breadcrumbs. I prefer Panko because it creates a lighter, crisper coating than regular breadcrumbs. Make sure both your flour mixture and breadcrumbs are at room temperature for best results.
🥘 Step 3: Coat the Chicken for Crispiness
Remove the chicken from the buttermilk marinade, letting any excess drip off. Dredge the chicken pieces in the flour mixture, shaking off any excess. Then dip them in the buttermilk again, followed by coating them in the Panko breadcrumbs. Press the crumbs gently onto the chicken to ensure they stick. Place the coated chicken on a plate or tray.
The double-dipping process – flour, then buttermilk, then breadcrumbs – creates that perfect crispy exterior. Make sure your coating stations are set up in an assembly-line fashion to make this process smooth and efficient.
🔥 Step 4: Bake to Golden Perfection
Preheat your oven to 400°F. Line a baking sheet with parchment paper or a silicone mat, then drizzle with the 2 tbsp Olive Oil. Arrange the coated chicken pieces on the prepared baking sheet in a single layer, leaving some space between them for even cooking.
Bake for 20-25 minutes, flipping halfway through, until the chicken reaches an internal temperature of 165°F and the coating is golden brown and crispy. Keep an eye on them during the last few minutes – Panko can go from perfect to too brown quickly.
🍽️ Step 5: Serve and Garnish
Once done, remove the chicken from the oven and let it rest for 5 minutes. This brief rest helps the coating set. Transfer the baked boneless chicken wings to a serving platter. Sprinkle with chopped 0.25 cup Fresh Parsley for a fresh, colorful finish.
Serve immediately while still hot and crispy. These baked boneless chicken wings are perfect on their own or with your favorite dipping sauce. The combination of the crispy Panko coating and juicy chicken inside delivers on that perfect texture contrast we were aiming for.
Serving Suggestions for This Recipe
Classic Game Day Presentation
Serve these baked boneless chicken wings on a large wooden board or platter with plenty of dipping sauce options. I like to arrange them in a circular pattern with a small bowl of ranch dressing or blue cheese in the center. Add some celery sticks and carrot sticks around the edges for a traditional game-day snack. 🔥
Elevated Appetizer Platter
For a more sophisticated presentation, create a tiered serving dish with the chicken on the bottom level and various dipping sauces on the upper levels. Garnish with fresh herbs like parsley or chives, and add some cherry tomatoes or radish slices for color contrast.
Buffet Style Service
For larger gatherings, set up a buffet station with the baked boneless chicken wings in a large chafing dish. Offer multiple dipping sauces like BBQ sauce, honey mustard, and buffalo sauce in smaller containers alongside. Include a basket of crusty bread or pretzel rods for added variety.
Individual Servings
For a more controlled portion size, serve the chicken in individual mini cast-iron skillets or ramekins. This keeps the chicken warm and adds a charming presentation element. Drizzle with your chosen sauce and sprinkle with chopped fresh herbs before serving.
Dipping Sauce Bar
Create a DIY dipping sauce station with the baked boneless chicken wings as the centerpiece. Offer a variety of sauces like ranch, blue cheese, honey mustard, and spicy mayo. Add some pickle slices and fresh vegetables on the side for guests to customize their snack. 🍴
Nutrition Facts
Frequently Asked Questions
Can I use regular breadcrumbs instead of Panko?
You can, but Panko breadcrumbs work best for this recipe because they create a lighter, crisper coating. If using regular breadcrumbs, your coating might be denser. For best results, try toasting regular breadcrumbs in a dry pan before using them.
How do I prevent the coating from falling off?
The double-dipping process (flour, buttermilk, then Panko) helps the coating adhere.
Can I make these in an air fryer instead of oven? Yes, you can make baked boneless chicken wings in an air fryer. Cook at 375°F for 10-12 minutes, shaking halfway through. Keep an eye on them as air fryer temperatures can vary. The result will be crispy, but slightly different from oven-baked.
How do I store leftovers?
Store cooled chicken in an airtight container in the refrigerator for up to 3-4 days. To reheat, bake in a 375°F oven until crispy again. You can also freeze them on a baking sheet, then transfer to a freezer bag for up to 3 months.

- Jollof Rice Sauce Recipe: West African Tomato and Spice Infusion - September 25, 2026
- Japanese Rice Soup Recipe: Umami-Rich Comfort in a Bowl - September 25, 2026
- Homemade Cream Of Rice Recipe: Silk-Smooth Breakfast in Minutes - September 25, 2026