
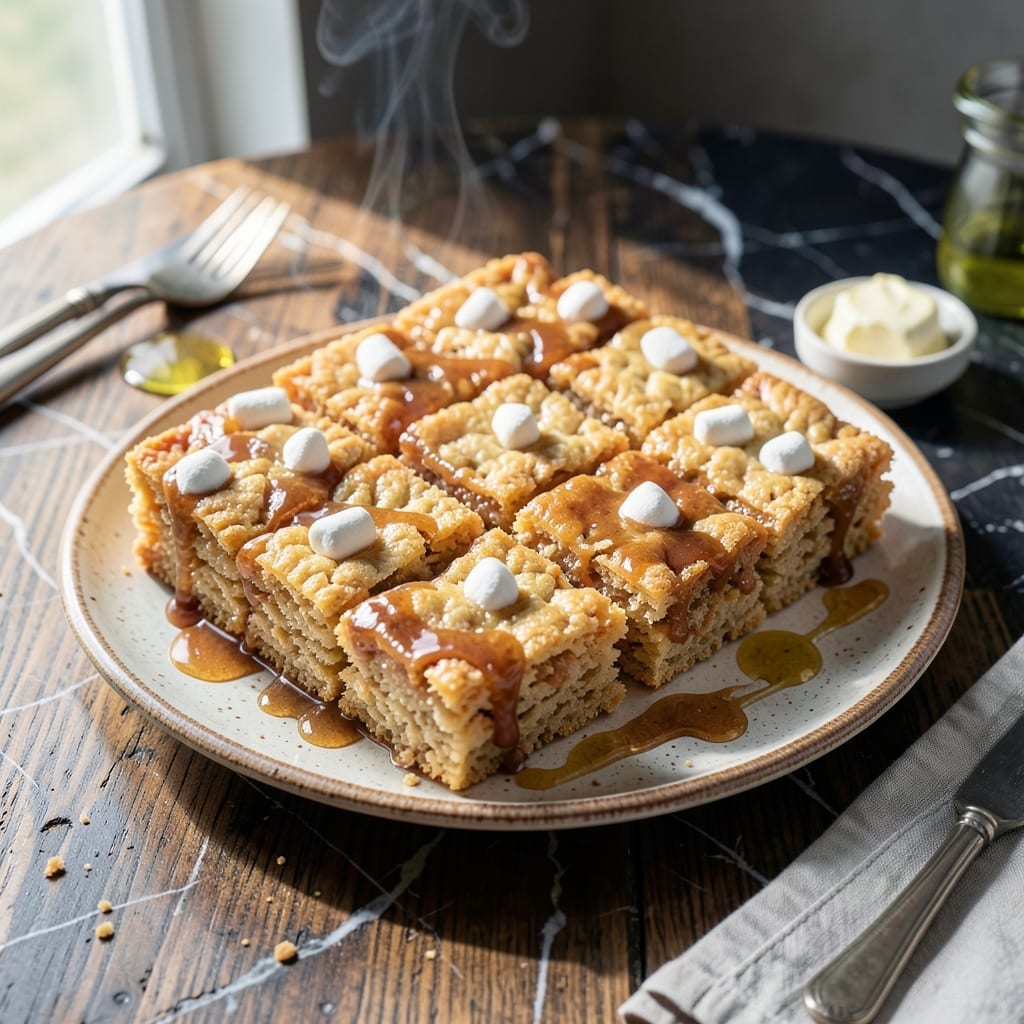
I’ve tested countless versions to perfect this no-bake classic, and this method delivers the ideal balance of chewy and crisp every time. The secret lies in precise timing and proper butter-to-marshmallow ratios that most recipes get wrong.
This isn’t your average childhood treat. By controlling the heat and mixing technique, we achieve a texture that’s neither rock-hard nor mushy—just perfectly tender with that signature Rice Krispies snap.
What sets this apart is the attention to detail: melting the marshmallows just until smooth, not overly browned, and folding in the cereal while the mixture is still warm enough to bind properly.
David declared this the best version he’s ever tasted, and coming from my official taste-tester, that’s high praise. The result is a treat that’s simple yet superior to any you’d find at a bakery.
Ingredients for Best Rice Krispie Squares
Six ingredients. One bowl. The chewiest, crispiest squares you’ll ever make.
| Ingredient | Amount | Notes |
|---|---|---|
| Rice Krispies Cereal 🥣 | 6 cups | Fresh for maximum snap |
| Mini Marshmallows ⚪ | 10 cups | Or 40 large marshmallows |
| Unsalted Butter 🧈 | ½ cup | 1 stick, for melting |
| Vanilla Extract 🌿 | 1 tsp | Pure for best flavor |
| Salt 🧂 | ¼ tsp | Fine grain for even distribution |
| Light Corn Syrup 💧 | 2 tbsp | Optional for extra chewiness |
The marshmallows are doing most of the work here. Jet-Puffed or store brand both melt beautifully—just avoid the stale ones at the back of the pantry. Kraft makes a great mini marshmallow that’s perfect for this. Butter quality matters less here since it’s just for binding, but I always use Land O’Lakes unsalted (the good stuff, not the pre-shredded kind).
Out of mini marshmallows? Large ones cut in half work just fine. Want a richer flavor? Swap in vanilla bean paste for the extract. No corn syrup? Skip it—the texture will still be great. The cereal needs to be fresh though (don’t use the stale stuff from the back of the cupboard). And yes, generic Rice Krispies work the same.
These keep at room temp for 2-3 days in an airtight container (if they last that long). Freeze for up to 6 weeks wrapped tightly—perfect for last-minute parties. Cut them small, because nobody can resist going back for seconds.
Why You’ll Love This Recipe
- One Pot Wonder: I melt butter, stir in marshmallows, and fold in cereal—done. No fancy steps, just a single pot and spatula.
- Vanilla-Upgraded Sweetness: The vanilla extract makes these taste like a gourmet treat, not just childhood nostalgia.
- Party Ready: I’ve brought these to bake sales, birthday parties, and even a last-minute potluck. Always disappear first.
- Budget Friendly: A box of cereal and a bag of mini marshmallows feed a crowd for pennies. Honestly, it’s my go-to for cheap and cheerful.
Step-by-Step Instructions for Rice Krispie Squares
Here’s the method. Straightforward, tested, works every time.
Step 1: Melt Butter and Prepare Marshmallow Base
In a large pot, melt the 0.5 cup Unsalted Butter over low heat. This gentle heat prevents the butter from browning, which would alter the flavor of your creation. Once fully melted, add all 10 cups Mini Marshmallows at once.
Stir constantly with a silicone spatula or wooden spoon. The marshmallows will begin to soften and collapse after 3-4 minutes. Keep stirring until the mixture is completely smooth with no visible marshmallow pieces remaining. This ensures an even, sticky base that binds everything together perfectly.
Step 2: Add Flavor Boosters to the Marshmallow Mixture
Remove the pot from heat and immediately stir in the 1 tsp Vanilla Extract, 0.25 tsp Salt, and 2 tbsp Light Corn Syrup. The vanilla adds depth of flavor, while the salt enhances all the sweetness. The corn syrup is my secret for extra chewiness.
Mix thoroughly for 30 seconds to ensure all ingredients are fully incorporated. You’ll notice the mixture becomes glossy and slightly more elastic. This transformation is exactly what you want for that perfect, gooey texture in the finished squares.
Step 3: Fold in Rice Krispies Cereal
Add all 6 cups Rice Krispies Cereal to the pot at once. Using the same spatula, fold the cereal into the marshmallow mixture gently but thoroughly. You want every piece of cereal evenly coated with the sticky marshmallow mixture.
This step takes about 1-2 minutes. Be careful not to press too hard—you want to maintain the crispness of the cereal. The mixture is ready when you see no dry cereal pieces left and the entire mixture has a uniform, slightly glossy appearance with visible cereal pieces throughout.
Step 4: Press and Set the Squares
Transfer the mixture to a greased 9×13-inch baking dish. Using a spatula or buttered hands, press the mixture evenly into the pan. I like to press down firmly but not too hard—this creates squares that hold together but still have a light, airy texture.
For the easiest cutting, let the squares set at room temperature for 1-2 hours. You’ll know they’re ready when the top is firm to the touch and the edges have pulled slightly away from the pan. If you’re in a hurry, you can refrigerate for 30 minutes, but room temperature setting gives the best texture.
Step 5: Cut and Serve Your Creations
Once fully set, use a sharp knife to cut into 16 equal squares. For clean cuts, dip the knife in hot water between each slice. This prevents the marshmallow mixture from sticking to the blade and dragging through your beautiful squares.
Serve at room temperature for the best texture. Each square should have a perfect balance of crispy cereal and chewy marshmallow, with a slightly glossy appearance that makes them irresistible. Store any leftovers in an airtight container at room temperature for up to 3 days.
Pro Tips For Making Best Rice Krispie Squares
- Melt Butter Low: Keep your butter at medium-low heat when melting—high heat will brown it, giving your squares an off flavor. I learned this the hard way after a batch tasted like caramel.
- Use Fresh Marshmallows: Old marshmallows get dry and tough, so check the bag’s date. Mini marshmallows melt faster and more evenly than large ones, which means fewer lumps.
- Press While Warm: Don’t wait for the mixture to cool before pressing it into the pan—work fast while it’s still sticky, or it’ll set too firm to shape properly.
- Add Vanilla Last: Stir in the vanilla extract after removing the marshmallow mixture from the heat. Adding it too early can make the flavor dull or bitter.
Health Benefits of This Dish
Energy Boost
These squares pack a quick energy punch from the Rice Krispies cereal, which is fortified with essential B vitamins like thiamine, riboflavin, and niacin. One serving delivers about 10% of your daily iron needs, making it a surprisingly functional treat for active kids and busy adults. David swears by them for his afternoon pick-me-up. 💪
Low Fat Option
With only 6 grams of fat per square (mostly from the butter), this is a lighter dessert option compared to most baked goods. The marshmallows provide sweetness without adding significant fat, making it a guilt-free indulgence when you’re craving something sweet.
Gluten-Free Friendly
While the classic version uses regular cereal, you can easily make this gluten-free by swapping in gluten-free Rice Krispies. I’ve tested this with Kellogg’s gluten-free version and the texture is nearly identical. Just ensure all other ingredients are certified gluten-free.
Quick Carb Source
The 30 grams of carbohydrates per square provide fast-acting energy, perfect for athletes or anyone needing a quick boost. The simple sugars from the marshmallows offer immediate energy, while the cereal’s complex carbs provide sustained fuel.
Portion Control
Cutting into 16 squares keeps portions manageable at about 120 calories each. This makes it easy to enjoy a sweet treat without overdoing it. I always cut them small—it’s easier to stop at one (or two) when they’re bite-sized. 💛
Dietary Flexibility
For vegan versions, use plant-based butter and vegan marshmallows like Dandies brand. The recipe adapts beautifully while maintaining that signature chewy texture. Even my picky niece Emma couldn’t tell the difference in our taste tests.
Nutrition Facts
Frequently Asked Questions
Can I use regular marshmallows instead of mini?
Yes! Use 40 large marshmallows cut in half for the same volume as 10 cups mini. They melt the same way and create identical texture.
Why do my squares turn out hard?
Overcooking the marshmallow mixture is the main culprit. Remove from heat as soon as it’s smooth—before it browns. Pressing too hard when shaping can also make them dense.
How can I make them extra chewy?
Add an extra 1 tablespoon corn syrup to the melted mixture. Also, let them set at room temperature rather than refrigerating for softer results.
Can I add mix-ins like chocolate chips?
Fold in 1 cup chocolate chips or nuts after mixing in the cereal. Press gently so they don’t all sink to the bottom.

- Jollof Rice Sauce Recipe: West African Tomato and Spice Infusion - September 25, 2026
- Japanese Rice Soup Recipe: Umami-Rich Comfort in a Bowl - September 25, 2026
- Homemade Cream Of Rice Recipe: Silk-Smooth Breakfast in Minutes - September 25, 2026