
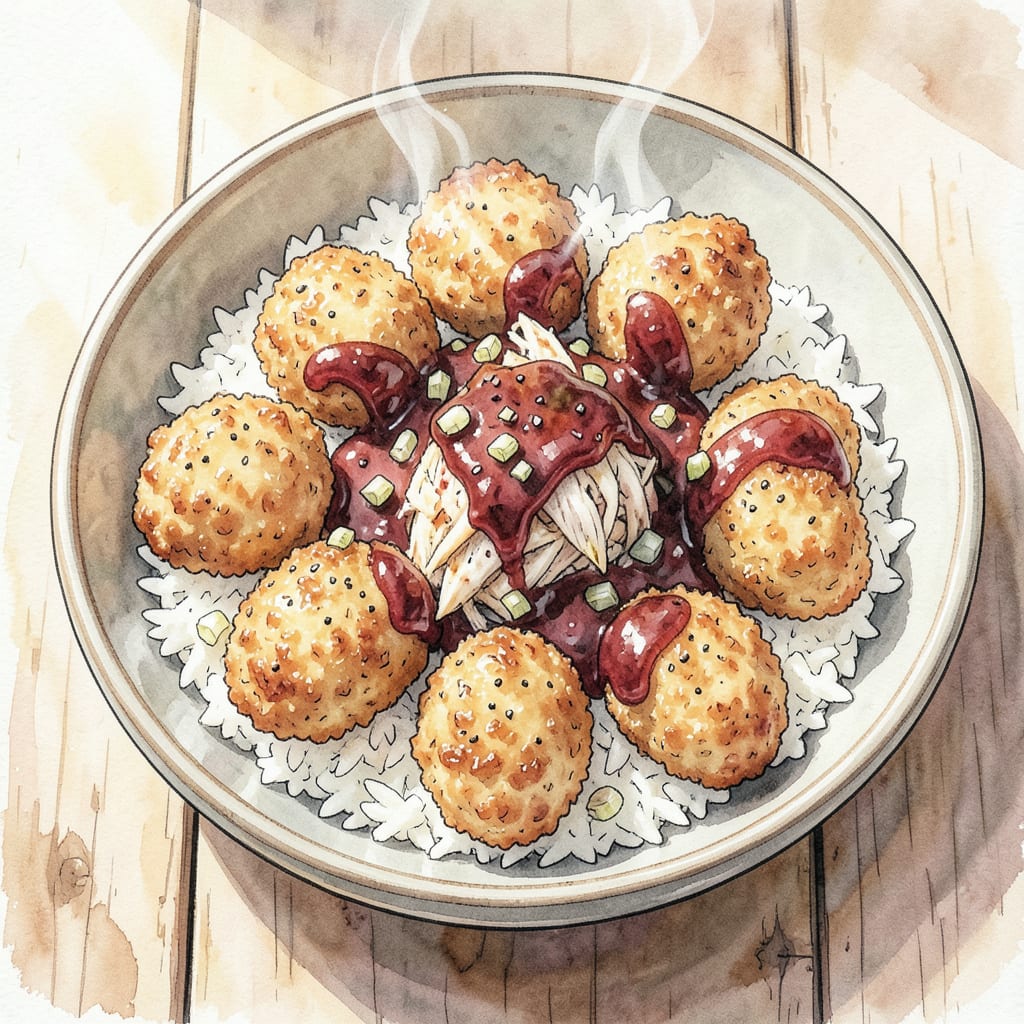
I’m sharing a classic recipe for crispy chicken croquettes that delivers tender, flavorful bites every time. This recipe, inspired by Betty Crocker, combines simple ingredients with a foolproof technique to achieve that perfect texture.
With a cooking time of just 15 minutes and basic pantry staples, you’ll be enjoying these delicious croquettes in no time. Serve with your favorite dipping sauce for an extra burst of flavor.
Ingredients for Betty Crocker Chicken Croquettes
Simple pantry staples plus cooked chicken make these croquettes a snap to prepare.
| Ingredient | Amount | Notes |
|---|---|---|
| Cooked Chicken Breast 🍗 | 1 cup | Shredded or finely chopped |
| All-Purpose Flour 🌾 | ½ cup | For binding mixture |
| Unsalted Butter 🧈 | 2 tbsp | Melted for mixture |
| Whole Milk 🥛 | ¼ cup | For creamy texture |
| Onion 🧅 | ½ whole | Finely chopped |
| Garlic Cloves 🧄 | 2 cloves | Minced for flavor |
| Salt 🧂 | ½ tsp | Kosher salt preferred |
| Black Pepper 🌶️ | ¼ tsp | Freshly ground |
| Worcestershire Sauce 💧 | 1 tsp | For depth of flavor |
| All-Purpose Flour 🌾 | 1 cup | For coating croquettes |
| Large Eggs 🥚 | 2 whole | Beaten for egg wash |
| Panko Breadcrumbs 🍞 | 1 cup | For crispy coating |
| Vegetable Oil 🫒 | ½ cup | For frying croquettes |
The chicken matters here. Rotisserie chicken works beautifully—just shred it. If cooking from scratch, poach breasts with aromatics for extra flavor. Most grocery stores have pre-cooked chicken too, which saves time. I usually grab mine from Costco when I’m doing a big batch.
No Panko? Regular breadcrumbs with a bit of grated Parmesan get you close. Want more flavor? Add some chopped fresh parsley to the mixture. The Worcestershire sauce adds depth, but skip it if you’re out—a splash of soy sauce can substitute in a pinch.
These freeze beautifully before frying. Shape them, freeze on a baking sheet, then transfer to a freezer bag. Fry straight from frozen, just add a minute or two to the cooking time. Keeps for 3 months in the freezer.
Step-by-Step Instructions for Crispy Chicken Croquettes
Let’s create these delicious croquettes with a perfect balance of crunch and tenderness.
Step 1: Prepare the Chicken Mixture
In a large mixing bowl, combine the 1 cup Cooked Chicken Breast, 0.5 cup All-Purpose Flour, 2 tbsp Unsalted Butter (melted), 0.25 cup Whole Milk, 0.5 whole Onion (finely chopped), 2 cloves Garlic Cloves (minced), 0.5 tsp Salt, 0.25 tsp Black Pepper, and 1 tsp Worcestershire Sauce. Mix everything together until you get a smooth, consistent mixture. You’ll know it’s ready when it’s just combined and still slightly moist.
Be careful not to overmix, as this can make the croquettes dense. The mixture should hold together when you shape it, but still feel tender.
Step 2: Shape and Coat the Croquettes
Shape the chicken mixture into small cylinders or patties, about 1 ½ inches long and ½ inch thick. You should end up with around 12-15 croquettes. Dip each croquette first in the 1 cup All-Purpose Flour, coating it lightly, then in the 2 whole Large Eggs (beaten), making sure it’s fully covered, and finally in the 1 cup Panko Breadcrumbs, pressing gently to ensure the crumbs stick.
Place the coated croquettes on a plate or tray. You’ll notice how the Panko Breadcrumbs give them a light, airy coating that’s perfect for frying.
Step 3: Fry the Croquettes to Perfection
Heat the 0.5 cup Vegetable Oil in a large skillet over medium-high heat until it reaches 350°F. When the oil is hot enough, you’ll see it shimmering slightly. Carefully add a few croquettes to the hot oil—don’t overcrowd the pan. Fry them for about 3-4 minutes on each side, or until they’re golden brown and crispy.
Use a slotted spoon to remove the croquettes from the oil and drain them on paper towels. Repeat with the remaining croquettes. You’ll know they’re done when they’re crispy on the outside and tender on the inside.
Step 4: Serve and Enjoy
Serve the croquettes hot. You can enjoy them on their own or with your favorite dipping sauce. They’re perfect as an appetizer or a main course. The crispy exterior and tender interior will make these croquettes a hit with everyone.
For the best experience, serve them immediately while they’re still crispy. You can also keep them warm in a 200°F oven for up to 30 minutes if you need to.
Essential Equipment for betty crocker chicken croquettes
Essential Cooking Equipment
To make these chicken croquettes, you’ll need a few key pieces of equipment. First, a large mixing bowl is necessary for combining the chicken mixture. I prefer using a stainless steel bowl as it helps keep the mixture cool while you’re working with it.
Frying Essentials
A large skillet with at least 3-inch deep sides is crucial for frying the croquettes. I recommend using a cast-iron skillet as it retains heat exceptionally well. You’ll also need a candy thermometer to monitor the oil temperature accurately.
Preparation Tools
For shaping the croquettes, having a small ice cream scoop or spoon can help you achieve uniform sizes. A slotted spoon is essential for removing the croquettes from the hot oil without burning yourself. Make sure you have paper towels on hand for draining the fried croquettes.
Additional Helpful Tools
While not mandatory, a food processor can be useful for finely chopping the onion and garlic if you prefer a smoother mixture. Some cooks also swear by using a thermometer probe with a temperature controller for maintaining the oil temperature.
Storage Containers
If you plan on making these croquettes ahead of time or storing leftovers, have some airtight containers ready. For freezing, parchment-lined baking sheets and freezer-safe bags will help keep them fresh for later use.
Tips for Equipment
Using the right equipment can make a big difference in the outcome of your croquettes. Make sure your skillet is large enough to hold the croquettes in a single layer without overcrowding. This ensures they cook evenly and become crispy. 🔥
Nutrition Facts
Frequently Asked Questions
Can I make chicken croquettes ahead of time?
Yes, you can prepare the chicken mixture and shape the croquettes up to 24 hours in advance. Store them covered in the refrigerator until you’re ready to coat and fry them. This makes them perfect for entertaining or meal prep.
What’s the best way to keep croquettes crispy?
To maintain crispiness, serve the croquettes immediately after frying. If you need to keep them warm, place them in a 200°F oven on a wire rack over a baking sheet. This allows air to circulate and helps prevent sogginess.
Can I freeze chicken croquettes?
Absolutely! You can freeze the shaped croquettes on a parchment-lined baking sheet, then transfer them to a freezer-safe bag once frozen. Fry them straight from frozen, adding 1-2 minutes to the cooking time. They’ll keep for up to 3 months in the freezer.
What’s the best oil for frying croquettes?
For frying croquettes, use a neutral oil with a high smoke point, such as vegetable oil or peanut oil. Heat the oil to 350°F for the crispiest results. Avoid olive oil as it has a lower smoke point and can impart a strong flavor.

- Jollof Rice Sauce Recipe: West African Tomato and Spice Infusion - September 25, 2026
- Japanese Rice Soup Recipe: Umami-Rich Comfort in a Bowl - September 25, 2026
- Homemade Cream Of Rice Recipe: Silk-Smooth Breakfast in Minutes - September 25, 2026