
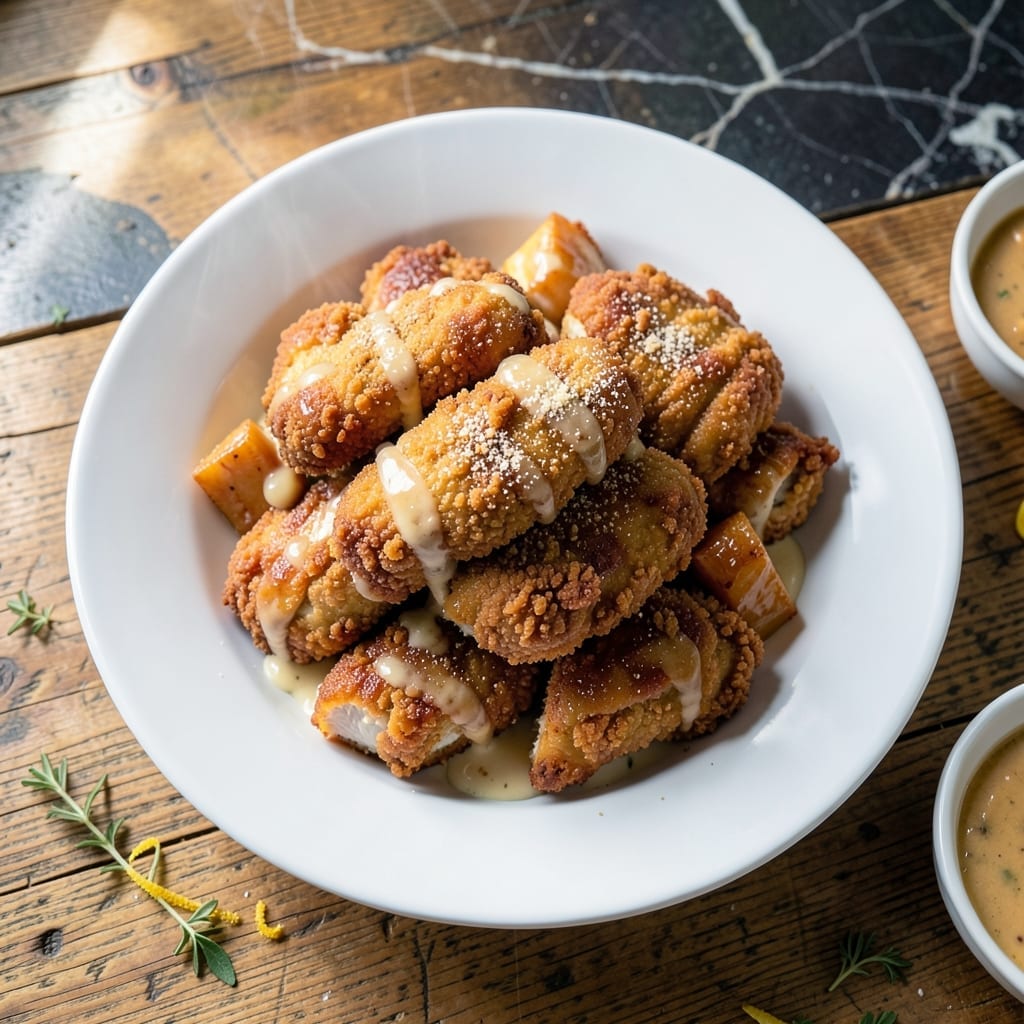
Achieving that signature crispy coating without the bone is simpler than you think. This method delivers the same satisfying crunch and juicy interior as traditional fried chicken, but with boneless thighs that cook faster and eat easier.
The secret lies in a double-dredge process and maintaining the right oil temperature. I’ve perfected this technique to ensure every piece comes out golden and crispy, with a coating that stays intact from the first bite to the last.
With a few basic ingredients and careful timing, you’ll have restaurant-quality results at home. The key is patience—rushing the frying step risks a soggy crust.
Serve hot for the best texture, paired with your favorite dipping sauces. This dish proves that boneless can be just as delicious.
Ingredients for Boneless Chicken Fried Chicken
Pantry staples and a quick trip to the butcher. Nothing complicated, just crispy goodness.
| Ingredient | Amount | Notes |
|---|---|---|
| Boneless Skinless Chicken Thighs 🍗 | 1 ½ lb | Patted dry for crispiness |
| All-Purpose Flour 🌾 | 2 cups | Divided for double dredge |
| Large Eggs 🥚 | 2 whole | Beaten for egg wash |
| Buttermilk 🥛 | 1 cup | Full-fat for richness |
| Cornstarch 🌽 | ½ cup | For extra crunch |
| Garlic Powder 🧄 | 1 tbsp | For seasoning flour |
| Onion Powder 🧅 | 1 tbsp | Balances the seasoning |
| Paprika 🌶️ | 1 tbsp | Sweet or smoked variety |
| Salt 🧂 | 1 tsp | Kosher or sea salt |
| Black Pepper 🌶️ | 1 tsp | Freshly ground preferred |
| Cayenne Pepper 🔥 | ¼ tsp | Adjust for heat preference |
| Vegetable Oil 🫒 | 4 cups | For deep frying |
The chicken thighs are the star—boneless, skinless is non-negotiable here. I grab mine from Whole Foods or the butcher counter at Kroger. Look for pieces that are uniform in size so they cook evenly. The buttermilk matters too—full-fat gives you that tender bite. If yours is a little thin, no worries (it’ll still work).
No buttermilk? Whole milk plus a splash of lemon juice does the trick. Swap cornstarch for instant flour if that’s all you’ve got. The paprika can be sweet or smoked—smoked adds depth. Out of garlic powder? Fresh minced garlic in the egg wash works, but use half the amount. The oil can be peanut if you prefer (higher smoke point).
Fry in batches—don’t crowd the pot. Leftovers keep in the fridge for 3-4 days, but they’re best fresh. Reheat in the oven at 375°F to crisp them back up. Never microwave (soggy city).
Why You’ll Love This Recipe
- One-Bowl Wonder: I mix the flour, cornstarch, and eggs right in the same dish—no pile of bowls to scrub later.
- That Crunch Though: The buttermilk soak plus cornstarch in the dredge gives it a shatteringly crisp crust every single time.
- Feeds My Crowd: Boneless thighs stay juicy no matter how long they sit, so I can fry a big batch for potlucks or Sunday supper.
- Leftovers? Yes Please: Reheated in the air fryer for 5 minutes, they taste almost as good as fresh—honestly, that’s my weekday lunch sorted.
Step-by-Step Instructions for Boneless Chicken Fried Chicken
Here’s how I get that perfect crunch without the bone every single time.
Step 1: Prep and Season the Chicken
Start by patting the 1.5 lb boneless skinless chicken thighs completely dry with paper towels. This step is crucial for achieving maximum crispiness. I like to trim any excess fat while I’m at it.
Season both sides generously with 1 tsp salt, 1 tsp black pepper, and 0.25 tsp cayenne pepper. The cayenne adds just the right amount of heat without overpowering. Let the seasoned chicken sit at room temperature for 10 minutes while you prepare the dredging stations.
Step 2: Set Up the Double Dredge Stations
In a shallow bowl, whisk together the 2 whole large eggs and 1 cup buttermilk until fully combined. This creates the perfect binding liquid for the coating to adhere to the chicken.
In another shallow bowl, combine 1 cup all-purpose flour with 0.5 cup cornstarch, 1 tbsp garlic powder, 1 tbsp onion powder, and 1 tbsp paprika. The cornstarch is my secret for extra crunch. Reserve the remaining 1 cup all-purpose flour in a third bowl for the final dredge.
Step 3: Dredge and Coat the Chicken
Dip each piece of chicken into the flour-spice mixture first, pressing gently to ensure full coverage. Shake off any excess, then dip into the egg-buttermilk mixture, letting any excess drip off.
Finally, dredge in the reserved 1 cup all-purpose flour, pressing firmly to create a thick, even coating. Place the coated pieces on a wire rack set over a baking sheet. This double-dredge method creates layers of crispiness that will have everyone asking for seconds.
Step 4: Fry to Golden Perfection
Heat the 4 cups vegetable oil in a deep, heavy-bottomed pot or Dutch oven to 350°F. Use a deep-fry thermometer for accuracy—this temperature ensures even cooking without burning the coating.
Carefully lower 2-3 pieces of chicken into the hot oil at a time, being careful not to overcrowd the pot. Fry for 8-10 minutes, turning occasionally, until the coating is deep golden brown and the internal temperature reaches 165°F. The chicken should float when it’s nearly done.
Step 5: Drain and Rest Before Serving
Transfer the fried chicken to a wire rack set over a baking sheet to drain. Don’t use paper towels—they’ll make the coating soggy. The rack allows air to circulate, keeping the coating crispy on all sides.
Let the chicken rest for 5 minutes before serving. This brief rest allows the juices to redistribute, ensuring moist meat with every bite. Serve immediately while hot and crispy for the best experience.
Pro Tips For Making Boneless Chicken Fried Chicken
- Double-Dredge Thighs: Dip the chicken in buttermilk-egg wash, then flour, then back in the wash and flour again—I learned this the hard way after my first batch had a sad, patchy crust.
- Rest the Coated Chicken: Let the dredged thighs sit for 10 minutes before frying; this gives the cornstarch and flour time to adhere properly, so you don’t end up with a bare spot crisis mid-fry.
- Hot Oil, No Crowding: Heat the oil to 350°F and fry in batches; I used to cram the pan and ended up with soggy, steamed chicken instead of that golden, crispy exterior.
- Use Thighs, Not Breasts: Boneless skinless chicken thighs stay juicy even if slightly overcooked, while breasts turn dry—my grandmother swore by this, and she was right.
Storing and Reheating This boneless chicken fried chicken
Fridge Storage
Let the chicken cool completely before storing, about 30 minutes. Place in a single layer in an airtight container with paper towels between pieces to absorb moisture. It’ll keep for 3-4 days at 40°F or below. ❄️
Freezing Method
For longer storage, arrange cooled pieces on a baking sheet and freeze for 1 hour first. Then transfer to a freezer bag, squeezing out excess air. This prevents sticking and freezer burn. It’ll stay fresh for up to 3 months.
Oven Reheating
Preheat your oven to 375°F. Place chicken on a wire rack over a baking sheet and heat for 15-20 minutes. This method restores crispiness better than any other. I always check the internal temp reaches 165°F. 🔥
Air Fryer Option
For a quicker method, use your air fryer at 375°F for 8-10 minutes. Spray lightly with oil before reheating for extra crisp. Shake the basket halfway through for even browning.
Avoid the Microwave
Microwaving will make the coating soggy—no exceptions. If you’re in a rush, use a toaster oven at 350°F for 10-12 minutes. It’s faster than a conventional oven but still gives good results.
Nutrition Facts
Frequently Asked Questions
Why use boneless thighs instead of breasts?
Thighs stay juicier and are more forgiving during cooking. Their higher fat content prevents dryness, while breasts can become tough if overcooked.
What if I don’t have buttermilk?
Mix 1 cup whole milk with 1 tbsp lemon juice or vinegar. Let it sit for 5 minutes to thicken before using.
Can I bake instead of frying?
Yes! Bake at 400°F for 20-25 minutes on a wire rack. Spray with oil first for extra crispiness.
How do I prevent the coating from falling off?
Ensure the chicken is completely dry before dredging. Press firmly during the final flour coat and let it rest 5 minutes before frying.

- Jollof Rice Sauce Recipe: West African Tomato and Spice Infusion - September 25, 2026
- Japanese Rice Soup Recipe: Umami-Rich Comfort in a Bowl - September 25, 2026
- Homemade Cream Of Rice Recipe: Silk-Smooth Breakfast in Minutes - September 25, 2026