
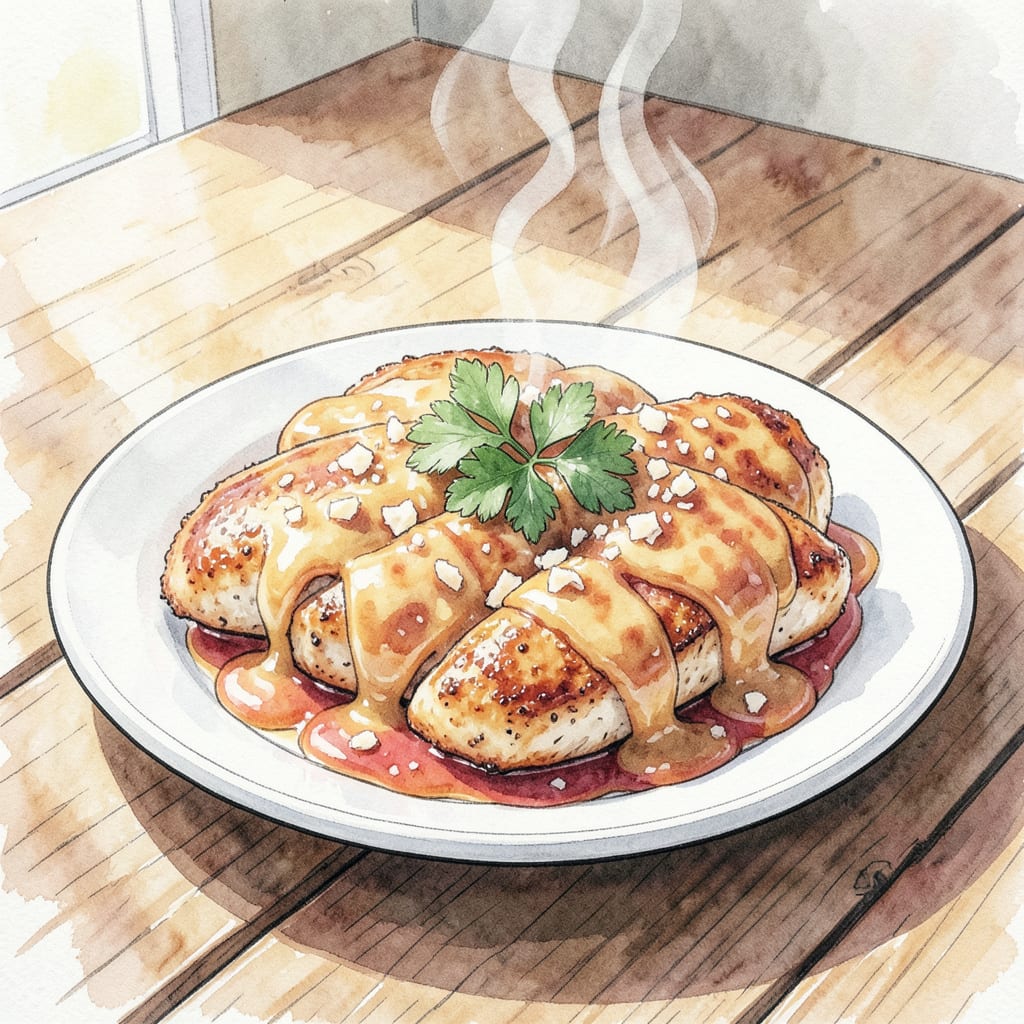
I’ve recreated the Buffalo Wild Wings’ Parmesan Garlic Chicken recipe, delivering a crispy exterior and juicy interior. This dish combines the perfect blend of parmesan, garlic, and spices, making it a crowd-pleaser.
Ready in 30 minutes, this recipe is perfect for a quick weeknight dinner. The result is a golden brown crust with a flavorful, aromatic sauce that will leave you craving more. Let’s get cooking!
Ingredients for Buffalo Wild Wings Parmesan Garlic Chicken
Crispy parmesan crust meets juicy chicken in this Buffalo Wild Wings-inspired recipe.
| Ingredient | Amount | Notes |
|---|---|---|
| Chicken Breast Cutlets 🍗 | 1 ½ lb | Pounded to even thickness |
| All-Purpose Flour 🌾 | 1 cup | For dredging chicken |
| Parmesan Cheese 🧀 | 1 cup | Freshly grated from block |
| Garlic Cloves 🧄 | 4 cloves | Minced for garlic butter |
| Unsalted Butter 🧈 | ½ cup | Softened for garlic butter |
| Large Eggs 🥚 | 2 whole | Beaten for egg wash |
| Italian Breadcrumbs 🍞 | 1 ½ cups | Panko works too |
| Dried Italian Seasoning 🌿 | 1 tsp | Or mix of oregano and basil |
| Salt 🧂 | 1 tsp | Kosher or sea salt |
| Black Pepper 🌶️ | ½ tsp | Freshly ground preferred |
| Garlic Powder 🧄 | ½ tsp | For extra garlic flavor |
| Olive Oil 🫒 | ¼ cup | For frying chicken |
For the crispiest crust, Panko breadcrumbs are ideal. If you can’t find Italian breadcrumbs, mix regular breadcrumbs with Italian seasoning. Freshly grate your Parmesan—pre-grated loses that essential texture. Most grocery stores carry BelGioioso or Kraft Parmesan, both work well. Pound the chicken to an even thickness so it cooks consistently.
No Italian seasoning? Mix dried oregano and basil in equal parts. For an extra crispy coating, try chilling the breaded chicken for 10 minutes before frying. If you’re out of garlic powder, increase the minced garlic to 6 cloves. For a lighter coating, use 1 cup of breadcrumbs instead of 1.5.
Leftovers keep in the fridge for 3-4 days. Reheat in the oven at 350°F to maintain crispiness. You can freeze the breaded chicken before cooking for up to 3 months—just thaw and fry when you’re ready.
Step-by-Step Instructions for Buffalo Wild Wings’ Parmesan Garlic Chicken
Follow these detailed steps to create a mouth-watering parmesan garlic chicken dish that’s sure to impress.
Step 1: Prepare the Garlic Butter
Start by making the garlic butter that will elevate this dish. Mince the 4 cloves Garlic Cloves until they’re finely chopped. I like to use a microplane for this to avoid any harsh garlic bites. Mix the minced garlic with the 0.5 cup Unsalted Butter that’s been softened to room temperature. The butter should be creamy and easily whipped with the garlic until well combined. This garlic butter will be used later to add an extra layer of flavor.
Once mixed, wrap the garlic butter in plastic wrap and shape it into a log. Refrigerate for at least 30 minutes to firm up. This step is crucial as it makes the garlic butter easier to slice later and prevents it from melting too quickly when cooking the chicken.
Step 2: Prepare the Breading Station
Set up your breading station with three shallow dishes. In the first dish, place the 1 cup All-Purpose Flour. In the second dish, beat the 2 whole Large Eggs until they’re well mixed. In the third dish, combine the 1.5 cups Italian Breadcrumbs, 1 cup Parmesan Cheese, 1 tsp Dried Italian Seasoning, 1 tsp Salt, 0.5 tsp Black Pepper, and 0.5 tsp Garlic Powder. Mix these dry ingredients well to ensure they’re evenly distributed.
Having everything ready in an assembly line like this makes the breading process smooth and efficient. It also helps in achieving an even coating on the chicken cutlets.
Step 3: Bread the Chicken Cutlets
Take the 1.5 lb Chicken Breast Cutlets that have been pounded to an even thickness and season them lightly with salt and pepper. Dredge each cutlet in the flour, shaking off any excess. Then, dip the floured cutlet in the beaten eggs, making sure it’s fully coated. Finally, roll the cutlet in the breadcrumb mixture, pressing the crumbs onto the chicken to ensure they stick. Place the breaded cutlet on a plate or tray. Repeat with the remaining chicken cutlets.
The key here is to ensure each cutlet is evenly coated. The flour helps the egg wash adhere, and the breadcrumb mixture provides a crunchy exterior. Make sure to press the crumbs firmly onto the chicken to prevent them from falling off during cooking.
Step 4: Cook the Chicken Cutlets
Heat the 0.25 cup Olive Oil in a large skillet over medium-high heat until it shimmers. Add the breaded chicken cutlets and cook for 3-4 minutes on each side, or until they’re golden brown and cooked through. The internal temperature should reach 165°F. Transfer the cooked cutlets to a plate and top each with a slice of the garlic butter. Let it melt slightly over the warm chicken.
Be careful not to overcrowd the skillet. Cook the cutlets in batches if necessary, to ensure they have enough room to cook evenly. The garlic butter adds a rich, savory flavor that complements the crispy exterior and juicy interior of the chicken.
Step 5: Serve and Enjoy
Serve the parmesan garlic chicken hot, garnished with additional grated parmesan cheese and parsley if desired. The combination of the crispy breadcrumb coating, the savory garlic butter, and the tender chicken is sure to be a hit. This dish pairs well with a variety of sides, such as pasta, salad, or roasted vegetables.
For the best experience, serve immediately while the chicken is still warm and the garlic butter is melted. The contrast between the hot chicken and the cool, crisp sides will make for a satisfying meal.
Storing and Reheating Leftovers
Refrigerator Storage Tips
Store leftover parmesan garlic chicken in an airtight container within 2 hours of cooking. Keep it in the refrigerator at 40°F or below for up to 3-4 days. The flavors actually improve slightly after resting overnight. ❄️
Freezer Storage Options
For longer storage, you can freeze the cooked chicken. Place cooled cutlets in a single layer on a baking sheet and freeze until solid. Then transfer them to freezer-safe bags or containers, removing as much air as possible. They’ll keep for up to 3 months. Label with date and contents.
Oven Reheating Method
This is my preferred reheating method as it maintains crispiness. Preheat your oven to 350°F. Place chicken on a wire rack over a baking sheet to allow air circulation. Heat for 10-12 minutes or until the internal temperature reaches 165°F. The result is crispy exterior and juicy interior. 🔥
Microwave Reheating
For quick reheating, use the microwave. Place a chicken cutlet on a microwave-safe plate and cover with a damp paper towel. Heat on 50% power for 1-2 minutes, checking temperature and continuing in 30-second intervals until hot. Be aware that this method can make the coating slightly soggy.
Tips for Best Results
To maintain the crispiest coating when reheating, avoid using the microwave if possible. If you must microwave, let the chicken rest at room temperature for 5 minutes before reheating to help maintain texture. Always check that the chicken reaches 165°F internally before serving. For an extra crispy finish after oven reheating, broil for an additional 1-2 minutes—watch closely to prevent burning.
Nutrition Facts
Frequently Asked Questions
Can I make this recipe without the garlic butter?
While the garlic butter adds significant flavor, you can omit it if you’re short on time or don’t have garlic on hand. The chicken will still be delicious with just the parmesan crust. Consider substituting with a simple butter or olive oil drizzle instead.
What’s the best way to ensure crispy breadcrumbs?
For the crispiest coating, make sure your breadcrumbs are fresh and not stale. Using Panko breadcrumbs can also help achieve a lighter, crisper texture. Chill the breaded chicken in the refrigerator for 10 minutes before frying for extra crunch.
Can I bake instead of pan-fry the chicken?
Yes, you can bake the chicken for a healthier option. Preheat your oven to 400°F and bake for 15-20 minutes, or until the internal temperature reaches 165°F. The result will be slightly different, but still delicious. Keep an eye on it to prevent overcooking.
How do I store leftovers?
Store leftover parmesan garlic chicken in an airtight container in the refrigerator within 2 hours of cooking. It will keep for up to 3-4 days. Reheat in the oven at 350°F to maintain crispiness.

- Jollof Rice Sauce Recipe: West African Tomato and Spice Infusion - September 25, 2026
- Japanese Rice Soup Recipe: Umami-Rich Comfort in a Bowl - September 25, 2026
- Homemade Cream Of Rice Recipe: Silk-Smooth Breakfast in Minutes - September 25, 2026