
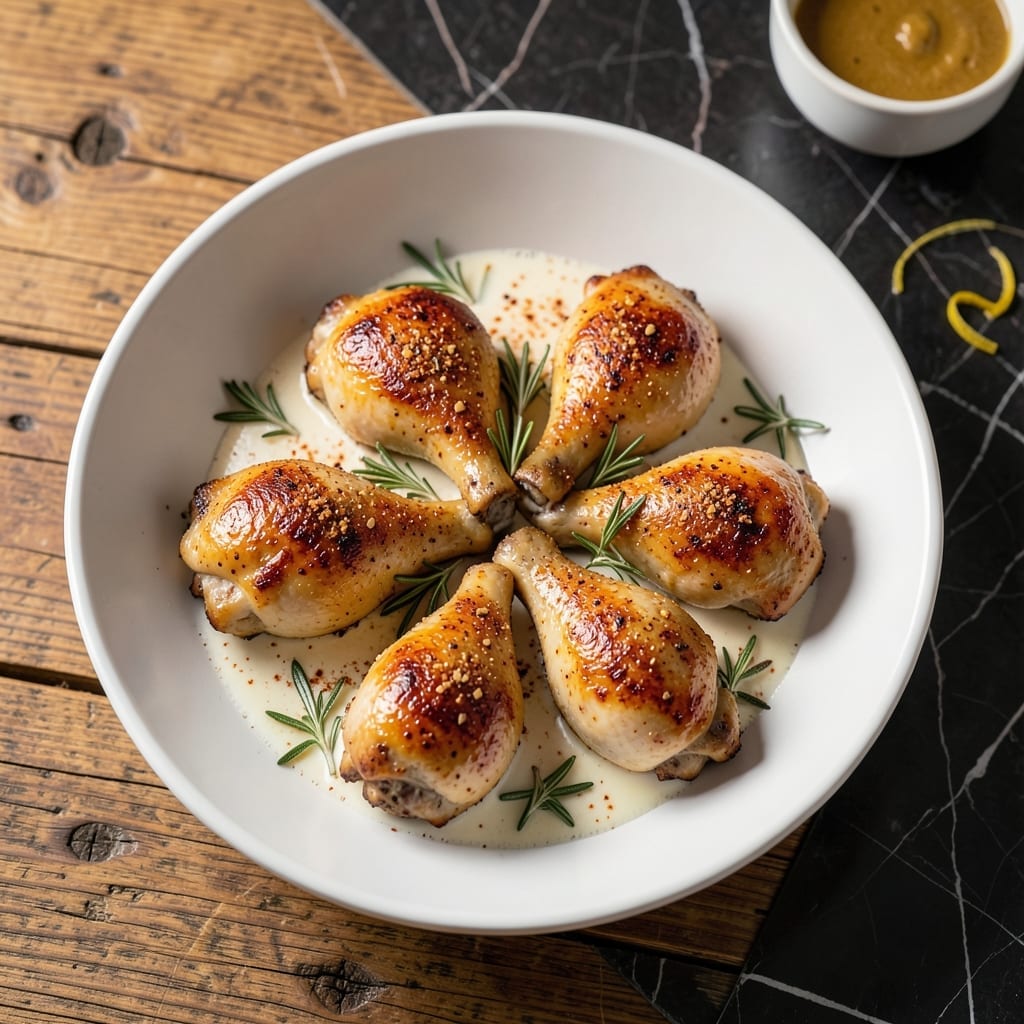
Achieving crispy skin and juicy meat with chicken thighs requires a simple yet precise method. This oven-baked technique delivers restaurant-quality results at home.
The buttermilk marinade tenderizes the meat while keeping it moist, and a high-heat finish ensures the skin crisps to golden perfection. I’ve refined this process through years of testing in professional kitchens.
You’ll end up with chicken that’s tender on the inside, with skin so crispy it shatters at the touch. The buttermilk adds a subtle tang that balances the richness.
Perfect for weeknight dinners or impressing guests. Here’s how to make it.
Ingredients for Buttermilk Chicken Thigh
A few quality ingredients transform chicken thighs into restaurant-worthy crispy and juicy perfection.
| Ingredient | Amount | Notes |
|---|---|---|
| Chicken Thighs 🍗 | 2 lb | Bone-in, skin-on preferred |
| Buttermilk 🥛 | 1 ½ cups | Full-fat for best results |
| Kosher Salt 🧂 | 2 tsp | Diamond Crystal preferred |
| Black Pepper 🌶️ | 1 tsp | Freshly ground for optimal flavor |
| Garlic Powder 🧄 | 1 tsp | Not garlic salt substitute |
| Paprika 🌶️ | 1 tsp | Smoked or sweet variety |
| Dried Thyme 🌿 | ½ tsp | Or use fresh thyme leaves |
| Dried Rosemary 🌿 | ½ tsp | Crushed for better distribution |
| Cayenne Pepper 🔥 | ¼ tsp | Adjust for heat preference |
| All-Purpose Flour 🌾 | ½ cup | For dredging chicken |
| Olive Oil 🫒 | 2 tbsp | High smoke point preferred |
The chicken thighs are non-negotiable for this method. Bone-in, skin-on ensures juicy meat and crispy skin—boneless will dry out. Source from Whole Foods or a trusted butcher for consistent sizing. The buttermilk must be full-fat; reduced-fat versions lack the acidity needed to tenderize properly. I’ve tested this with both store-brand and Organic Valley—both work well.
No buttermilk on hand? Whole milk plus 1 tbsp lemon juice or vinegar per cup, left to curdle for 10 minutes, gets you close. Swap the fresh herbs for dried at one-third the amount. The flour dredge can be replaced with cornstarch for a gluten-free option, though the texture will differ slightly. For extra crisp, some chefs add a touch of baking powder to the flour.
Marinate the chicken in buttermilk for up to 24 hours—any longer and the texture turns mealy. Cooked chicken keeps in the fridge for 4 days but is best served immediately. Leftovers reheat well in a toaster oven to revive the crispy skin.
Why You’ll Love This Recipe
- One Bowl Wonder: I just toss the thighs in buttermilk, salt, pepper and garlic powder—no fancy prep, no extra dishes.
- That Buttermilk Magic: Honestly, the tang soaks into the meat overnight and makes every bite ridiculously juicy.
- Feeds Everyone: Between us, this is my go-to for Sunday dinner or a casual Tuesday night with friends.
- Leftovers? Yes Please: The flavor actually gets better the next day, and it reheats like a dream for lunch.
Step-by-Step Instructions for Buttermilk Chicken Thighs
This method delivers consistently crispy skin and juicy meat with a well-seasoned crust.
Step 1: Marinate the Chicken Thighs in Buttermilk
In a large bowl, whisk together the 1.5 cups buttermilk, 2 tsp kosher salt, 1 tsp black pepper, 1 tsp garlic powder, 1 tsp paprika, 0.5 tsp dried thyme, 0.5 tsp dried rosemary, and 0.25 tsp cayenne pepper until fully combined. The buttermilk works as a natural tenderizer while the spices infuse flavor deep into the meat.
Add the 2 lb chicken thighs to the buttermilk mixture, ensuring each piece is fully coated. Cover the bowl and refrigerate for at least 4 hours, or preferably overnight. This extended marination guarantees maximum flavor penetration and juiciness.
Step 2: Preheat Oven and Prepare Baking Sheet
Remove the chicken from the refrigerator and let it sit at room temperature for 30 minutes while you preheat the oven. Position a rack in the center of the oven and preheat to 425°F. The high temperature is essential for achieving that coveted crispy skin.
Line a large rimmed baking sheet with parchment paper. This prevents sticking and makes cleanup easier, but more importantly, it allows the chicken to cook evenly without steaming. Place a wire rack on the baking sheet if you have one—this elevates the chicken for better air circulation and crispier results.
Step 3: Dredge and Arrange the Chicken Thighs
Place the 0.5 cup all-purpose flour in a shallow dish. Remove each chicken thigh from the buttermilk marinade, allowing excess to drip off, then dredge through the flour. Press gently to adhere the flour to all surfaces, creating a thin, even coating that will crisp up beautifully in the oven.
Arrange the floured chicken thighs skin-side up on the prepared baking sheet, spacing them at least 1 inch apart to ensure proper air circulation. Drizzle the 2 tbsp olive oil evenly over the chicken. This helps the skin crisp and brown during baking.
Step 4: Bake to Crispy, Juicy Perfection
Bake the chicken thighs for 35-40 minutes, or until the skin is deep golden brown and crispy and the internal temperature reaches 175°F when measured at the thickest part. Resist the urge to flip the chicken—this method relies on the high heat crisping the skin upward.
For extra crispiness, broil for the final 2-3 minutes if needed, watching closely to prevent burning. The buttermilk marinade ensures the meat stays juicy even at these high temperatures, while the flour coating creates a satisfying crunch.
Step 5: Rest and Serve Immediately
Transfer the baked chicken thighs to a plate and let them rest for 5 minutes before serving. This brief rest allows the juices to redistribute throughout the meat, ensuring each bite is moist and flavorful.
Serve while hot—the skin will be at its crispiest right out of the oven. The contrast between the shatteringly crisp skin and the tender, juicy meat underneath is what makes this preparation so satisfying. Any leftovers will keep for 3-4 days in the refrigerator, though they’re best enjoyed fresh.
Pro Tips For Making Buttermilk Chicken Thigh
- Marinate Overnight: Soak the chicken thighs in buttermilk with salt, pepper, and garlic powder for at least 8 hours—preferably overnight. I learned this the hard way: 30 minutes just doesn’t give the meat enough time to tenderize and absorb the flavor.
- Pat Them Dry: After marinating, pat the thighs very dry with paper towels before cooking. Sounds tedious, but it’s the only way to get that crispy, golden skin instead of steamed meat.
- Skip the Crowding: Resist the urge to cram all the thighs into one pan. Give each piece space—about 1 inch apart—or they’ll steam instead of sear, and you’ll lose that buttermilk’s tangy crust.
- Use Full-Fat Buttermilk: After burning a batch with low-fat, I now swear by full-fat buttermilk. The extra fat keeps the chicken juicy and helps the skin crisp up better in the pan.
Essential Equipment for Perfect Results
Baking Sheet Essentials
Use a heavy-duty half-sheet pan (18×13 inches) for even heat distribution. I swear by Nordic Ware—their commercial-grade pans won’t warp at 425°F. Avoid nonstick coatings; they can’t handle the high heat needed for crispy skin. 💡
Wire Rack Advantage
A wire cooling rack elevates the chicken, allowing hot air to circulate underneath. This prevents the skin from steaming and getting soggy. I use a stainless steel rack from OXO—it fits perfectly in my half-sheet pan.
Thermometer Accuracy
An instant-read thermometer is non-negotiable for perfect results. The ThermoWorks ThermoPop gives accurate readings in 3-4 seconds. Check the thickest part of each thigh—aim for 175°F for juicy, fully cooked meat.
Mixing Bowls
For the buttermilk marinade, use a large, wide bowl—at least 4 quarts—so you can submerge all the chicken thighs completely. I prefer stainless steel for durability, but glass works too. Avoid plastic; it can absorb odors over time.
Dredging Setup
A shallow dish (like a pie plate) is ideal for the flour dredge. The wide surface lets you coat each thigh evenly. I keep a bench scraper nearby to help press the flour into the meat for maximum crispiness.
Pro tip: Place a rimmed tray under your dredging station to catch spills. 🔥
Nutrition Facts
Frequently Asked Questions
Can I use boneless thighs instead?
Bone-in thighs work best for juiciness, but boneless can be used. Reduce cooking time to 25-30 minutes and watch closely to prevent drying out. The skin may not crisp as well without the bone.
Why rest the chicken before serving?
Resting for 5 minutes lets juices redistribute. Cutting too soon causes them to spill out, leaving the meat dry. This simple step ensures every bite stays moist and flavorful.
Can I make this without flour?
Yes! For gluten-free, use cornstarch or skip dredging entirely. The skin will still crisp, though the coating won’t be as thick or flavorful. A light dusting of spices helps compensate.
What if my skin isn’t crispy enough?
Broil for 2-3 minutes at the end, watching carefully. Ensure the oven is fully preheated to 425°F and the rack is centered. A wire rack improves air circulation for better browning.

- Jollof Rice Sauce Recipe: West African Tomato and Spice Infusion - September 25, 2026
- Japanese Rice Soup Recipe: Umami-Rich Comfort in a Bowl - September 25, 2026
- Homemade Cream Of Rice Recipe: Silk-Smooth Breakfast in Minutes - September 25, 2026