
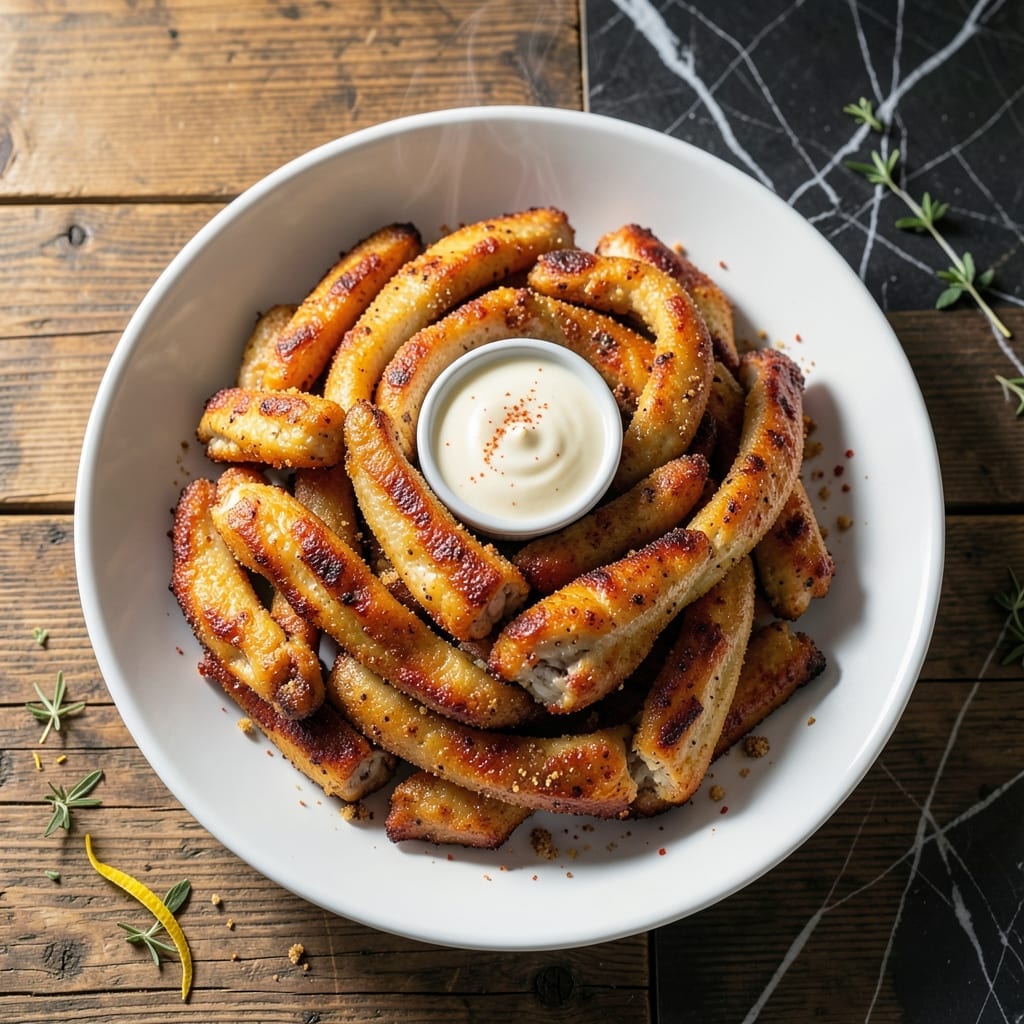
There’s a reason this chicken is legendary—it delivers crispy, golden perfection every time. The secret lies in a precise double-dredging method and the right oil temperature to ensure an ultra-crunchy exterior while keeping the meat juicy inside.
I’ve tested countless variations to nail the signature texture and flavor. The batter stays put during frying, and the seasoning penetrates deep for a well-balanced bite. Pair it with the iconic sauce, and you’ve got a meal that rivals the original.
Each piece emerges with a shatteringly crispy crust and tender interior, ready to be dipped in that tangy, slightly sweet sauce. The process is straightforward, but timing and temperature are everything.
Serve hot for maximum crunch and satisfaction. This is comfort food at its finest.
Ingredients for Canes Chicken
Crispy perfection starts with these carefully selected ingredients for the ultimate comfort meal.
| Ingredient | Amount | Notes |
|---|---|---|
| Chicken Thighs 🍗 | 2 lb | Boneless, skinless, cut into strips |
| All-Purpose Flour 🌾 | 2 cups | For initial dredging |
| Cornstarch 🌾 | ½ cup | For extra crispiness |
| Buttermilk 🥛 | 1 cup | For wet dredge |
| Large Eggs 🥚 | 2 whole | Beaten into buttermilk |
| Cayenne Pepper 🌶️ | 1 tsp | Adjust for heat preference |
| Garlic Powder 🧄 | 2 tsp | For seasoning flour |
| Onion Powder 🧅 | 2 tsp | For seasoning flour |
| Paprika 🌶️ | 2 tsp | Sweet or smoked variety |
| Salt 🧂 | 2 tsp | Divided between flour and seasoning |
| Black Pepper 🌶️ | 1 tsp | Freshly ground preferred |
| Vegetable Oil 🫒 | 4 cups | For deep frying |
| Mayonnaise 🥫 | ½ cup | For signature sauce base |
| Ketchup 🍅 | ¼ cup | For signature sauce |
| Worcestershire Sauce 🍶 | 1 tbsp | For sauce depth |
| Black Pepper 🌶️ | ½ tsp | For signature sauce |
The chicken is the foundation—boneless, skinless thighs deliver the juiciest results. Costco or Sam’s Club offer bulk packs perfect for this recipe. For the oil, peanut or vegetable oil with a high smoke point is essential for that golden, shatteringly crisp crust. The buttermilk in the wet dredge is non-negotiable; it tenderizes the meat while helping the coating adhere (worth the extra minute to measure it out).
Short on buttermilk? Whole milk with a splash of vinegar works in a pinch. Swap thighs for breasts if you prefer, but they dry out faster (I don’t recommend it). For the sauce, Duke’s or Hellmann’s mayonnaise gives the best texture, and any ketchup will do—just avoid the organic varieties as they’re often too thin. No Worcestershire? A dash of soy sauce plus a pinch of sugar gets you close.
Fry in batches and keep finished pieces warm in a 200°F oven on a wire rack. Leftover chicken reheats best in a toaster oven or air fryer for 3-4 days. The sauce keeps for 1 week in the fridge—stir before using as it separates over time.
Why You’ll Love This Recipe
- One Bowl Wonder: I mix the flour, cornstarch, buttermilk, and eggs right in one bowl—no extra dishes, no fuss.
- That Crunch: The cornstarch in the batter gives it that signature crispy coating that stays crunchy even after sitting.
- Feeds My Crew: I can scale this up for weekend gatherings or down for a quick family dinner with zero stress.
- Leftovers? Yes Please: Honestly, the chicken reheats surprisingly well—still juicy, still crispy enough for sandwiches the next day.
Step-by-Step Instructions for Finger-Licking Crispy Chicken
Master the technique for achieving maximum crunch and juiciness with every bite.
Step 1: Season and Dredge Chicken in Spiced Flour
Cut the chicken thighs into 1-inch wide strips. In a large bowl, whisk together the all-purpose flour, cornstarch, garlic powder, onion powder, paprika, 2 tsp Salt, and 1 tsp Black Pepper. The cornstarch is key—it creates micro-crispiness that flour alone can’t achieve.
Dredge each piece of chicken in the flour mixture, pressing firmly so the coating adheres completely. Shake off any excess, but ensure full coverage. I’ve found that letting the dredged pieces rest for 5 minutes helps the coating set, preventing it from sliding off during frying.
Step 2: Dip in Buttermilk-Egg Wash for Adhesion
In another bowl, whisk together the buttermilk and large eggs until smooth. The buttermilk’s acidity tenderizes the chicken, while the eggs provide a sticky base for the flour to cling to during the second dredge.
Dip each floured chicken piece into the buttermilk mixture, letting any excess drip off for 3-5 seconds. Then return it to the flour mixture for a second coating. This double-dredging method builds layers, which translates to extra crunch. Make sure each piece is thoroughly coated—no bare spots allowed.
Step 3: Deep-Fry to Golden Perfection
Heat the vegetable oil in a deep, heavy-bottomed pot to 350°F. Use a thermometer for precision—oil temperature is everything. If it’s too cool, the chicken will absorb oil and become greasy; too hot, and it’ll burn outside before cooking through.
Fry the chicken in batches to avoid crowding the pot, which would drop the oil temperature. Cook for 6-8 minutes until the coating is deep golden brown and the internal temperature reaches 165°F. Drain on a wire rack set over a baking sheet—not paper towels, which can make the crust soggy.
Step 4: Prepare the Signature Dipping Sauce
While the chicken fries, whisk together the mayonnaise, ketchup, Worcestershire sauce, and 0.5 tsp Black Pepper in a small bowl. The Worcestershire adds a subtle umami depth that balances the sweetness of the ketchup.
Taste and adjust seasoning if needed, though the original proportions are carefully balanced. Let the sauce sit for 5 minutes to allow the flavors to meld. Serve it chilled or at room temperature—never heated, as that would cause the mayonnaise to separate.
Pro Tips For Making Canes Chicken
- Double Dredge: I learned this the hard way—dip the chicken in flour first, then buttermilk, then back in flour mixed with cornstarch for that extra-crispy Canes-style crust.
- Rest the Chicken: After coating, let the pieces sit on a wire rack for 10 minutes before frying. Sounds weird, but it works: the coating sets better and doesn’t slide off in the oil.
- Use Thighs, Not Breasts: Chicken thighs stay juicier and hold up to the double-frying better than breasts. After burning three batches with dry meat, I finally switched and never looked back.
- Hot Oil Test: Drop a pinch of flour in the oil first—if it sizzles immediately, it’s ready. My grandmother swore by this, and she was right: no more soggy or over-browned chicken.
Creative Variations of canes chicken
Spicy Nashville Hot
Add 2 tbsp cayenne pepper and 1 tbsp brown sugar to your flour dredge for that signature heat. After frying, toss the hot chicken in ¼ cup melted butter mixed with 1 tbsp cayenne and 1 tsp hot sauce. Serve with pickles to cut the heat. 🔥
Honey Butter Glaze
Create a sweet contrast by mixing ¼ cup honey with 2 tbsp melted butter and a pinch of salt. Brush onto the crispy chicken immediately after frying. The glaze caramelizes slightly, adding a sticky, sweet layer that pairs perfectly with the tangy sauce.
Air Fryer Version
For a lighter take, spray dredged chicken with avocado oil and air fry at 375°F for 12-15 minutes, flipping halfway. The texture won’t be identical, but it’s still crispy and delicious. I use my Ninja Foodi for this method.
Buttermilk Ranch Twist
Swap the signature sauce for a creamy ranch by mixing ½ cup buttermilk, ¼ cup mayonnaise, 1 tbsp dried dill, and 1 tsp garlic powder. The cool, herby flavors complement the spiced chicken beautifully.
Extra Crispy Parmesan
Add ½ cup grated Parmesan to your flour mixture for a cheesy, umami boost. The Parmesan creates little crispy bits in the coating. I recommend using Kraft grated Parmesan for the best texture.
Cajun Blackened Style
Replace the paprika with Cajun seasoning (I like Tony Chachere’s) and add ½ tsp thyme and ½ tsp oregano to the flour mix. The result is a bold, smoky flavor that’s perfect for those who love a little extra kick. 💪
Nutrition Facts
Frequently Asked Questions
What oil works best for frying?
Use vegetable or peanut oil with a high smoke point. Avoid olive oil as it burns at lower temps. Maintain 350°F for perfect crispiness.
Can I bake instead of frying?
Yes! Bake at 400°F for 20-25 minutes on a wire rack. Spray with oil first for extra crunch. The texture differs but still tastes great.
How do I keep the coating from falling off?
Double-dredge properly: flour → buttermilk → flour. Let each coat rest 5 minutes before frying. This builds adhesion layers.
Can I make the sauce ahead?
Mix and refrigerate for up to 1 week. Stir before serving as it may separate. Avoid freezing as it alters texture.

- Jollof Rice Sauce Recipe: West African Tomato and Spice Infusion - September 25, 2026
- Japanese Rice Soup Recipe: Umami-Rich Comfort in a Bowl - September 25, 2026
- Homemade Cream Of Rice Recipe: Silk-Smooth Breakfast in Minutes - September 25, 2026