
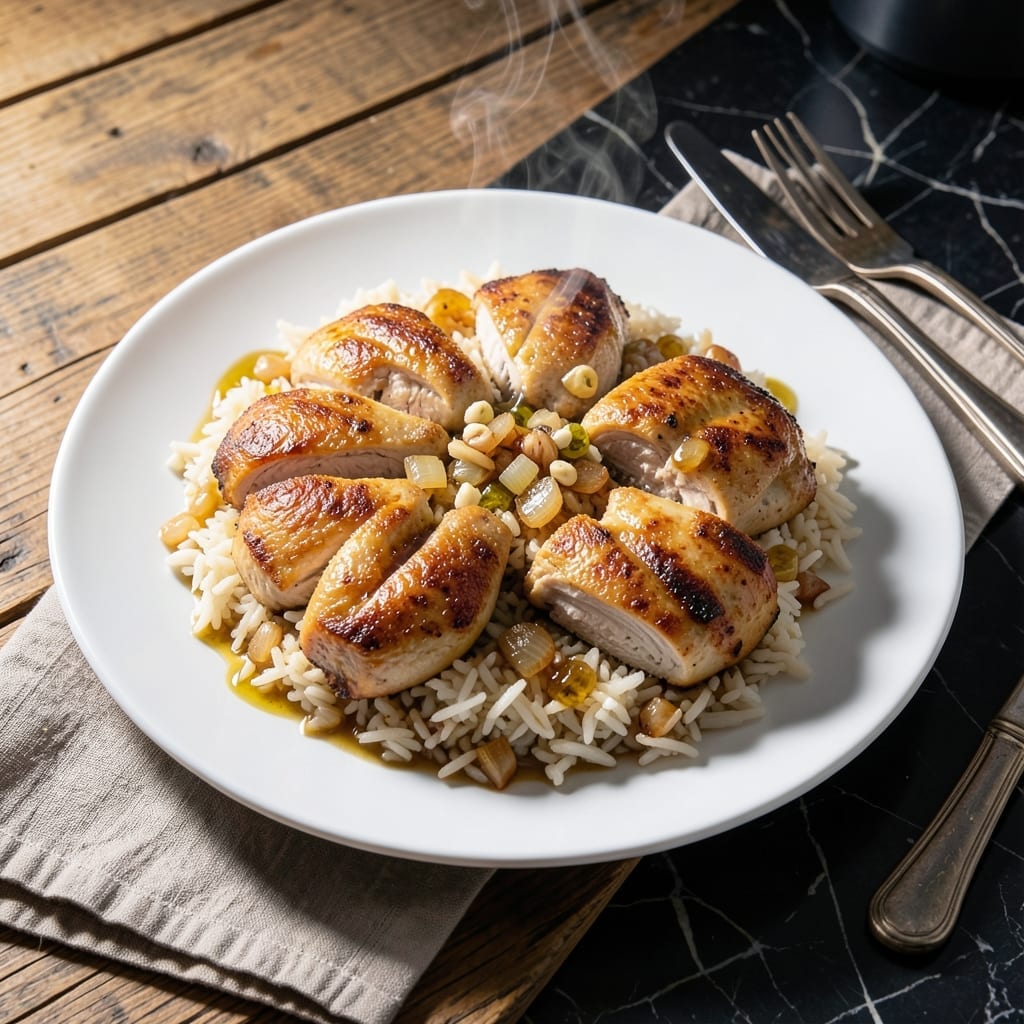
This Ninja Foodi chicken and rice delivers a complete meal with minimal effort and maximum flavor. The pressure cooker transforms simple ingredients into tender chicken and perfectly cooked rice in one pot.
I developed this method to streamline weeknight dinners without sacrificing quality. The chicken stays juicy while the rice absorbs all the savory flavors, creating a dish that tastes like it took hours.
What you’ll get is a foolproof meal with moist chicken pieces nestled in fluffy, seasoned rice. The Ninja Foodi handles everything from browning to pressure cooking, ensuring consistent results every time.
Serve straight from the pot for an easy, satisfying dinner the whole family will love.
Ingredients for Chicken and Rice Recipe Ninja Foodi
One pot, minimal effort, maximum flavor with these simple ingredients.
| Ingredient | Amount | Notes |
|---|---|---|
| Boneless Skinless Chicken Thighs 🍗 | 1 ½ lb | Trimmed of excess fat |
| Long-Grain White Rice 🍚 | 1 ½ cups | Uncooked, rinsed well |
| Chicken Broth 🥣 | 1 ¾ cups | Low-sodium preferred |
| Onion 🧅 | 1 whole | Medium, finely diced |
| Garlic Cloves 🧄 | 3 cloves | Minced for depth |
| Olive Oil 🫒 | 2 tbsp | Divided for browning and sautéing |
| Dried Thyme 🌿 | 1 tsp | Or 1 tbsp fresh |
| Dried Oregano 🍃 | 1 tsp | Mediterranean variety |
| Paprika 🌶️ | 1 tsp | Sweet or smoked |
| Salt 🧂 | 1 tsp | Kosher or sea salt |
| Black Pepper 🌶️ | ½ tsp | Freshly ground |
| Bay Leaf 🌿 | 1 whole | Removed before serving |
| Frozen Peas 🌱 | 1 cup | Optional for color |
The chicken is the star here. Thighs stay juicier than breasts in pressure cooking—grab boneless, skinless from Costco or your regular grocery store. The rice should be long-grain white (jasmine or basmati work too) for that fluffy texture. For broth, low-sodium lets you control the salt. I usually keep a carton of Swanson in the pantry for exactly this kind of meal.
No chicken thighs? Breasts work but reduce cook time by 3 minutes. Short on broth? Water plus a bouillon cube gets you close. Fresh herbs? Use triple the amount of dried. The paprika can be swapped for Cajun seasoning if you want a kick. Frozen peas add color and sweetness (add them at the end), but frozen corn or carrots work too if that’s what you’ve got.
Leftovers keep 4-5 days in the fridge, reheats beautifully. Freezes for 3 months if you want to make a double batch. I like to portion it into containers for grab-and-go lunches—just microwave and go.
Why You’ll Love This Recipe
- One Pot Magic: The Ninja Foodi does all the work—I just dump in the chicken, rice, broth, and aromatics, then walk away.
- Garlic-Infused Comfort: The garlic and onion simmer right into the rice, making every bite rich and savory.
- Weeknight Hero: I make a big batch on Sunday and we’re set for lunches all week. (Yes, even on a Tuesday night)
- Budget Friendly: Boneless thighs and basic pantry staples keep this dish cheap but still feel like a proper meal.
Step-by-Step Instructions for Chicken and Rice Ninja Foodi
Here’s how to make this one-pot wonder with minimal effort and maximum flavor.
Step 1: Sauté Aromatics and Brown Chicken
Set your Ninja Foodi to the Sauté function on High. Add 1 tbsp olive oil and let it heat for 2 minutes. Add the finely diced onion and cook for 3-4 minutes until it turns translucent and slightly golden.
Push the onion to one side and add the 1.5 lb boneless skinless chicken thighs. Season with 1 tsp salt, 0.5 tsp black pepper, 1 tsp paprika, 1 tsp dried thyme, and 1 tsp dried oregano. Brown the chicken for 3-4 minutes per side until golden brown.
Step 2: Add Rice and Spices
Stir in the minced garlic cloves and cook for 30 seconds until fragrant. Add the 1.5 cups long-grain white rice and stir to coat it in the oil and spices, toasting it for 1-2 minutes.
Pour in the 1.75 cups chicken broth and stir, scraping up any browned bits from the bottom of the pot. Add the bay leaf and give everything a good stir.
Step 3: Pressure Cook to Perfection
Secure the pressure cooker lid and set the valve to Seal. Cook on High Pressure for 5 minutes. Once the cooking time is complete, let the pressure release naturally for 10 minutes, then quick-release any remaining pressure.
This step ensures the chicken is fall-apart tender and the rice absorbs all the flavors. The natural release helps prevent the rice from turning mushy.
Step 4: Finish with Peas and Rest
Carefully open the lid and stir in the 1 cup frozen peas. Replace the lid and let it sit for 5 minutes to allow the peas to heat through and the flavors to meld together.
Discard the bay leaf and fluff the rice gently with a fork. The chicken should be fully cooked and the rice tender, with a slight bite. If the mixture seems dry, add a splash of broth or water to loosen it.
Let it rest for 5 minutes before serving. This allows the chicken to reabsorb some of the juices, keeping it moist and flavorful.
Pro Tips For Making Chicken And Rice Recipe Ninja Foodi
- Sear the Thighs First: I learned this the hard way—skipping the sear leaves you with bland, rubbery chicken. Two minutes per side in the Foodi on “Sear/Sauté” locks in juices and adds depth to the broth.
- Rinse the Rice: Sounds tedious, but it removes excess starch so your rice cooks up fluffy instead of gummy. Just swirl it in a bowl of cold water until the water runs clear.
- Use Room-Temp Broth: After a few batches of undercooked rice, I finally figured out cold broth slows the pressure cooker’s progress. Pull it from the fridge 10 minutes early or microwave it for 30 seconds.
- Skip the Stirring: Resist the urge to mix the rice after adding broth—it releases starch and turns your dish into a thick porridge. Just level it gently, then walk away.
Pro Cooking Tips for This Dish
Perfect Sauté Technique
Always heat your Ninja Foodi for 2 minutes before adding oil—this prevents sticking. I use 1 tbsp olive oil at a time to avoid overcrowding. The chicken needs space to brown properly, so work in batches if needed. 💡
Rice Toasting Secret
Toasting the 1.5 cups rice for 1-2 minutes with garlic adds nutty depth. Stir constantly to prevent burning, and scrape up those browned bits—they’re pure flavor. I learned this trick from my Portland farmers market rice vendor.
Pressure Release Timing
That 10-minute natural release is non-negotiable for fluffy rice. Quick-releasing too soon turns it mushy. I set a timer to resist the urge to peek. The steam finishes cooking the rice perfectly while keeping it separate.
Peas Perfection
Add the 1 cup frozen peas after pressure cooking—they only need 5 minutes to heat through. This keeps them bright green and crisp-tender. Stir gently to avoid breaking the rice grains.
Resting Matters
That final 5-minute rest lets juices redistribute in the chicken. I fluff the rice with a fork, then cover it with a towel to absorb excess steam. Pickles always tries to steal a bite during this step!
Liquid Adjustments
If your rice seems dry, add ¼ cup broth and let it sit covered for 5 minutes. The Ninja Foodi’s non-stick pot makes this easy. I keep extra Swanson broth on hand for this exact reason.
Nutrition Facts
Frequently Asked Questions
Can I use chicken breasts instead of thighs?
Yes, but reduce pressure cook time to 3 minutes to prevent dryness. Thighs stay juicier, but breasts work if that’s what you have.
Should I rinse the rice first?
Rinsing removes excess starch, preventing gummy rice. Swirl 1.5 cups rice in a bowl of water until it runs clear.
What if my rice is undercooked?
Add ¼ cup broth and pressure cook for another 2 minutes. Let it naturally release again for best texture.
Can I double the recipe?
Yes, but don’t exceed 2/3 full capacity in your Ninja Foodi. Increase liquid slightly and cook time remains the same.

- Jollof Rice Sauce Recipe: West African Tomato and Spice Infusion - September 25, 2026
- Japanese Rice Soup Recipe: Umami-Rich Comfort in a Bowl - September 25, 2026
- Homemade Cream Of Rice Recipe: Silk-Smooth Breakfast in Minutes - September 25, 2026