
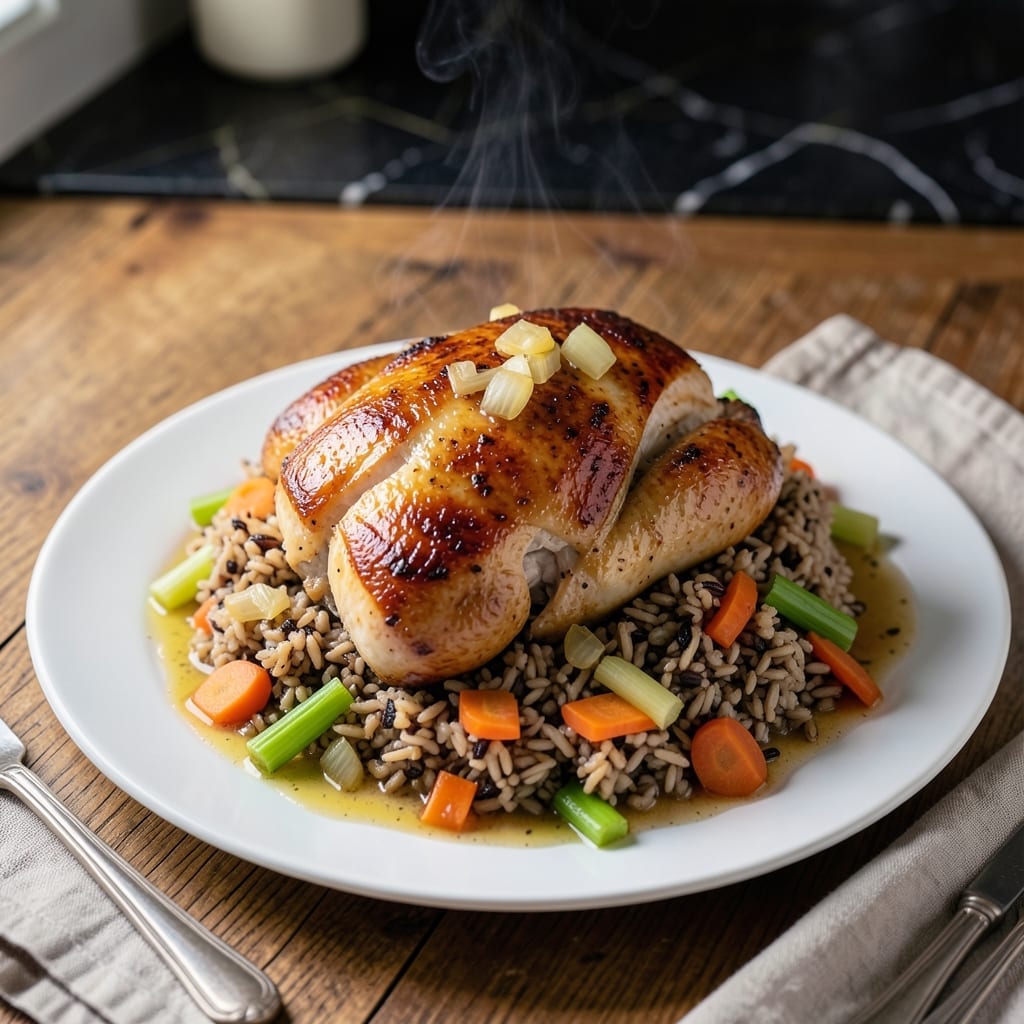
This pressure cooker method delivers perfectly tender chicken and nutty wild rice with minimal effort. The sealed environment locks in moisture while concentrating flavors in ways stovetop cooking cannot replicate.
I developed this technique during my early years at The Smoky Pig, adapting traditional methods for modern kitchens. The key is precise timing—too short and the rice stays crunchy, too long and it turns to mush.
The result is a complete meal with juicy chicken, perfectly cooked wild rice, and vegetables all in one pot. No babysitting required—the pressure cooker does the work while you focus on other tasks.
This hands-off approach produces consistent results every time, making it ideal for busy weeknights or feeding a crowd.
Ingredients for Chicken and Wild Rice Pressure Cooker
Pantry staples plus fresh aromatics deliver savory perfection in one pot.
| Ingredient | Amount | Notes |
|---|---|---|
| Boneless Skinless Chicken Thighs 🍗 | 1 ½ lb | Patted dry for even browning |
| Wild Rice Blend 🌾 | 1 cup | Uncooked, rinsed thoroughly |
| Chicken Broth 🥣 | 2 ½ cups | Low-sodium preferred |
| Yellow Onion 🧅 | 1 whole | Medium, finely diced |
| Carrots 🥕 | 2 whole | Medium, sliced into rounds |
| Celery Stalks 🌿 | 2 whole | Diced, leaves reserved for garnish |
| Garlic Cloves 🧄 | 4 cloves | Minced for depth of flavor |
| Unsalted Butter 🧈 | 2 tbsp | For sautéing aromatics |
| Dried Thyme 🌿 | 1 tsp | Rubbed between fingers to release oils |
| Dried Rosemary 🌿 | 1 tsp | Crushed lightly before adding |
| Bay Leaf 🍃 | 1 whole | Removed before serving |
| Kosher Salt 🧂 | 1 tsp | Diamond Crystal preferred |
| Black Pepper 🌶️ | ½ tsp | Freshly ground for best flavor |
| Fresh Parsley 🌿 | ¼ cup | Chopped, for garnish |
The chicken makes this dish. Thighs stay juicier than breasts under pressure—The Smoky Pig taught me that early on. Look for skinless, boneless to save time. Wild rice blends (often mixed with brown or white rice) cook faster and more reliably than pure wild rice. Lundberg or Bob’s Red Mill brands are solid. Rinsing the rice removes excess starch, preventing a gummy texture.
No wild rice blend? Pure wild rice works but needs 25% more liquid and time. Fresh herbs can replace dried—use triple the amount. No chicken broth? Vegetable broth plus a bouillon cube gets you close. The butter can be swapped for olive oil (though you’ll lose some richness). For extra depth, toss in mushrooms or leeks with the carrots and celery.
Leftovers keep 4-5 days refrigerated. Freeze for up to 3 months—portion into containers for easy grab-and-go meals. The rice absorbs liquid as it sits, so add a splash of broth when reheating. Garnish with extra parsley right before serving (it wilts fast).
Why You’ll Love This Recipe
- One Pot Wonder: I toss everything in at once—chicken, rice, broth, veggies—and let the pressure cooker do the work.
- Rich & Earthy: The wild rice blend soaks up the broth and chicken juices, giving every bite this deep, savory flavor.
- Meal Prep Hero: This reheats beautifully, so I make a big batch for lunches all week.
- Budget Stretcher: Boneless thighs and wild rice blend are affordable, yet this tastes like a fancy meal.
Step-by-Step Instructions for Chicken and Wild Rice
Here’s the method. Straightforward, tested, works every time.
Step 1: Sauté Aromatics for Deep Flavor
Set your pressure cooker to sauté mode and add the 2 tbsp unsalted butter. Once melted and foaming, add the finely diced yellow onion, sliced carrots, and diced celery stalks. Cook for 5-6 minutes until the vegetables soften and the onion turns translucent.
Add the 4 minced garlic cloves, 1 tsp dried thyme, and 1 tsp dried rosemary (rubbed and crushed between your fingers). Stir constantly for 30 seconds until fragrant. This step builds the flavor base that makes this dish so rich and satisfying.
Step 2: Brown the Chicken and Toast the Rice
Pat the 1.5 lb boneless skinless chicken thighs dry and season with 1 tsp kosher salt and 0.5 tsp black pepper. Add them to the pressure cooker in a single layer. Sear for 3-4 minutes per side until golden brown and they release easily from the pot.
Remove the chicken and set aside. Stir in the 1 cup wild rice blend to coat it in the rendered fat and browned bits. Toast for 1 minute—this enhances the nutty flavor of the rice and prevents it from turning mushy during cooking.
Step 3: Pressure Cook to Perfection
Return the chicken to the pot along with any accumulated juices. Pour in the 2.5 cups chicken broth and add the 1 whole bay leaf. Stir gently to combine, making sure to scrape up any browned bits from the bottom to prevent burning.
Secure the lid and set the pressure cooker to high pressure for 24 minutes. Once the cooking time is complete, allow a natural pressure release for 10 minutes, then quick-release any remaining pressure. The chicken should be fall-apart tender, and the rice perfectly cooked.
Step 4: Finish and Garnish
Remove the lid and discard the bay leaf. Shred the chicken directly in the pot using two forks, or leave the thighs whole for a heartier presentation. The rice should have absorbed most of the liquid, with a creamy, slightly thick consistency.
Taste and adjust seasoning if needed. Ladle into bowls and garnish with the 0.25 cup chopped fresh parsley. The parsley adds a bright, fresh contrast to the rich, savory flavors of the dish.
Pro Tips For Making Chicken And Wild Rice Pressure Cooker
- Sear Chicken First: I learned this the hard way—browning the thighs for 2-3 minutes per side in the pressure cooker before adding liquids gives the chicken a depth of flavor that simmering alone can’t match.
- Rinse the Rice: Wild rice blends can be starchy; give them a quick rinse under cold water to prevent a gummy texture in the finished dish.
- Don’t Overfill: Resist the urge to exceed the pressure cooker’s max fill line—wild rice expands, and you’ll end up with a messy, undercooked batch if the pot’s too full.
- Use Natural Release: After cooking, let the pressure release naturally for 10 minutes before quick-releasing—this keeps the chicken thighs tender instead of turning them rubbery.
Storing and Reheating Leftovers
Refrigerator Storage
Let your creation cool no longer than 2 hours before transferring to airtight containers. I prefer glass Pyrex with locking lids. Store at 40°F or below for up to 4-5 days. The flavors deepen overnight as the rice absorbs the savory broth. ❄️
Freezing for Later
This dish freezes beautifully for up to 3 months. Portion into quart-sized freezer bags, squeeze out excess air, and label with the date. Leave 1 inch headspace for expansion. I often freeze individual servings for quick lunches.
Stovetop Reheating
Transfer to a heavy pot, add ¼ cup chicken broth, and warm over medium-low heat for 10-12 minutes, stirring occasionally. This method preserves texture best. If it looks dry, add a splash more broth.
Microwave Method
Place in a microwave-safe bowl, cover with a damp paper towel, and heat on 70% power for 2-3 minutes. Stir, then continue in 1-minute intervals until reaching 165°F. The rice may soften slightly but stays delicious. 🔥
Nutrition Facts
Frequently Asked Questions
Can I use chicken breasts instead of thighs?
You can, but thighs stay juicier under pressure. If using breasts, reduce cook time to 18 minutes to prevent dryness. Brining them for 30 minutes beforehand helps too.
Why do I need to toast the rice first?
Toasting for 1 minute enhances the nutty flavor and prevents mushiness. It also helps the rice absorb liquid evenly during pressure cooking.
My rice turned out undercooked. What went wrong?
This usually means not enough liquid. Wild blends need exactly 2.5 cups broth for 1 cup rice. Also, ensure you scraped up all browned bits to prevent burning.
Can I add other vegetables?
Try adding 1 cup mushrooms or 1 diced bell pepper with the onions. Just keep total volume under 4 cups to avoid overfilling.

- Jollof Rice Sauce Recipe: West African Tomato and Spice Infusion - September 25, 2026
- Japanese Rice Soup Recipe: Umami-Rich Comfort in a Bowl - September 25, 2026
- Homemade Cream Of Rice Recipe: Silk-Smooth Breakfast in Minutes - September 25, 2026