
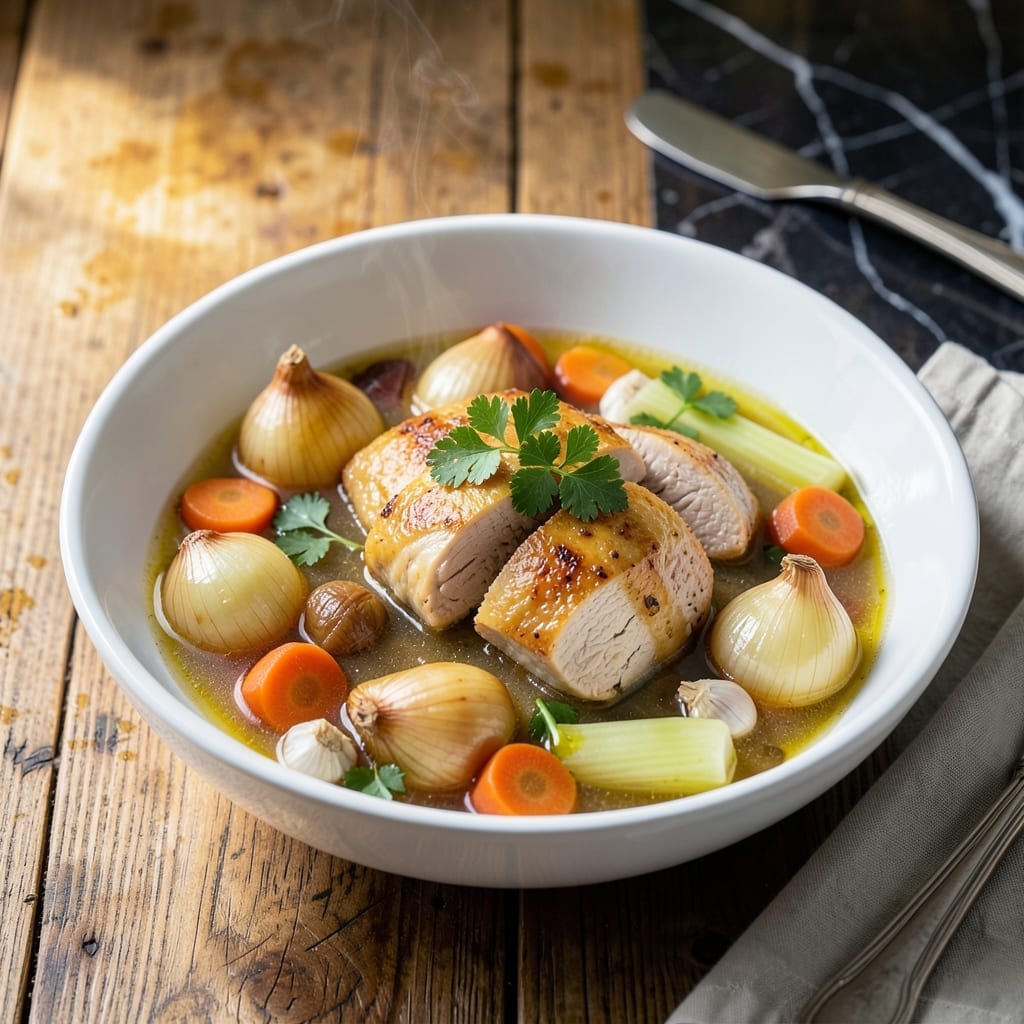
Homemade chicken stock transforms any soup from ordinary to extraordinary, and this recipe proves you don’t need a whole chicken to make it rich and flavorful.
Using chicken breast and a few simple aromatics, you’ll create a golden broth that’s light yet deeply satisfying. The process is straightforward—simmer, skim, and strain.
This method delivers a clean stock with pure, bright flavor that enhances every dish it touches. No shortcuts, just time-honored technique.
Perfect for soups, risottos, or sipping on its own when you need comfort in a bowl.
Ingredients for Chicken Breast Chicken Stock
Simple ingredients yield a golden, deeply flavorful stock that elevates every dish it touches.
| Ingredient | Amount | Notes |
|---|---|---|
| Chicken Breast 🍗 | 1 ½ lb | Boneless, skinless, cut into chunks |
| Yellow Onion 🧅 | 1 whole | Quartered, skin on for color |
| Carrots 🥕 | 2 whole | Roughly chopped, unpeeled |
| Celery Stalks 🌿 | 2 whole | Roughly chopped, leaves included |
| Garlic Cloves 🧄 | 4 cloves | Smashed, skin on |
| Fresh Parsley Stems 🌿 | ½ cup | Roughly chopped |
| Fresh Thyme Sprigs 🌿 | 4 sprigs | Whole sprigs |
| Bay Leaves 🍃 | 2 pieces | Dried whole leaves |
| Black Peppercorns 🌶️ | 1 tsp | Whole, lightly crushed |
| Kosher Salt 🧂 | 1 tsp | Diamond Crystal preferred |
| Cold Water 💧 | 8 cups | Or enough to cover by 2 inches |
The chicken breast should be high quality—air-chilled, hormone-free from Whole Foods or a trusted butcher. Skin-on adds richness, but boneless, skinless works perfectly (the skin can be simmered separately for extra gelatin). The aromatics—onion, carrot, celery—must be fresh. Organic produce from Trader Joe’s or your local farmers market ensures the cleanest flavor. Avoid pre-cut mirepoix; it oxidizes too quickly.
No fresh thyme? Dried thyme at one-third the amount works, but fresh delivers brighter notes. Out of parsley stems? Cilantro stems or celery leaves add similar depth. Short on chicken breast? Bone-in thighs or wings create a richer stock, though the flavor profile will differ. The water should be cold to start—this helps extract impurities gradually for a clear, clean broth.
Stock keeps 4-5 days refrigerated or 6 months frozen. Strain and cool quickly, then skim off fat once chilled. For long-term storage, portion into ice cube trays for easy use in recipes. Always bring to a boil before using if stored longer than 24 hours.
Why You’ll Love This Recipe
- One Pot Simplicity: I toss everything in a single pot and let it simmer—no fancy steps, just chop, drop, and forget.
- Rich & Comforting: The garlic and carrots sweeten the stock as it cooks, giving it a depth that’s way better than store-bought.
- Meal Prep Hero: I make a big batch on Sunday and use it all week for soups, grains, or sauces.
- Pantry Friendly: A few chicken breasts and veggies I already have on hand turn into liquid gold. Honestly, it’s cheaper than a carton.
Step-by-Step Instructions for Chicken Breast Stock
Here is the method. Straightforward, tested, works every time.
Step 1: Prepare the Chicken and Aromatics
Cut the 1.5 lb chicken breast into 2-inch chunks—this increases surface area for better flavor extraction. Quarter the 1 whole yellow onion with skin on, as the papery outer layers add rich color to the stock.
Roughly chop the 2 whole carrots and 2 whole celery stalks, leaves included, into 1-inch pieces. Smash the 4 cloves garlic cloves with the side of your knife, leaving the skins intact to prevent bitterness. Lightly crush the 1 tsp black peppercorns to release their oils.
Step 2: Build the Flavor Base
Combine the chicken, onion, carrots, celery, and smashed garlic in a large stockpot. Add the 0.5 cup fresh parsley stems, 4 sprigs fresh thyme sprigs, and 2 pieces bay leaves. These aromatics form the backbone of your stock’s depth.
Stir in the 1 tsp kosher salt, which enhances the natural flavors without overpowering them. The salt should dissolve as you add the liquid, ensuring even distribution throughout the stock.
Step 3: Add Water and Begin the Simmer
Pour in the 8 cups cold water, ensuring the ingredients are submerged by at least 2 inches. Cold water is crucial—it allows impurities to rise slowly to the surface for easy skimming, rather than emulsifying into the stock.
Place the pot over medium-high heat and bring to a gentle boil. As soon as bubbles form, reduce the heat to low to maintain a bare simmer. You should see occasional small bubbles breaking the surface, not a rolling boil.
Step 4: Skim and Simmer for Clarity
As the stock heats, a layer of foam and fat will rise to the top. Use a fine-mesh skimmer to remove this impurity layer every 10-15 minutes during the first 30 minutes of simmering. This step ensures a clear, clean stock.
Partially cover the pot and let it simmer gently for 2 to 2.5 hours. The chicken breast will fully cook and break down, releasing its collagen and gelatin for a rich, velvety texture. Avoid stirring, as this can cloud the stock.
Step 5: Strain and Finish
After simmering, remove the pot from heat and let it sit for 10 minutes to allow solids to settle. Carefully strain the stock through a fine-mesh sieve into a clean container, pressing gently on the solids to extract all liquid without forcing pulp through.
Discard the solids and let the stock cool to room temperature. Once cool, refrigerate for up to 5 days or freeze for 3 months. The stock should have a rich golden color and a clean, aromatic flavor, perfect for soups, sauces, or braising.
Pro Tips For Making Chicken Breast Chicken Stock
- Simmer, Don’t Boil: Keep the heat low enough that tiny bubbles just barely break the surface—any harder and your stock turns cloudy and bitter. I learned this the hard way after ruining two batches with aggressive boiling.
- Roast the Bones: If using leftover chicken breast bones, roast them at 400°F for 20 minutes first. Sounds weird, but it works: the caramelization adds depth you just can’t get from raw bones.
- Skim the Foam: In the first 15 minutes, skim off the gray foam that rises to the top with a fine mesh strainer. Skip this and your stock will have that murky, greasy texture no one wants.
- Add Cold Water: Always start with cold water—it helps extract the gelatin and flavor from the chicken and veggies more evenly. I was skeptical until I tried it, and now I’d never go back.
Storing and Reheating This chicken breast chicken stock
Refrigerator Storage
Let your stock cool completely before transferring to airtight containers. I use glass mason jars for easy portioning. Store at 40°F or below for up to 5 days. The flavors deepen as it rests. ❄️
Freezer Storage
For long-term storage, pour cooled stock into freezer-safe bags or containers, leaving 1-inch headspace for expansion. Lay bags flat to save space. It keeps for 3 months without losing quality. I label each with the date using a permanent marker.
Stovetop Reheating
Pour stock into a saucepan and warm over medium-low heat for 5-7 minutes. Avoid boiling to preserve the delicate flavors. If using in soups, add it cold directly to the pot—it’ll warm as the dish cooks. 🔥
Microwave Reheating
Transfer a portion to a microwave-safe bowl and cover with a damp paper towel. Heat on 70% power in 1-minute intervals, stirring between each, until reaching 165°F. This prevents hot spots and uneven heating.
Fat Removal Tip
After refrigeration, the fat will solidify at the top. Simply skim it off with a spoon before reheating. For a clearer stock, chill it in a wide, shallow container—the fat layer forms faster and is easier to remove.
Nutrition Facts
Frequently Asked Questions
Can I use chicken thighs instead of breast?
Yes, thighs work well and create a richer stock due to higher fat content. Use 1.5 lb bone-in thighs for similar yield, but expect a slightly more robust flavor.
Why does the stock turn cloudy?
Cloudiness usually comes from boiling too vigorously or not skimming impurities. Keep at a gentle simmer and skim every 10-15 minutes for clarity.
Do I need to roast the chicken first?
Not for this method. Since you’re using breast, simmering raw pieces works perfectly. Roasting would add depth but isn’t necessary for a clean, light stock.
How long can I keep it in the fridge?
Properly stored in airtight containers, your stock stays fresh for 4-5 days. For longer storage, freeze for up to 3 months.

- Jollof Rice Sauce Recipe: West African Tomato and Spice Infusion - September 25, 2026
- Japanese Rice Soup Recipe: Umami-Rich Comfort in a Bowl - September 25, 2026
- Homemade Cream Of Rice Recipe: Silk-Smooth Breakfast in Minutes - September 25, 2026