
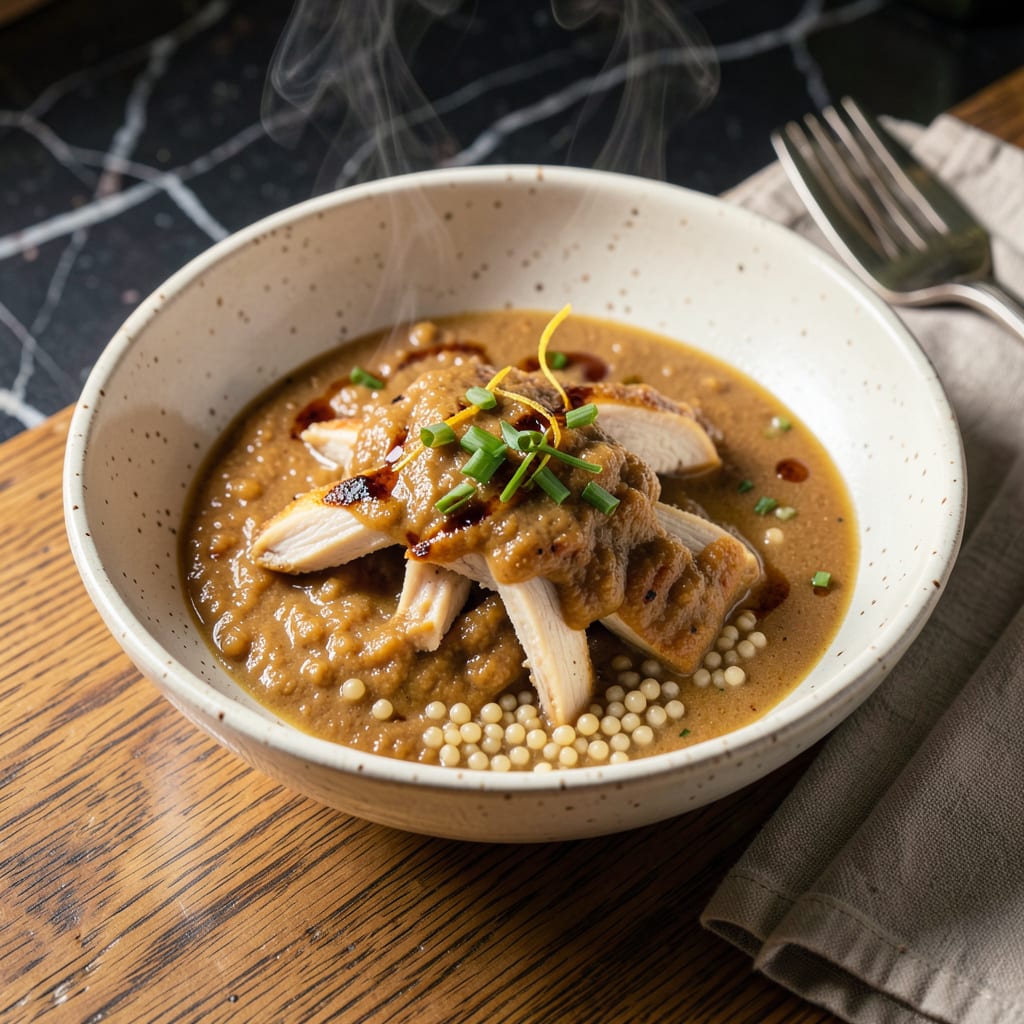
A good roux is the secret weapon behind so many incredible sauces, and when you swap water for chicken broth, you unlock a whole new level of flavor. I’ve been making this velvety base for years, and it’s the difference between flat sauces and ones that taste like they simmered all day.
The technique is simple but precise: equal parts butter and flour cooked until just golden, then slowly whisked with warm chicken broth. The broth adds depth that water can’t match, creating a rich foundation for gravies, soups, or creamy pasta sauces. I always keep a batch in my fridge for quick meal upgrades.
What you’ll end up with is a smooth, glossy sauce that clings perfectly to whatever you’re cooking. It thickens beautifully without clumping, and the chicken broth gives it a savory complexity that makes everything taste more restaurant-quality. The best part? It takes less than 15 minutes to make.
Use it as a base for mac and cheese, pour it over roasted chicken, or stir it into soups for extra body. Once you master this technique, you’ll never go back to store-bought sauces again.
📚 In This Guide
- What You’ll Need
- Instructions
- Tips and Common Mistakes
What Youll Need
- ● Ingredients: 2 tbsp unsalted butter (or 2 tbsp oil/vegan butter for dairy-free) 🧈
- ● 2 tbsp all-purpose flour (or gluten-free 1:1 blend)
- ● 1 cup high-quality chicken broth (low-sodium preferred, or homemade)
- ○ Optional: ½ tsp salt (adjust to taste)
- ○ Optional: ¼ tsp black pepper (freshly ground for best flavor)
- ● Tools & Equipment: Medium saucepan (heavy-bottomed for even heat)
- ● Whisk (or wooden spoon for stirring)
- ● Measuring cups/spoons
- ● Ladle (for serving or transferring)
- ○ Optional: Fine-mesh strainer (if you prefer ultra-smooth texture)
- ● Prerequisites: Warm broth (room temp or slightly heated for faster thickening)
- ● Patience! Roux takes 5–15 mins to cook to the right color.
Instructions
Making a perfect roux with chicken broth is simpler than you think—just follow these steps for a velvety base every time.
Melt the Fat and Add Flour
Start by melting equal parts butter and flour in a heavy-bottomed saucepan over medium heat. I prefer using unsalted butter so I can control the saltiness later. Let the butter melt completely until it starts to foam slightly—this usually takes about 2-3 minutes.
Once melted, add the flour all at once and stir immediately with a wooden spoon. The mixture will look clumpy at first, but keep stirring constantly. You’re aiming for a smooth paste that coats the back of your spoon. This step is crucial—don’t walk away, as the mixture can burn quickly if left unattended.
Cook the Roux to Your Desired Color
Continue cooking the roux over medium heat, stirring constantly. After about 3-5 minutes, you’ll notice the color start to change from pale yellow to light tan. This is when the magic happens—the flour loses its raw taste and develops a nutty aroma.
For a blonde roux (used in béchamel and creamy sauces), cook for about 5 minutes total. For a golden roux (great for gravies and velouté), continue cooking for 7-10 minutes until it reaches a peanut butter color. If you want a darker roux for gumbo or stews, cook for 15-20 minutes until it’s the color of milk chocolate. Remember, the darker the roux, the less thickening power it has, so adjust your expectations accordingly.
Gradually Add Warm Chicken Broth
Here’s the key to preventing lumps: warm your chicken broth before adding it to the roux. I heat mine in a separate saucepan until it’s steaming but not boiling. Start by adding ½ cup of warm broth to the roux while whisking vigorously. The mixture will seize up at first—this is normal.
Continue adding broth ½ cup at a time, whisking constantly until each addition is fully incorporated before adding more. You’ll notice the mixture transforming from a thick paste to a smooth sauce. After adding all the broth, let it simmer for 5-7 minutes until it reaches your desired consistency. The sauce should coat the back of a spoon but still be pourable.
Season and Finish the Sauce
Now it’s time to build flavor. Start with ½ teaspoon salt and ¼ teaspoon black pepper, then taste and adjust as needed. I like to add a pinch of garlic powder and onion powder for extra depth. If you’re using this as a base for other recipes, keep the seasoning light—you can always add more later.
Let the sauce simmer for another 2-3 minutes after seasoning to allow the flavors to meld. If the sauce becomes too thick, whisk in a splash of warm broth or water to thin it out. For a richer finish, stir in 1 tablespoon butter at the end—this adds a beautiful sheen and extra richness. Your roux is now ready to use in soups, sauces, or gravies!
Tips and Common Mistakes
Perfecting this velvety base is all about patience and attention to detail. Here’s what I’ve learned from making it countless times.
Temperature Control: Maintaining that steady medium heat throughout the process is absolutely crucial. When you’re in Step 1 melting the butter, don’t rush it – those 2-3 minutes are important for even melting without browning. I’ve found that if my roux starts cooking too quickly, it can develop hot spots that burn before the flour fully cooks. Keep that heat consistent and stir constantly – this isn’t a step where you can walk away for even a minute.
Color Development: In Step 2, the color change happens gradually between 3-5 minutes, but the real transformation occurs between 5-7 minutes for a golden roux. I always pull my roux off the heat just before it reaches my target color because it continues to darken slightly even after you remove it from the heat. For that perfect peanut butter shade mentioned in the instructions, I find it helpful to have a reference color nearby – maybe a jar of actual peanut butter to compare against.
Broth Incorporation: When you reach Step 3, the key to that velvety texture is truly in how you add the broth. Those ½ cup increments aren’t arbitrary – adding too much at once can cause the roux to separate rather than emulsify. I use a measuring cup with a spout for precise pouring while whisking constantly. The mixture will look like it’s seizing up at first, but keep whisking vigorously and it will smooth out beautifully. This step requires patience, but those 5-7 minutes of simmering afterward are what transform it from a simple mixture to a rich, cohesive sauce.
Finishing Touches: Don’t underestimate the importance of that final 2-3 minutes of simmering in Step 4 after seasoning. This is when all the flavors really come together. I always taste before adding that final tablespoon of butter – sometimes the sauce needs a pinch more salt or pepper before that rich finish. The butter at the end isn’t just for richness; it adds a beautiful sheen that makes the sauce look as good as it tastes.
Pro Tips for Roux With Chicken Broth
- Perfecting this velvety base is all about patience and attention to detail. Here’s what I’ve learned from making it c…
- Temperature Control: Maintaining that steady medium heat throughout the process is absolutely crucial. When you’re in…
- Color Development: In Step 2, the color change happens gradually between 3-5 minutes, but the real transformation occ…
Frequently Asked Questions
Can I use store-bought chicken broth for a roux?
Store-bought low-sodium chicken broth works great—just opt for high-quality brands with no added preservatives. For deeper flavor, simmer it 5–10 minutes to reduce slightly before adding to your roux. Homemade broth adds richness, but store-bought is a convenient shortcut without sacrificing texture.
How long does it take to make a roux with chicken broth?
Timing depends on the roux color: Blonde roux (light) takes 3–5 minutes, medium brown 8–10 minutes, and dark roux 15–20 minutes. Once you add warm chicken broth, whisk vigorously for 2–3 minutes until smooth. Total time: ~20–30 minutes for most recipes.
What’s the best roux-to-broth ratio for gravy or sauce?
For a medium-thick sauce (like gravy), use 1:1 (e.g., 2 tbsp roux to 2 cups broth). For soups, reduce to 1:2 (1 tbsp roux per 2 cups broth). Adjust with extra broth if too thick or simmer longer if too thin.
My roux separated after adding chicken broth—how do I fix it?
Don’t panic! Whisk in 1 tsp cold water or broth to rebind the fats and flour. If clumpy, strain the mixture, then reheat gently while stirring. Pro tip: Always add warm (not cold) broth to prevent separation.
Can I make a roux with chicken broth instead of butter or oil?
Not quite—roux requires fat (butter, oil, or drippings) to cook the flour. However, you can deglaze with chicken broth after making the roux to boost flavor. For a lower-fat option, try a slurry (cornstarch + broth) instead.
Mastering a roux with chicken broth opens the door to richer, deeper flavors in your cooking! 🍲 Whether you’re thickening a creamy sauce, elevating a soup, or perfecting a gravy, this simple technique delivers restaurant-quality results with minimal effort. The key is patience—let that roux develop its golden hue and blend smoothly with warm broth for a velvety finish.
Ready to put your new skills to work? Try whipping up a classic chicken pot pie or a silky alfredo sauce next! Don’t forget to experiment with herbs or spices to make it your own. Happy cooking! 👨🍳

- Jollof Rice Sauce Recipe: West African Tomato and Spice Infusion - September 25, 2026
- Japanese Rice Soup Recipe: Umami-Rich Comfort in a Bowl - September 25, 2026
- Homemade Cream Of Rice Recipe: Silk-Smooth Breakfast in Minutes - September 25, 2026