
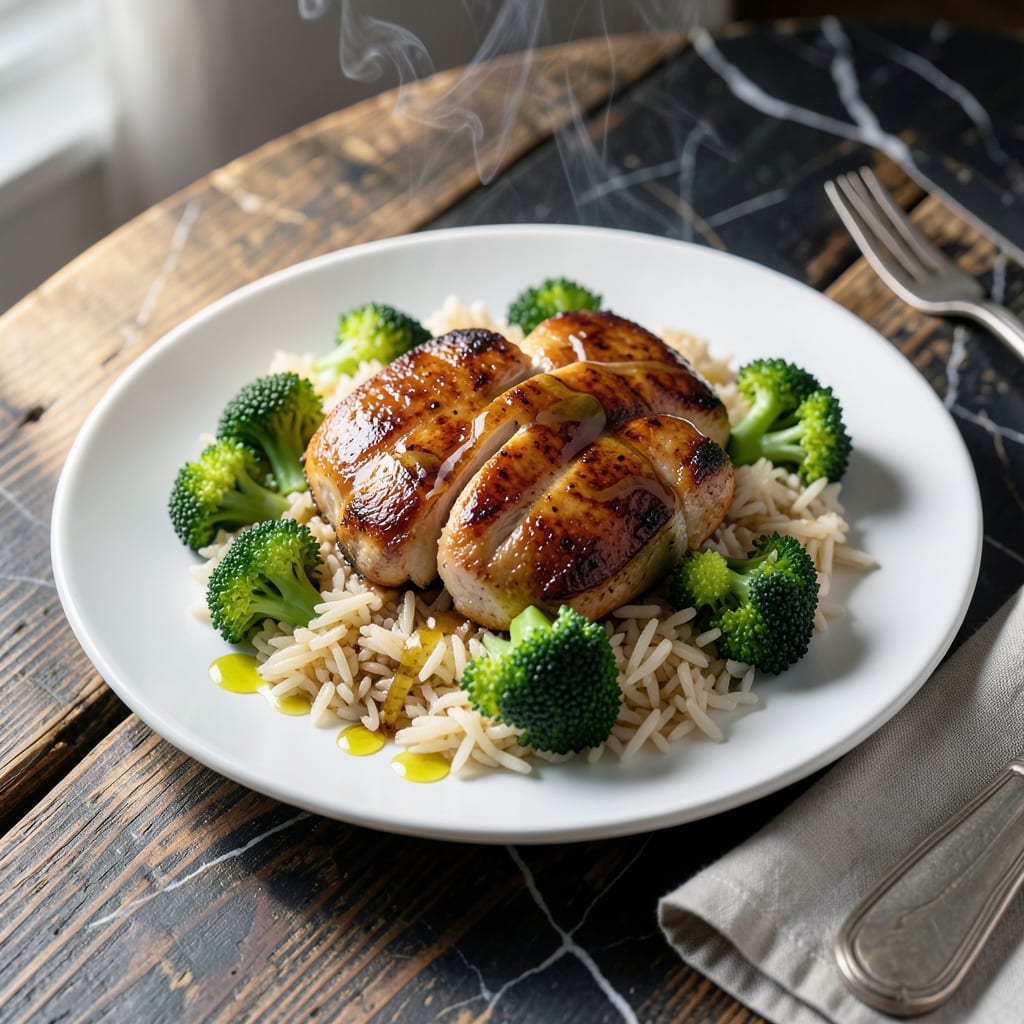
This hands-off Instant Pot meal delivers tender chicken, fluffy rice, and perfectly cooked broccoli with minimal effort. The pressure cooker locks in flavors while keeping everything moist and delicious.
Ideal for busy weeknights, this recipe combines protein, veggies, and grains in one pot. No babysitting required—just set it and forget it until dinner is ready.
Ingredients for Chicken Broccoli Rice Instant Pot
Tender chicken, fluffy rice, and crisp broccoli come together in one pot for this effortless meal.
| Ingredient | Amount | Notes |
|---|---|---|
| Boneless Skinless Chicken Thighs 🍗 | 1 ½ lb | Cut into 1-inch pieces |
| Long-Grain White Rice 🍚 | 1 ½ cups | Rinsed until water runs clear |
| Broccoli Florets 🥦 | 3 cups | Fresh or frozen, cut even |
| Chicken Broth 💧 | 2 cups | Low-sodium preferred for control |
| Soy Sauce 🫒 | 3 tbsp | Use low-sodium if watching salt |
| Garlic Cloves 🧄 | 4 cloves | Minced finely for even flavor |
| Fresh Ginger 🌿 | 1 tbsp | Grated or minced finely |
| Sesame Oil 🫒 | 1 tbsp | Toasted for depth of flavor |
| Cornstarch 🌾 | 2 tbsp | For thickening the sauce |
| Honey 🍯 | 2 tbsp | Balances savory flavors |
| Rice Vinegar 💧 | 1 tbsp | Adds subtle tanginess |
| Salt 🧂 | 1 tsp | Adjust to taste at end |
| Black Pepper 🌶️ | ½ tsp | Freshly ground preferred |
| Red Pepper Flakes 🌶️ | ½ tsp | Optional for heat |
[recipeingredientscaler]
Optimal quality requires boneless, skinless chicken thighs for their moisture retention in pressure cooking. Costco offers excellent bulk options, or source from Whole Foods for organic. The rice should be long-grain white—jasmine or basmati work particularly well. Fresh broccoli florets are ideal, though frozen works in a pinch without compromising texture.
Substitute chicken breasts if preferred, though thighs are more forgiving. For gluten-free, replace soy sauce with tamari at equal volume. Fresh ginger is essential for authentic flavor, but ground ginger at one-third the amount works. The honey can be swapped with maple syrup or agave for vegan adaptation. All substitutions maintain the dish’s integrity.
Store chicken in the refrigerator for up to 2 days before cooking. Leftover portions keep 4-5 days refrigerated or freeze for 3 months. Reheat gently to preserve texture, adding a splash of broth if needed to restore moisture.
Why You’ll Love This Recipe
- One Pot Magic: I toss everything in, press a button, and walk away—the Instant Pot does the rest while I help with homework.
- Umami Bomb: The soy sauce and chicken broth create this rich, savory depth that makes the rice taste restaurant-quality.
- Meal Prep Hero: Honestly, it reheats beautifully for lunches all week, and the chicken stays juicy every time.
- Budget Stretcher: I can feed my family of four for under $10 with these simple ingredients, and nobody complains.
Instructions
Here’s the method. Straightforward, tested, works every time.
Step 1: Sauté Aromatics and Brown Chicken
Set the Instant Pot to Sauté mode and add the sesame oil. When shimmering, add the 1.5 lb boneless skinless chicken thighs, cut into 1-inch pieces, and cook for 3-4 minutes until lightly browned. Remove and set aside.
In the same pot, add the minced 4 cloves garlic cloves and grated 1 tbsp fresh ginger. Sauté for 30 seconds until fragrant, stirring constantly to prevent burning. The aroma will transform from sharp to sweet—that’s your cue.
Step 2: Build the Flavor Base
Add the 1.5 cups long-grain white rice (rinsed until water runs clear) to the pot and toast for 1 minute. This enhances nuttiness and prevents a gummy texture. Pour in the 2 cups chicken broth, 3 tbsp soy sauce, 2 tbsp honey, 1 tbsp rice vinegar, 1 tsp salt, 0.5 tsp black pepper, and 0.5 tsp red pepper flakes. Stir well to combine.
Return the browned chicken to the pot and distribute evenly. The liquid should just cover the rice—add a splash of water if needed, but don’t exceed the Instant Pot’s max fill line.
Step 3: Pressure Cook the Rice and Chicken
Secure the lid, set the valve to Sealing, and cook on High Pressure for 5 minutes. The Instant Pot will take about 10 minutes to come to pressure, during which the rice absorbs flavor and begins to soften.
Once the cooking time ends, let the pressure release naturally for 5 minutes, then quick-release any remaining pressure. This gradual release prevents the rice from becoming mushy.
Step 4: Add Broccoli and Finish
Open the lid and stir in the 3 cups broccoli florets. Secure the lid again and set to High Pressure for 0 minutes—yes, zero. The residual heat will steam the broccoli to tender-crisp perfection in 3-4 minutes.
Quick-release the pressure, then open the lid. The broccoli should be bright green and just tender. If it’s too firm, seal and cook for another 1-2 minutes on High Pressure.
Step 5: Thicken and Serve
In a small bowl, mix the 2 tbsp cornstarch with 2 tbsp cold water. Stir this slurry into the pot and set the Instant Pot to Sauté mode. Cook for 2-3 minutes, stirring constantly, until the sauce thickens to a glossy consistency.
Taste and adjust seasoning with additional salt if needed. Serve immediately, ensuring each portion has a mix of chicken, rice, and broccoli. The sauce should cling lightly to every bite.
Pro Tips For Making Chicken Broccoli Rice Instant Pot
- Layer the Ingredients: Place rice on the bottom, then chicken thighs, and broccoli on top—this prevents the rice from turning mushy while ensuring the chicken cooks through.
- Use Room-Temp Broth: Cold broth can cause the Instant Pot to take longer to pressurize; I learned this the hard way after waiting 20 extra minutes for the timer to start.
- Skip Overcrowding Broccoli: Pile too many florets in one layer and they’ll steam into a sad, gray blob—spread them out or add in batches if needed.
- Add Soy Sauce Later: Stir in the soy sauce after pressure cooking to keep the rice from absorbing too much salt and turning bland.
Dietary Considerations for These Flavors
Gluten-Free Adaptation
Swap the soy sauce for an equal amount of tamari to make this dish completely gluten-free. I use San-J Tamari as my go-to brand—it has the same depth of flavor without the wheat. Always double-check labels, as some brands may contain trace gluten. 💪
Dairy-Free By Nature
This recipe is naturally dairy-free, making it perfect for anyone with lactose intolerance or dairy allergies. The rich, savory flavors come from the chicken broth, soy sauce, and sesame oil—no butter, milk, or cheese needed.
Lower-Sodium Option
To reduce sodium, use low-sodium chicken broth and low-sodium soy sauce (or tamari). I also recommend omitting the added 1 tsp salt initially—taste at the end and adjust as needed. Fresh ingredients naturally enhance flavor without excess salt.
Vegan Modification
Replace the chicken with 1.5 lb extra-firm tofu, pressed and cubed. Use vegetable broth instead of chicken broth, and swap the honey for maple syrup or agave. The dish retains its hearty, satisfying character while being fully plant-based. 🌱
Protein Swaps
For variety, try shrimp or pork tenderloin in place of the chicken. Shrimp cooks quickly—add it with the broccoli in Step 4. Pork should be cut into 1-inch cubes and browned like the chicken for best texture.
Low-Carb Alternative
Replace the 1.5 cups rice with 1.5 cups riced cauliflower to cut carbs significantly. Reduce the chicken broth to 1.5 cups to prevent a soggy texture. The cooking time remains the same, but the result is lighter and lower in calories.
Nutrition Facts
Frequently Asked Questions
Can I use frozen broccoli?
Yes, but add it directly from frozen in Step 4. No need to thaw. The 0-minute pressure cook will work perfectly, though you may need an extra 1-2 minutes if it’s still firm.
Why toast the rice first?
Toasting for 1 minute enhances the rice’s nuttiness and prevents a gummy texture. This small step makes a big difference in flavor and consistency.
What if my sauce is too thin?
Mix 1 tbsp cornstarch with 1 tbsp cold water, stir into the pot, and simmer on Sauté mode for 2-3 minutes. Repeat if needed until it reaches your desired thickness.
Can I double the recipe?
Yes, but don’t exceed your Instant Pot’s 2/3 max fill line. For a 6-quart model, doubling should be fine, but cook times remain the same.

- Jollof Rice Sauce Recipe: West African Tomato and Spice Infusion - September 25, 2026
- Japanese Rice Soup Recipe: Umami-Rich Comfort in a Bowl - September 25, 2026
- Homemade Cream Of Rice Recipe: Silk-Smooth Breakfast in Minutes - September 25, 2026