
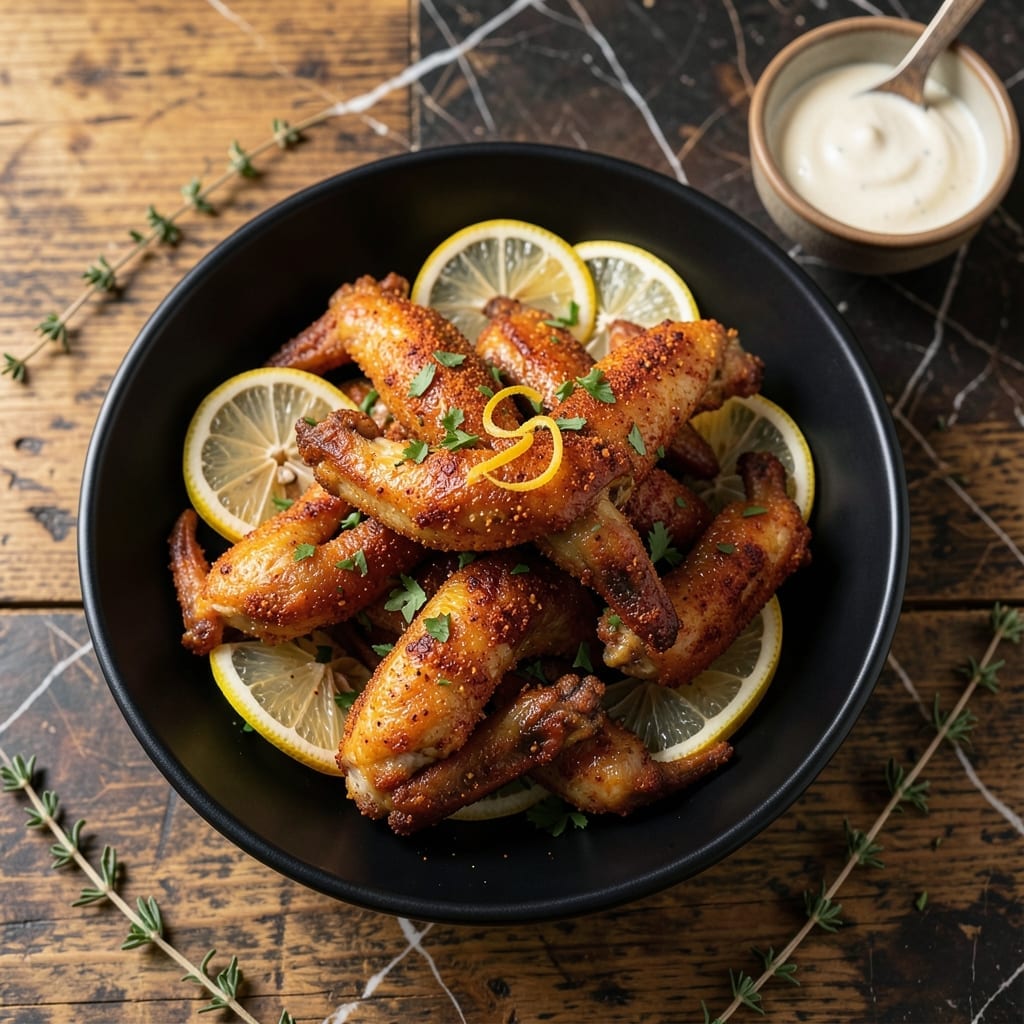
This recipe transforms humble chicken claws into a crispy, flavor-packed dish that’s impossible to resist. The secret lies in a double-cooking method that ensures every bite delivers maximum crunch and bold seasoning.
I’ve perfected this technique to guarantee a golden, shatteringly crispy coating while keeping the meat tender and juicy. The claws are first par-boiled to soften, then deep-fried or air-fried for that signature texture.
What you’ll get are perfectly cooked claws with a deep, savory flavor and a coating so crispy it crackles with every bite. The seasoning blend enhances the natural richness of the chicken without overpowering it.
Serve these as a snack, appetizer, or main course. The result is always a crowd-pleaser.
Ingredients for Chicken Claws
Transform humble chicken claws into a crispy, bold masterpiece with these essentials.
| Ingredient | Amount | Notes |
|---|---|---|
| Chicken Claws 🍗 | 2 lb | Cleaned and trimmed |
| All-Purpose Flour 🌾 | 1 ½ cups | For initial coating |
| Cornstarch 🌾 | ½ cup | For extra crispiness |
| Paprika 🌶️ | 1 tbsp | Sweet or smoked variety |
| Garlic Powder 🧄 | 1 tbsp | For savory depth |
| Onion Powder 🧅 | 1 tbsp | Enhances flavor profile |
| Salt 🧂 | 1 ½ tsp | Kosher or sea salt |
| Black Pepper 🌶️ | 1 tsp | Freshly ground preferred |
| Cayenne Pepper 🔥 | ½ tsp | Adjust for heat preference |
| Vegetable Oil 🫒 | 4 cups | For deep-frying |
| Large Eggs 🥚 | 2 whole | Beaten for binding |
| Buttermilk 🥛 | 1 cup | For tenderizing and flavor |
| Dried Thyme 🌿 | 1 tsp | Optional for extra depth |
The chicken claws are the foundation—source them fresh from a trusted butcher or Asian market for optimal quality. Look for plump, moist claws without discoloration. Costco often carries them frozen, which works well (thaw overnight). For the coating, King Arthur flour delivers consistent results. The cornstarch is non-negotiable for that shatteringly crisp texture.
No buttermilk? Whole milk with 1 tbsp lemon juice or vinegar works in a pinch. Swap paprika for smoked paprika if you prefer a deeper, more robust flavor. Vegetable oil can be substituted with peanut or canola oil for frying—just ensure a high smoke point. The cayenne can be omitted for a milder dish, or doubled for extra heat.
Store raw claws in the fridge for up to 2 days before cooking. The seasoning blend keeps in an airtight container for 3 months. Leftover cooked claws? Reheat in the air fryer for 3-4 minutes to restore crispiness. Never microwave—it’ll turn them soggy.
Why You’ll Love This Recipe
- One Pan Wonder: I toss the claws with flour, cornstarch, and spices, then bake—no messy frying, no extra dishes.
- That Paprika Punch: The combo of paprika and garlic powder gives them a smoky, savory kick that’s impossible to resist.
- Party Starter: Honestly, these disappear faster than any appetizer I’ve made, and they’re just as good cold the next day.
- Budget Hero: Chicken claws are cheap, stretch far, and turn humble ingredients into something everyone fights over.
Step-by-Step Instructions for Chicken Claws
This method ensures maximum crispiness and bold flavor with every bite.
Step 1: Prepare the Seasoned Flour Mixture
In a large shallow bowl, whisk together the 1.5 cups All-Purpose Flour, 0.5 cup Cornstarch, 1 tbsp Paprika, 1 tbsp Garlic Powder, 1 tbsp Onion Powder, 1.5 tsp Salt, 1 tsp Black Pepper, 0.5 tsp Cayenne Pepper, and 1 tsp Dried Thyme until evenly combined. The cornstarch is key here—it creates that extra-crispy texture that sets these apart.
I like to use a fine-mesh strainer to remove any lumps from the flour first. This ensures the coating adheres smoothly to the chicken claws without clumps. Set this bowl aside while you prepare the wet mixture.
Step 2: Create the Buttermilk Egg Wash
In a separate medium bowl, whisk together the 2 whole Large Eggs and 1 cup Buttermilk until the mixture is smooth and homogeneous. The acidity in the buttermilk tenderizes the chicken while the eggs provide the necessary binding power for the flour coating.
This wet mixture should be thin enough to coat the chicken claws easily but thick enough to cling to them. If it seems too thick, you can add a splash of water, but I find the buttermilk alone provides the perfect consistency for this application.
Step 3: Coat the Chicken Claws
Pat the 2 lb Chicken Claws completely dry with paper towels—this is crucial for achieving that crispy exterior. Any moisture will create steam between the coating and the meat, resulting in a soggy texture rather than the desired crunch.
Dip each chicken claw first into the buttermilk mixture, allowing any excess to drip off for a moment, then dredge it through the seasoned flour mixture, pressing gently to ensure complete coverage. Place the coated claws on a wire rack set over a baking sheet to allow air circulation on all sides while they rest.
Step 4: Deep-Fry to Golden Perfection
Heat the 4 cups Vegetable Oil in a large, heavy-bottomed pot to 350°F. Use a deep-fry thermometer to monitor the temperature accurately—this is non-negotiable for consistent results. The oil should be deep enough to submerge the chicken claws completely.
Carefully lower 4-5 coated claws into the hot oil at a time, being careful not to overcrowd the pot. Fry for 8-10 minutes, turning occasionally, until they reach a deep golden brown color and the internal temperature registers 165°F. The coating should be crisp and audibly crunchy when removed from the oil.
Step 5: Drain and Serve Immediately
Using a slotted spoon or spider, transfer the fried chicken claws to a paper towel-lined plate or wire rack to drain excess oil. The paper towels will absorb any residual grease while maintaining the crispiness of the coating.
Serve immediately while hot and crispy. The contrast between the crunchy exterior and tender meat inside is at its peak right out of the fryer. I recommend serving with your favorite dipping sauce to complement the bold seasoning of the coating.
Pro Tips For Making Chicken Claws
- Double Fry for Crisp: I learned this the hard way—fry the claws once at 325°F for 10 minutes, then crank the heat to 375°F for the final 3-4 minutes to get that shatter-crisp coating without burning the spices.
- Dry the Claws: Pat them bone-dry with paper towels before dredging in flour. Sounds tedious, but it’s the only way the cornstarch-paprika crust actually sticks and doesn’t slide off like a sad, soggy sleeve.
- Skip the Overcrowding: After burning three batches, I finally figured out—fry in small batches with at least an inch between each claw, otherwise they steam instead of crisp.
- Boost with Cold Water: Add 2 tablespoons of ice water to your flour-cornstarch mix. My grandmother swore by this, and it makes the batter cling better and fry up lighter.
Health Benefits of These Flavors
Rich Protein Source
Chicken claws pack a surprising protein punch with about 20 grams per 3.5 ounces. This makes them an excellent choice for muscle maintenance and repair. The protein in these parts is complete, containing all nine essential amino acids your body needs. 💪
Collagen for Joints
These pieces are rich in natural collagen, which supports joint health and skin elasticity. As the claws cook, collagen breaks down into gelatin, providing additional nutritional benefits. I notice my joints feel better when I include these regularly in my diet.
Low in Saturated Fat
Compared to other chicken parts, claws contain significantly less saturated fat. A 3.5-ounce serving has only about 1 gram of saturated fat, making them heart-healthier. This allows you to enjoy that crispy texture without the guilt.
Mineral Powerhouse
You’ll get a good dose of calcium and phosphorus from chicken claws, essential for strong bones and teeth. They also provide iron and zinc, which support immune function and energy levels. The crispy coating adds minimal extra minerals.
B Vitamin Boost
These contain several B vitamins, including B12 for nerve function and niacin for metabolism. The buttermilk marinade actually enhances the availability of these nutrients. A serving provides about 10% of your daily B vitamin needs. 🥛
Budget-Friendly Nutrition
Chicken claws offer excellent nutritional value at a fraction of the cost of premium cuts. You get all these benefits while spending less on your grocery bill. I love that I can create such a flavorful dish without breaking the bank.
Nutrition Facts
Frequently Asked Questions
Do I need to thaw frozen chicken claws first?
Yes, always thaw frozen claws overnight in the refrigerator. This ensures even cooking and prevents the outside from burning before the inside cooks through. Never thaw at room temperature.
Can I bake instead of deep-frying?
Bake at 400°F for 25-30 minutes, flipping halfway. For extra crispiness, spray with oil and broil for 2-3 minutes at the end. The texture won’t be identical but still delicious.
Why did my coating fall off during frying?
This usually happens if the claws weren’t dried thoroughly before coating or if the oil temperature was too low. Pat them completely dry and maintain 350°F oil for best adhesion.
How do I make them extra crispy?
Double-dredge the claws in the flour mixture after the initial coating. Also, let the coated claws rest for 10 minutes before frying to help the coating set.

- Jollof Rice Sauce Recipe: West African Tomato and Spice Infusion - September 25, 2026
- Japanese Rice Soup Recipe: Umami-Rich Comfort in a Bowl - September 25, 2026
- Homemade Cream Of Rice Recipe: Silk-Smooth Breakfast in Minutes - September 25, 2026