
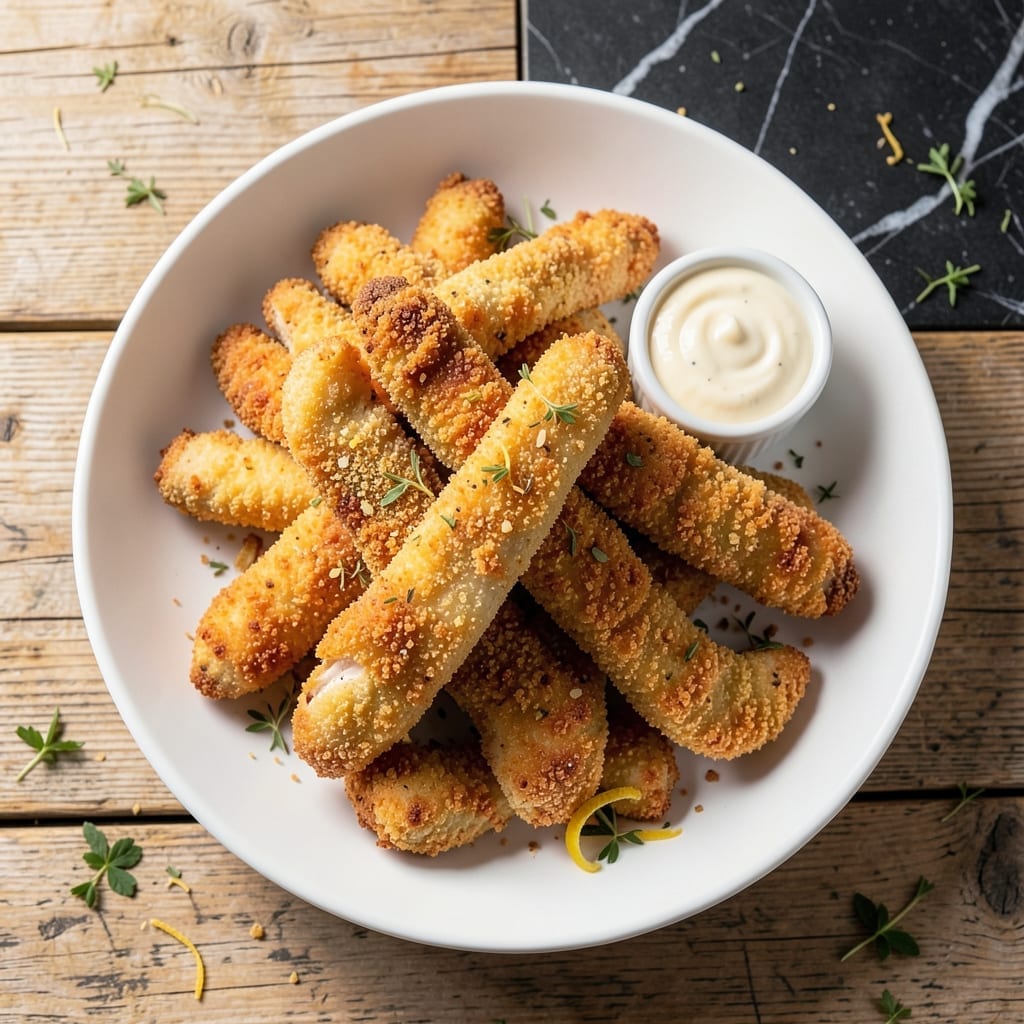
There’s a simple science to achieving extra crispy chicken fingers that stay golden and crunchy long after they leave the pan.
This method relies on a double-dredging technique—flour, egg wash, then seasoned breadcrumbs—to create layers that lock in moisture while delivering that signature crunch. The key is maintaining oil at the right temperature throughout cooking.
Each bite offers tender chicken inside with a shatteringly crispy exterior that holds up to your favorite dipping sauces. The process takes less than 30 minutes from start to finish.
Serve these homestyle bites hot for the best texture. They pair perfectly with honey mustard, ranch, or barbecue sauce.
Ingredients for Chicken Fingers
Pantry staples plus chicken create these golden, crunchy bites in under thirty minutes.
| Ingredient | Amount | Notes |
|---|---|---|
| Boneless Skinless Chicken Breasts 🍗 | 1 ½ lb | Cut into 1-inch strips |
| All-Purpose Flour 🌾 | 1 cup | For initial dredging |
| Large Eggs 🥚 | 2 whole | Beaten for egg wash |
| Panko Breadcrumbs 🍞 | 2 cups | For extra crunch |
| Garlic Powder 🧄 | 1 tsp | For seasoning breadcrumbs |
| Onion Powder 🧅 | 1 tsp | For seasoning breadcrumbs |
| Paprika 🌶️ | 1 tsp | Sweet or smoked variety |
| Salt 🧂 | 1 tsp | Divided for seasoning |
| Black Pepper 🌶️ | ½ tsp | Freshly ground preferred |
| Vegetable Oil 🫒 | 2 cups | For deep frying |
| Honey Mustard 🍯 | ½ cup | For dipping |
| Ranch Dressing 🥣 | ½ cup | For dipping |
The chicken is the foundation here. Boneless, skinless breasts yield the most consistent strips—avoid pre-marinated varieties as they can affect browning. For breadcrumbs, Kikkoman panko delivers superior crunch compared to standard breadcrumbs. Freshly ground black pepper adds noticeable depth to the seasoning blend compared to pre-ground.
No panko on hand? Crushed cornflakes or Ritz crackers work in a pinch, though the texture differs slightly. Swap garlic and onion powder for one-third the amount of fresh minced garlic and onion. For a gluten-free version, almond flour or gluten-free breadcrumbs substitute well. The vegetable oil can be swapped for peanut or canola oil with similar smoke points.
Fry in batches to maintain oil temperature. Leftovers keep 2-3 days in the fridge but are best eaten fresh. Reheat in a 350°F oven for 10-12 minutes to restore crispiness—microwaving makes them soggy.
Why You’ll Love This Recipe
- 20-Minute Meal: I can get these from prep to plate faster than takeout arrives. Just coat, bake, and enjoy.
- Crispy Perfection: That panko crust with a hint of garlic powder? It’s the reason my kids clean their plates without complaining.
- Crowd Pleaser: I serve these at parties, picnics, and even as a quick dinner. Everyone from toddlers to grandparents loves them.
- Budget Stretcher: Chicken breasts on sale plus pantry staples mean I can feed my family of four for under ten bucks. Honestly, it’s my go-to when money’s tight.
Step-by-Step Instructions for Extra Crispy Chicken Fingers
This method guarantees a golden, crunchy exterior with tender, juicy chicken inside every time.
Step 1: Prepare and Season the Chicken Strips
Cut the 1.5 lb boneless skinless chicken breasts into 1-inch wide strips, about 3-4 inches long. Uniform pieces ensure even cooking. Pat them completely dry with paper towels—this is critical for the coating to adhere properly.
Season the chicken strips lightly with half the salt and all of the black pepper. I use ½ teaspoon salt at this stage, reserving the rest for the breading. This initial seasoning penetrates the meat while the exterior gets its crispy treatment.
Step 2: Create the Breading Station
Set up three shallow bowls. Place the 1 cup all-purpose flour in the first bowl. In the second, beat the 2 whole large eggs until smooth and frothy. For the third, combine the 2 cups panko breadcrumbs, remaining ½ teaspoon salt, 1 teaspoon garlic powder, 1 teaspoon onion powder, and 1 teaspoon paprika.
The paprika adds a subtle color and smokiness that enhances the crispy texture. Mix the breadcrumb mixture thoroughly so every bite has consistent seasoning. The three-step process creates layers that result in maximum crunch and adhesion.
Step 3: Coat the Chicken for Maximum Crispiness
Working with one piece at a time, dredge each chicken strip in the flour, shaking off any excess. Then dip it in the beaten eggs, allowing any excess to drip back into the bowl. Finally, press the strip firmly into the panko mixture, turning to coat all sides completely.
Place the breaded strips on a wire rack set over a baking sheet. This allows air to circulate underneath, preventing the coating from becoming soggy before frying. Let them rest for 10 minutes—this helps the coating set and adhere better during cooking.
Step 4: Fry to Golden Perfection
Heat the 2 cups vegetable oil in a deep, heavy-bottomed skillet over medium-high heat to 350°F. Use a deep-fry thermometer for accuracy. The oil is ready when a small piece of panko dropped in sizzles immediately and floats to the surface.
Fry the chicken strips in batches, without crowding the pan, for 4-5 minutes per side or until deep golden brown and the internal temperature reaches 165°F. The panko should create an audibly crisp crust. Transfer to a paper towel-lined plate to drain excess oil.
Step 5: Serve with Dipping Sauces
Serve the chicken fingers immediately while hot and crispy. The contrast between the crunchy exterior and tender interior is at its peak right out of the oil. Arrange them on a platter with small bowls of honey mustard and ranch dressing for dipping.
For best results, keep the cooked strips warm in a 200°F oven while frying subsequent batches. This maintains the crispness without overcooking. The dipping sauces should be served at room temperature for optimal flavor and consistency.
Pro Tips For Making Chicken Fingers
- Cut Even Strips: Slice the chicken breasts into uniform 1-inch thick strips—this guarantees even cooking and a consistent crunch in every bite. I learned this the hard way after pulling out half-cooked centers from thicker pieces.
- Double Dredge: Dip each strip in flour, then egg, then panko, and repeat the egg and panko once more. Sounds tedious, but it creates that extra-crispy crust that actually stays on the chicken.
- Skip the Overcrowding: Leave at least an inch between each piece in the pan, or the breading steams instead of fries. After burning three batches from impatient crowding, I now cook in shifts.
- Rest Before Frying: Let the breaded strips sit for 5-10 minutes before hitting the oil—this gives the coating time to set so it doesn’t slide off mid-cook. My grandmother swore by this, and she was right.
Pro Cooking Tips for chicken fingers
Oil Temperature Control
Maintaining 350°F oil temperature is non-negotiable for that perfect crunch. I use a Taylor Classic deep-fry thermometer—it gives accurate readings and clips securely to the pan. If the oil smokes, it’s too hot; if it doesn’t sizzle when food hits it, it’s too cool. 🌡️
Double-Dredge Secret
For next-level crispiness, double-dip in egg and panko after the first coating. This creates thicker, more textured layers. Let each coat set for 5 minutes before frying. The extra effort pays off with a shatteringly crisp crust.
Pan Selection Matters
Use a heavy-bottomed pan like Lodge cast iron or All-Clad stainless steel to prevent hot spots. Avoid nonstick for deep-frying—it can’t handle the high heat. A 12-inch skillet gives enough room for proper batch frying without crowding.
Rest Before Serving
After frying, rest the chicken fingers on a wire rack for 2-3 minutes. This lets excess oil drain while keeping the coating crisp. Paper towels can make the bottom soggy if left too long. Serve immediately for peak texture.
Baking Alternative
For a lighter version, bake at 400°F on a wire rack for 12-15 minutes, flipping halfway. Spray both sides with avocado oil for extra crispiness. The texture won’t be identical to frying but still delivers great crunch. 🔥
Nutrition Facts
Frequently Asked Questions
Can I use chicken tenders instead of breasts?
Chicken tenders are actually ideal since they’re already uniformly sized. Just skip the cutting step and proceed with the recipe as written. They may cook slightly faster due to their natural thickness.
Why did my coating fall off during frying?
This usually happens if the chicken wasn’t dry before dredging or if the oil temperature was too low. Pat the strips thoroughly and maintain 350°F oil for best adhesion. Let breaded pieces rest for 10 minutes before frying.
How do I keep them crispy for a crowd?
Place cooked fingers on a wire rack in a 200°F oven while frying batches. Avoid stacking or covering, as trapped steam will make them soggy. Serve within 30 minutes for peak crispness.

- Jollof Rice Sauce Recipe: West African Tomato and Spice Infusion - September 25, 2026
- Japanese Rice Soup Recipe: Umami-Rich Comfort in a Bowl - September 25, 2026
- Homemade Cream Of Rice Recipe: Silk-Smooth Breakfast in Minutes - September 25, 2026