
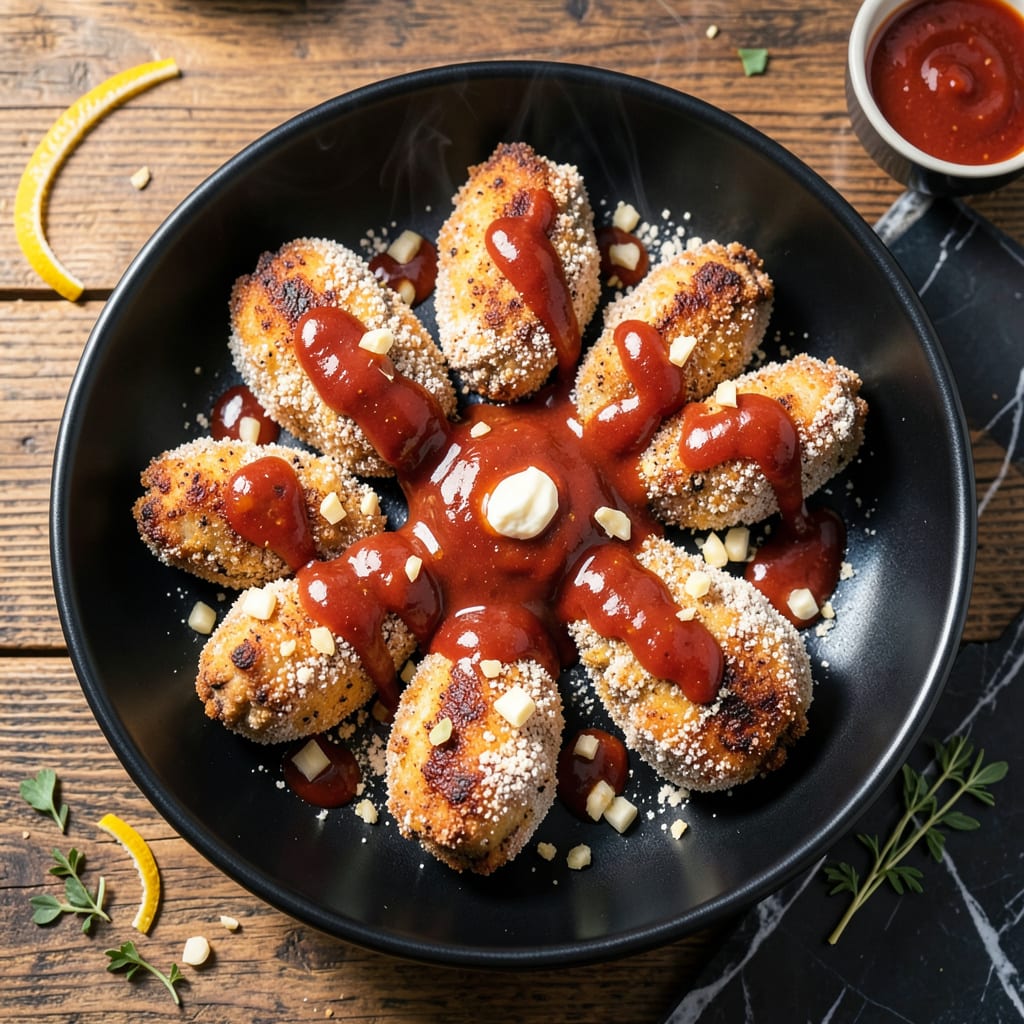
This recipe transforms simple chicken franks into bold, buffalo-style bites with a spicy kick. The process is straightforward: coat, bake, and toss in hot sauce.
You’ll achieve tender, juicy franks with a sticky, fiery glaze that delivers big flavor. Serve with cooling ranch or blue cheese for the perfect balance.
Ingredients for Chicken Franks Hot Sauce
Simple ingredients create bold, spicy buffalo-style bites with big flavor.
| Ingredient | Amount | Notes |
|---|---|---|
| Chicken Franks 🌭 | 8 pieces | All-beef or chicken preferred |
| Hot Sauce 🔥 | ¾ cup | Frank's RedHot or similar |
| Unsalted Butter 🧈 | ½ cup | Melted for sauce |
| All-Purpose Flour 🌾 | ½ cup | For light coating |
| Garlic Powder 🧄 | 1 tsp | For seasoning flour |
| Onion Powder 🧅 | 1 tsp | For seasoning flour |
| Salt 🧂 | ½ tsp | Kosher or sea salt |
| Black Pepper 🌶️ | ½ tsp | Freshly ground preferred |
| Ranch Dressing 🥛 | ½ cup | For dipping |
| Blue Cheese Dressing 🧀 | ½ cup | Optional for dipping |
| Celery Sticks 🥬 | 4 pieces | Cut into sticks |
| Carrot Sticks 🥕 | 4 pieces | Cut into sticks |
[recipeingredientscaler]
The chicken franks are the foundation—Hebrew National or Nathan’s have the right snap and flavor. Look for plump ones without casings splitting. The hot sauce should have vinegar as the first ingredient (Frank’s RedHot is the gold standard). For the butter, unsalted lets you control the sodium. Most grocery stores carry everything you need for this.
No hot sauce? Crushed red pepper in melted butter works in a pinch (start with 1 tbsp). Use panko instead of flour for extra crunch. Skip the butter for a lighter version, but the sauce won’t cling as well. The dressings can be swapped—blue cheese for ranch or vice versa. Celery and carrots are classic, but cucumber sticks work too.
Best served fresh, but leftovers keep 3-4 days in the fridge. Reheat in the oven to maintain crispiness. The sauce can be made ahead and reheated gently. Prep the veggies while the franks bake to save time.
Why You’ll Love This Recipe
- One Pan Wonder: I love that this only dirties one pan—just toss the chicken franks in the butter, flour, and hot sauce mixture.
- Spicy-Savory Balance: The garlic powder with hot sauce gives that perfect kick without overpowering the dish.
- Weeknight Hero: Honestly, this is my go-to for busy evenings when I need something fast but flavorful.
- Budget Friendly: Chicken franks and pantry staples keep the cost low, and it still feels like a treat.
Step-by-Step Instructions for Buffalo-Style Chicken Franks
Follow this method precisely for crispy, saucy bites with the perfect kick.
Step 1: Prepare the Seasoned Flour Coating
In a shallow bowl, combine the 0.5 cup All-Purpose Flour with 1 tsp Garlic Powder, 1 tsp Onion Powder, 0.5 tsp Salt, and 0.5 tsp Black Pepper. Whisk until evenly distributed—this seasoning blend creates a flavorful crust that clings to the franks.
I recommend using a wide, shallow dish so you can coat each piece thoroughly without spillage. The flour should look lightly speckled with the spices, not clumped. This mixture ensures every bite has balanced seasoning.
Step 2: Coat and Cook the Chicken Franks
Pat the 8 pieces Chicken Franks dry with a paper towel to remove excess moisture. This step is crucial for achieving a crispy coating. Dredge each frank in the seasoned flour, pressing gently to adhere, then shake off any excess.
Heat 2 tablespoons of oil in a large skillet over medium-high heat until shimmering. Add the coated franks in a single layer, being careful not to overcrowd the pan. Cook for 3-4 minutes per side until golden brown and crispy. Transfer to a paper towel-lined plate to drain.
Step 3: Make the Buffalo Sauce
In a microwave-safe bowl, melt the 0.5 cup Unsalted Butter in 30-second intervals until fully liquid. Stir in the 0.75 cup Hot Sauce until smooth and well combined. The mixture should be glossy with a vibrant orange-red color.
For the best flavor, I use Frank’s RedHot or a similar vinegar-based sauce. The butter mellows the heat while adding richness. If the sauce separates slightly, whisk vigorously until emulsified. Keep it warm while you finish the franks.
Step 4: Toss and Serve
Place the cooked franks in a large bowl and pour the hot sauce mixture over them. Toss gently with a spoon or spatula until each piece is evenly coated. The sauce should cling to the franks with a glossy sheen, not pool at the bottom of the bowl.
Let them sit for 1-2 minutes to allow the flavors to meld. The coating will soften slightly but should remain crisp underneath the sauce.
Serve immediately with 4 pieces Celery Sticks, 4 pieces Carrot Sticks, 0.5 cup Ranch Dressing, and 0.5 cup Blue Cheese Dressing on the side for dipping. The cool, creamy dressings balance the heat perfectly.
Pro Tips For Making Chicken Franks Hot Sauce
- Sear the Franks: Get a good brown on those chicken franks first—about 2-3 minutes per side over medium-high heat. I learned this the hard way: skipping this step leaves them rubbery instead of snappy.
- Bloom the Garlic: Toast the garlic powder in the butter for 30 seconds before adding flour. Sounds weird, but it works: raw garlic powder tastes harsh, but bloomed it adds depth.
- Skip the Boil: Resist the urge to simmer the hot sauce too aggressively. A gentle bubble keeps the sauce from breaking and lets the flavors meld without turning bitter.
- Thicken Last: Stir in the flour-butter roux at the very end, then pull it off heat once it coats the back of a spoon. After burning three batches, I finally figured out that flour burns fast in hot sauce.
Common Mistakes When Making This Recipe
Skipping the Drying Step
Pat those 8 pieces Chicken Franks dry before coating. I learned the hard way that moisture creates a gummy flour layer instead of a crispy one. A quick blot with paper towels makes all the difference. 💡
Overcrowding the Pan
Cook in batches if needed—3-4 minutes per side at medium-high heat requires space. Crowding steams the franks, leaving you with soggy results instead of that golden brown crust.
Sauce Separation
When combining 0.5 cup Unsalted Butter and 0.75 cup Hot Sauce, whisk vigorously. If it splits, add 1 tsp cold water and re-whisk. A smooth emulsion clings better to your franks.
Rushing the Toss
Let the cooked franks sit in the bowl with sauce for 1-2 minutes before serving. This resting time lets the flavors meld and the coating set properly. Patience pays off with every sticky, spicy bite.
Ignoring the Dipping Balance
Serve both 0.5 cup Ranch Dressing and 0.5 cup Blue Cheese Dressing. The cool creaminess of each cuts through the heat differently, and guests will appreciate the choice. 🔥
Using Cold Sauce
Always keep your buffalo sauce warm when tossing. Cold sauce thickens and clumps, creating uneven coverage. I reheat mine in 15-second microwave bursts if it cools down.
Nutrition Facts
Frequently Asked Questions
Can I use turkey franks instead?
Yes, turkey franks work well and offer a leaner option. The cooking time remains the same at 3-4 minutes per side over medium-high heat. They may be slightly less juicy, so consider adding an extra 1 tablespoon of butter to the sauce.
How can I make this less spicy?
Reduce the hot sauce to 0.5 cup and add 2 tablespoons of honey or brown sugar to balance the heat. You can also substitute half the hot sauce with mild BBQ sauce for a sweeter, gentler flavor.
What if my sauce is too thin?
Simmer the sauce for 2-3 minutes on low heat to thicken it. Alternatively, mix 1 teaspoon of cornstarch with 1 tablespoon cold water, then stir into the warm sauce until it reaches your desired consistency.

- Jollof Rice Sauce Recipe: West African Tomato and Spice Infusion - September 25, 2026
- Japanese Rice Soup Recipe: Umami-Rich Comfort in a Bowl - September 25, 2026
- Homemade Cream Of Rice Recipe: Silk-Smooth Breakfast in Minutes - September 25, 2026