
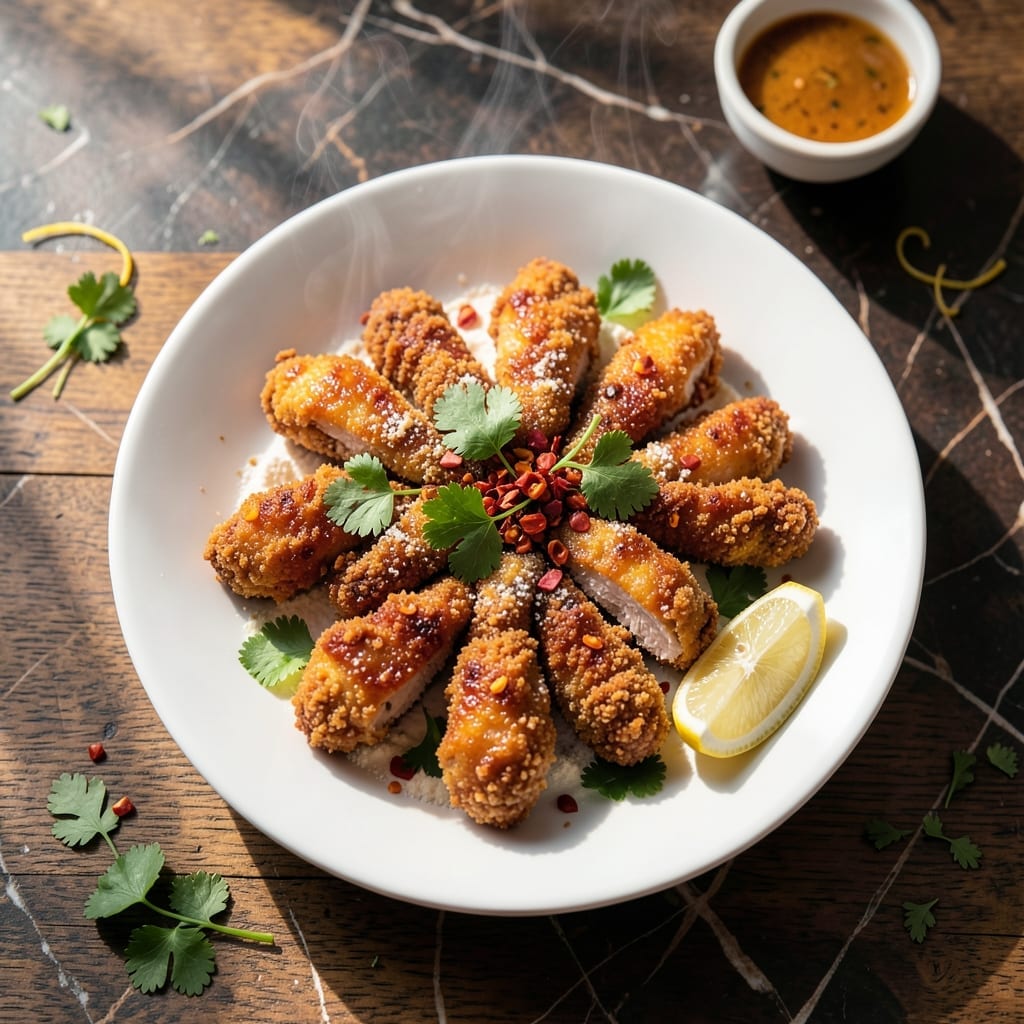
I’ve spent years perfecting this method for achieving crispy, golden-brown chicken cutlets that stay tender inside. The key lies in a precise spice blend and proper frying technique that creates an authentic texture and flavor.
This recipe transforms simple ingredients into restaurant-quality results through careful preparation. Each piece develops a shatteringly crispy exterior while maintaining juicy, flavorful meat that’s seasoned throughout.
The spice mixture coats every piece evenly, creating layers of warm, aromatic flavors in each bite. You’ll achieve that signature golden crust that makes this dish so satisfying and memorable.
Serve these cutlets hot for the best texture, with your favorite chutney or lemon wedges. The results speak for themselves.
Ingredients for Chicken Fry Recipe in Hindi
Restaurant-quality cutlets start with this precise spice blend and fresh chicken. Nothing complicated, just authentic flavor.
| Ingredient | Amount | Notes |
|---|---|---|
| Chicken Breast 🍗 | 1 ½ lb | Boneless, skinless, cut into strips |
| All-Purpose Flour 🌾 | 1 cup | For initial dredging |
| Large Eggs 🥚 | 2 whole | Beaten for binding |
| Cornstarch 🌾 | ½ cup | For extra crispiness |
| Ground Cumin 🌿 | 1 tbsp | Toasted for depth |
| Ground Coriander 🌿 | 1 tbsp | Freshly ground preferred |
| Turmeric Powder 🌶️ | 1 tsp | For vibrant color |
| Kashmiri Red Chili Powder 🌶️ | 1 tbsp | Adjust for heat preference |
| Garlic Powder 🧄 | 1 tsp | Enhances savory notes |
| Garam Masala 🌿 | 1 tsp | Essential warm spice blend |
| Salt 🧂 | 1 ½ tsp | Divided for seasoning layers |
| Vegetable Oil 🫒 | 2 cups | For deep frying |
| Fresh Cilantro 🌿 | ¼ cup | Chopped, for garnish |
| Lemon Wedges 🍋 | 4 pieces | For serving |
The chicken is the foundation here. Boneless, skinless breasts work best—uniform thickness ensures even cooking. I source mine from Whole Foods or local butchers for consistent quality. For the spice blend, toast whole cumin and coriander seeds first if you can (a dry pan, 2 minutes max), then grind. Penzeys or bulk bins at Indian markets have the freshest spices.
No Kashmiri chili? Regular paprika plus a pinch of cayenne mimics the color and mild heat. Out of garam masala? Equal parts cinnamon, cardamom, and cloves gets you close. Cornstarch can be swapped for rice flour if avoiding gluten. The eggs are key for binding, but buttermilk works in a pinch (dip chicken in it before flour).
The cutlets are best eaten immediately for that shatteringly crisp texture. Leftovers keep in the fridge for 2-3 days—reheat in the oven or air fryer to revive the crust. Spice blend stays potent in an airtight container for 2 months.
Why You’ll Love This Recipe
- Minimal Chopping Required: I just slice the chicken breast and go—the rest is mixing dry and wet ingredients.
- That Cumin Kick: Ground cumin in the flour gives it a warm, earthy crunch that’s pure comfort.
- Feeds a Crowd: One batch fills my biggest platter, and everyone grabs seconds.
- Leftovers Reheat Fast: Honestly, they taste almost as good the next day straight from the microwave.
Step-by-Step Instructions for Crispy Spiced Chicken Fry
Master the technique for achieving perfectly crispy, aromatic cutlets with this traditional method.
Step 1: Season and Marinate the Chicken
Cut the 1.5 lb chicken breast into even 1-inch strips. In a large bowl, combine the chicken with 1 tbsp ground cumin, 1 tbsp ground coriander, 1 tsp turmeric powder, 1 tbsp Kashmiri red chili powder, 1 tsp garlic powder, 1 tsp garam masala, and 1 tsp salt.
Mix thoroughly with your hands, ensuring every piece is evenly coated with the spice blend. I press the spices into the meat to maximize flavor penetration. Let it marinate for 15-20 minutes at room temperature—this allows the spices to adhere and infuse the chicken with their aromatic qualities.
Step 2: Create the Breading Station
Set up a breading station with three shallow dishes. Place the 1 cup all-purpose flour in the first dish. In the second dish, beat the 2 whole large eggs until smooth and frothy. In the third dish, mix the 0.5 cup cornstarch with the remaining 0.5 tsp salt.
This two-layer coating system creates exceptional crunch. The cornstarch in the final layer is the secret to that ultra-crispy texture it absorbs less oil than flour alone, resulting in a lighter, more delicate crust that shatters with each bite.
Step 3: Bread and Double-Coat the Chicken
Working with one piece at a time, dredge the marinated chicken in the all-purpose flour, shaking off any excess. Dip it into the beaten eggs, ensuring complete coverage. Then coat it thoroughly in the cornstarch mixture, pressing gently to adhere.
Place the breaded chicken on a wire rack set over a baking sheet. This elevation allows air to circulate around each piece, preventing steam from making the coating soggy before frying. Let the coated chicken rest for 5-10 minutes—this helps the coating set and adhere better during frying.
Step 4: Deep-Fry to Golden Perfection
Heat the 2 cups vegetable oil in a deep, heavy-bottomed pot to 350-375°F. The oil is ready when a small piece of breading sizzles immediately and floats to the surface. Carefully lower the chicken into the hot oil in batches, avoiding overcrowding—this maintains the oil temperature and ensures even cooking.
Fry for 6-8 minutes, turning occasionally, until the chicken is golden brown and the internal temperature reaches 165°F. The crust should be deeply colored and crispy, with the spices creating an irresistible aroma. Drain on a paper towel-lined plate to remove excess oil.
Step 5: Serve Hot with Fresh Accompaniments
Transfer the crispy chicken fry to a serving platter while still hot. Garnish generously with the 0.25 cup chopped fresh cilantro—the bright, citrusy notes cut through the richness beautifully. Serve immediately with the 4 pieces lemon wedges on the side for a refreshing contrast.
The cilantro and lemon not only add freshness but also enhance the authentic Indian street-food experience. Serve these cutlets as an appetizer or main dish with your favorite dipping sauce or chutney.
Pro Tips For Making Chicken Fry Recipe In Hindi
- Dry the Chicken: Pat the chicken breast completely dry with paper towels before dredging—moisture is the enemy of that crispy crust. I learned this the hard way after my first few batches came out soggy.
- Double Dredge: Dip the chicken in flour, then egg, then flour again for extra crunch. Sounds like extra work, but it actually changes the outcome.
- Hot Oil Only: Wait until the oil is smoking hot before adding the chicken—about 350°F. After burning three batches, I finally figured out that lukewarm oil means greasy, not crispy.
- Rest Before Serving: Give the fried chicken 5 minutes on a wire rack after cooking to keep it crisp. Skip the paper towels—they’ll steam the crust right off.
Common Mistakes When Making Perfect Results
Incorrect Oil Temperature
Many people rush the frying process by using oil that’s not hot enough. If the oil isn’t between 350-375°F, your cutlets will absorb too much oil and become greasy rather than crispy. I always use a deep-fry thermometer to check. 🌡️
Overcrowding the Pan
Frying too many pieces at once lowers the oil temperature dramatically. Cook in batches with at least 1 inch between each piece. This ensures even cooking and maintains that perfect golden crust. Overcrowding leads to uneven browning.
Skipping the Rest Step
Don’t skip letting the breaded chicken rest for 5-10 minutes before frying. This crucial step helps the coating adhere properly to the meat. Without it, you risk the breading falling off during cooking, leaving you with bare chicken.
Inconsistent Chicken Size
Cut your chicken into uniform 1-inch strips for even cooking. Pieces that are too thick won’t cook through, while thin pieces will burn before they’re done. I use a ruler for precision when I’m being extra careful. 💡
Poor Draining Method
Always drain fried chicken on a wire rack or paper towels, never directly on a plate. This prevents the bottoms from becoming soggy. I prefer a wire rack over paper towels for better air circulation and crisper results.
Under-Seasoning the Coating
Season each layer of your breading station. The flour and cornstarch mixtures both need salt—about ½ tsp total. This builds layers of flavor in every bite rather than just on the surface.
Nutrition Facts
Frequently Asked Questions
Can I use chicken thighs instead of breast?
Yes, boneless thighs work well and often stay juicier. Adjust frying time to 8-10 minutes since they’re thicker. The flavor will be richer, but the crispiness remains the same.
How do I make it less spicy?
Reduce the chili powder to 1/2 tbsp and add 1 tsp paprika for color. Omit garam masala if sensitive to heat. Always taste your spice mix before coating.
Can I bake instead of frying?
Yes, bake at 400°F on a wire rack for 20-25 minutes, flipping halfway. Spray with oil for crispiness. The texture won’t be identical, but it’s a healthier option.
What’s the best oil for frying?
Use oils with high smoke points like vegetable, canola, or peanut oil. Avoid olive oil—it burns at frying temps. Maintain oil at 350-375°F throughout.

- Jollof Rice Sauce Recipe: West African Tomato and Spice Infusion - September 25, 2026
- Japanese Rice Soup Recipe: Umami-Rich Comfort in a Bowl - September 25, 2026
- Homemade Cream Of Rice Recipe: Silk-Smooth Breakfast in Minutes - September 25, 2026