
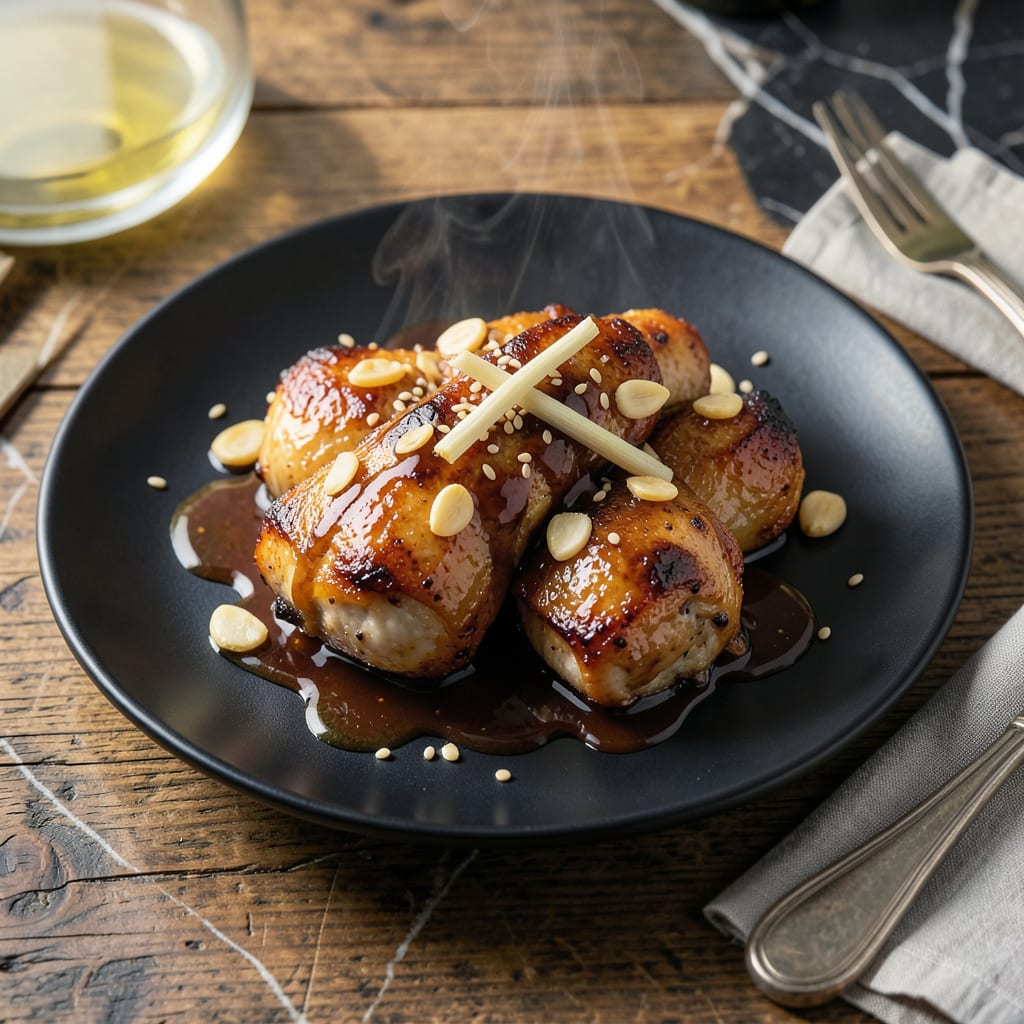
This recipe transforms simple chicken into a savory masterpiece with bold garlic and soy flavors. The secret lies in the perfect balance of ingredients that create a rich, umami-packed sauce.
With just a few steps, you’ll achieve tender chicken coated in a glossy, flavorful glaze that’s ready in under 30 minutes. It’s a foolproof way to bring restaurant-quality taste to your home kitchen.
Ingredients for Chicken Garlic Soy Sauce
Transform simple chicken into a savory umami-packed dish with these carefully balanced ingredients.
| Ingredient | Amount | Notes |
|---|---|---|
| Boneless Skinless Chicken Thighs 🍗 | 1 ½ lb | Cut into bite-sized pieces |
| Garlic Cloves 🧄 | 8 cloves | Minced for maximum flavor |
| Soy Sauce 🫙 | ½ cup | Low-sodium preferred for balance |
| Brown Sugar 🍚 | 3 tbsp | Light or dark both work |
| Rice Vinegar 🫗 | 2 tbsp | Adds essential tanginess |
| Fresh Ginger 🌿 | 1 tbsp | Grated for even distribution |
| Sesame Oil 🫒 | 1 tbsp | Toasted for depth of flavor |
| Cornstarch 🌾 | 1 tbsp | For thickening the sauce |
| Water 💧 | ¼ cup | To thin the sauce |
| Green Onions 🧅 | 3 whole | Thinly sliced for garnish |
| Sesame Seeds 🌰 | 1 tsp | Toasted for garnish |
| Red Pepper Flakes 🌶️ | ½ tsp | Optional for heat |
| Neutral Cooking Oil 🫒 | 2 tbsp | Like vegetable or canola |
[recipeingredientscaler]
The chicken quality matters—thighs stay juicier than breasts in this application. Look for skinless, boneless at your butcher or Whole Foods for consistent sizing. Fresh ginger and garlic are non-negotiable here; the pre-minced stuff lacks the punch needed. For soy sauce, Kikkoman or San-J offer reliable quality without additives that can muddy the flavor.
No fresh ginger? Ground ginger at one-fourth the amount works in a pinch (though fresh is better). Swap honey for brown sugar if needed, but expect a slightly different glaze texture. For gluten-free, use tamari instead of soy sauce. The sesame oil can be omitted, but it adds that authentic restaurant-quality aroma. Trader Joe’s has great prices on both sesame oil and rice vinegar.
This keeps beautifully in the fridge for 3-4 days—the flavors actually deepen overnight. Freeze cooked chicken and sauce separately for up to 3 months. Reheat gently to avoid drying out the meat. The garnishes (green onions, sesame seeds) are best added fresh when serving.
Why You’ll Love This Recipe
- One Pan Meal: I just throw everything in a skillet—chicken, garlic, soy sauce, brown sugar—and let the stovetop do the work.
- Sweet-Savory Magic: The brown sugar caramelizes with the soy sauce and garlic, creating this glossy, finger-licking glaze on the chicken.
- Weeknight Lifesaver: Honestly, it’s my go-to when I need dinner on the table fast but still want something that feels special.
- Leftovers Disappear: Between us, I make extra because the flavors taste even better the next day—if there’s any left.
Step-by-Step Instructions for Chicken Garlic Soy Sauce
This method delivers perfectly caramelized chicken with a glossy, umami-rich sauce every time.
Step 1: Sear the Chicken Thighs
Heat the 2 tablespoons neutral cooking oil in a large skillet over medium-high heat until shimmering. Add the 1.5 lb boneless skinless chicken thighs in a single layer, ensuring they’re not crowded. This prevents steaming and ensures proper browning.
Cook undisturbed for 4-5 minutes until the bottoms develop a deep golden-brown crust. Flip and cook for another 4-5 minutes until the chicken is cooked through and reaches an internal temperature of 165°F. Transfer the chicken to a plate and set aside.
Step 2: Build the Aromatic Base
In the same skillet, reduce heat to medium. Add the 8 cloves garlic cloves and 1 tablespoon fresh ginger, stirring constantly for 30-45 seconds until fragrant but not browned. Garlic burns easily, so keep it moving.
Pour in the 0.5 cup soy sauce, 3 tablespoons brown sugar, and 2 tablespoons rice vinegar. Stir well to dissolve the sugar and scrape up any browned bits from the bottom of the pan. These bits are packed with flavor and will deepen the sauce’s complexity.
Step 3: Thicken and Finish the Sauce
In a small bowl, whisk together the 1 tablespoon cornstarch and 0.25 cup water until smooth. Pour this slurry into the skillet and stir continuously. The sauce will begin to thicken within 1-2 minutes.
Once the sauce coats the back of a spoon, stir in the 1 tablespoon sesame oil and 0.5 teaspoon red pepper flakes. Return the chicken to the skillet, turning to coat each piece evenly in the glossy, fragrant sauce.
Step 4: Garnish and Serve
Remove from heat and let the dish rest for 2-3 minutes. This allows the flavors to meld and the sauce to cling to the chicken. Sprinkle with the 3 whole green onions (thinly sliced) and 1 teaspoon sesame seeds for a fresh, nutty finish.
Serve immediately over steamed rice or noodles, ensuring each serving gets a generous portion of the rich, garlicky sauce. The balance of sweet, savory, and tangy flavors will be evident in every bite.
Pro Tips For Making Chicken Garlic Soy Sauce
- Sear Chicken First: Get a good brown on those thighs in a hot pan before adding the sauce—I learned this the hard way after too many pale, boiled-looking results.
- Mince Garlic Fine: The smaller the garlic pieces, the more evenly they’ll cook and distribute flavor; anything bigger than a rice grain risks burning or uneven bites.
- Reduce the Sauce: Let the soy sauce, brown sugar, and vinegar simmer for 3-4 minutes until it thickens slightly—skipping this leaves you with a watery, sad pool at the bottom of the plate.
- Use Thighs, Not Breasts: Boneless skinless thighs stay juicy even after simmering in the sauce, while breasts turn dry and stringy—this isn’t the dish to cut corners on protein.
Health Benefits of This chicken garlic soy sauce
Protein-Packed Powerhouse
This dish delivers 30 grams of protein per serving, making it perfect for muscle repair and growth. Chicken thighs are richer in iron and zinc than breasts, supporting immune function. A balanced meal keeps you full for 4-5 hours. 💪
Heart-Healthy Fats
The neutral cooking oil and sesame oil provide unsaturated fats that support heart health. These fats help lower bad cholesterol while maintaining good cholesterol levels. They also aid in vitamin absorption.
Rich in Antioxidants
Garlic and ginger are packed with antioxidants that fight inflammation. The 8 cloves of garlic provide allicin, known for its immune-boosting properties. Ginger adds gingerol, which helps with digestion and nausea.
Low-Carb Friendly
With only 12 grams of carbs per serving (mostly from brown sugar), this fits well into low-carb diets. The sauce’s sweetness comes from natural sources, avoiding refined sugars. It’s a great option for those monitoring carb intake.
Vitamin and Mineral Boost
This recipe provides a good dose of B vitamins from chicken, essential for energy metabolism. The soy sauce adds sodium and small amounts of iron, while sesame seeds contribute calcium. A well-rounded nutritional profile in every bite.
Quick Energy Source
The combination of protein and healthy fats provides steady energy without blood sugar spikes. Perfect for busy days when you need sustained fuel. I always feel energized after enjoying this dish. ✨
Nutrition Facts
Frequently Asked Questions
Can I use chicken breast instead of thighs?
Yes, but it will be less juicy. Chicken breast cooks faster, so reduce searing time to 3-4 minutes per side. For best results, brine the breast for 30 minutes first to keep it moist.
What if my sauce is too thin?
Mix 1 teaspoon cornstarch with 1 tablespoon cold water and stir into the simmering sauce. Cook for 1-2 minutes until it thickens to your desired consistency. Avoid overcooking.
How can I make this gluten-free?
Simply swap regular soy sauce for tamari or a certified gluten-free soy sauce. Verify all other ingredients, especially sesame oil, are labeled gluten-free.
Can I prepare this ahead of time?
The dish tastes even better the next day! Store in an airtight container for up to 4 days. Reheat gently on the stove with a splash of water.

- Jollof Rice Sauce Recipe: West African Tomato and Spice Infusion - September 25, 2026
- Japanese Rice Soup Recipe: Umami-Rich Comfort in a Bowl - September 25, 2026
- Homemade Cream Of Rice Recipe: Silk-Smooth Breakfast in Minutes - September 25, 2026