
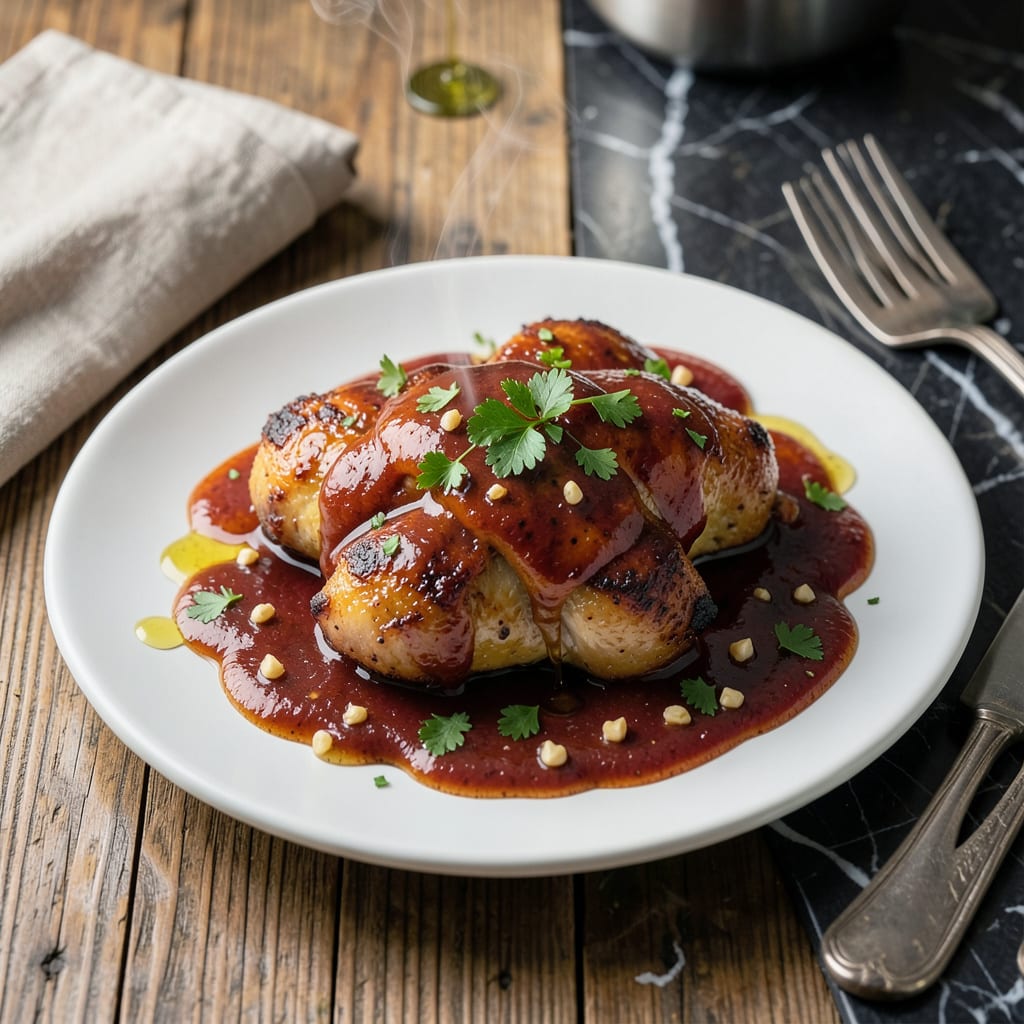
This glaze transforms ordinary chicken into something extraordinary with its perfect balance of sweet and savory flavors. A simple combination of pantry staples creates a versatile sauce that brushes on beautifully during cooking.
Use it for grilling, baking, or roasting—it caramelizes into a sticky, flavorful coating that enhances every bite. The recipe comes together quickly and stores well for future meals.
Ingredients for Chicken Glaze Sauce
Transform chicken with this sweet-savory glaze using pantry staples and simple ingredients.
| Ingredient | Amount | Notes |
|---|---|---|
| Honey 🍯 | ½ cup | Raw or pure variety |
| Soy Sauce 🥢 | ¼ cup | Low-sodium preferred |
| Apple Cider Vinegar 🍏 | 2 tbsp | Balances sweetness |
| Minced Garlic 🧄 | 3 cloves | Freshly minced preferred |
| Tomato Paste 🍅 | 1 tbsp | For depth of flavor |
| Dijon Mustard 🟡 | 1 tbsp | Smooth and tangy |
| Brown Sugar 🏽 | 2 tbsp | Light or dark works |
| Olive Oil 🫒 | 1 tbsp | Extra-virgin for quality |
| Ground Black Pepper 🌶️ | ½ tsp | Freshly ground preferred |
| Salt 🧂 | ¼ tsp | Fine sea salt preferred |
[recipeingredientscaler]
The honey is non-negotiable for that perfect sticky sheen. Local raw honey from a farmers market adds depth, but any pure variety works. For soy sauce, Kikkoman or San-J are reliable brands—low-sodium lets you control the salt content. Tomato paste in a tube (like Amoretto) is a game-changer for small batches, eliminating waste.
No honey? Maple syrup or agave can substitute, though the flavor shifts slightly. Apple cider vinegar is ideal, but rice vinegar works at a one-to-one ratio. Dijon mustard can be swapped with whole-grain mustard for texture. Brown sugar substitutes: coconut sugar or white sugar with a touch of molasses added back in.
Store this glaze in an airtight container in the fridge for up to 2 weeks. For longer storage, freeze in ice cube trays for 6 months. The flavors actually deepen over time, making leftovers even better.
Why You’ll Love This Recipe
- 5-Minute Mix: I just dump everything in a saucepan and let it bubble away—no fancy techniques.
- Sweet & Tangy: The honey and apple cider vinegar balance each other perfectly, and the garlic adds a serious kick.
- Dinner or Dip: I’ve used it on chicken, as a marinade, and even as a dipping sauce for veggies.
- Stretches Far: A small batch coats more than enough chicken for a family meal, and it keeps well in the fridge.
Step-by-Step Instructions for Chicken Glaze Sauce
This straightforward technique delivers a glossy, balanced glaze with minimal effort and maximum flavor.
Step 1: Bloom Aromatics in Olive Oil
Heat the 1 tablespoon olive oil in a medium saucepan over medium heat. Add the 3 cloves minced garlic and sauté for 45-60 seconds, stirring constantly, until it becomes fragrant but not brown. The moment you smell the garlic’s aroma intensify, you’ve achieved the perfect bloom.
This step builds the flavor foundation. Browning the garlic would make it bitter, so keep the heat moderate and the motion constant. The olive oil carries the garlic’s essence into every subsequent ingredient.
Step 2: Build the Savory Base
Add the 1 tablespoon tomato paste, 1 tablespoon Dijon mustard, 0.25 cup soy sauce, 2 tablespoons apple cider vinegar, 0.5 teaspoon ground black pepper, and 0.25 teaspoon salt to the saucepan. Stir well to combine all ingredients thoroughly.
Cook this mixture for 2-3 minutes until it begins to simmer gently. You’ll notice the tomato paste darken slightly and the mixture thicken. This development of depth is crucial for balancing the sweet elements you’ll add next.
Step 3: Incorporate Sweet Components
Reduce heat to medium-low and add the 0.5 cup honey and 2 tablespoons brown sugar. Stir constantly for 3-4 minutes as the honey thins and incorporates fully into the mixture. The sugar will dissolve completely, creating a smooth, glossy base.
Watch for the mixture to reach a gentle simmer again. You’ll see small bubbles forming at the edges—this indicates the sugars are properly integrating. The color will deepen to a rich amber, signaling the caramelization process has begun.
Step 4: Reduce to Desired Consistency
Once all ingredients are fully combined, reduce heat to low and let the glaze simmer for an additional 5-7 minutes. Stir occasionally to prevent sticking. The glaze should thicken enough to coat the back of a spoon but still be pourable.
Test the consistency by dipping a spoon in the mixture. If it sheets off slowly, leaving a clear trail, it’s ready. If it runs off too quickly, continue simmering for 1-2 more minutes. The final product should have a viscosity that clings to chicken when brushed on.
Remove from heat and let cool slightly before using. The glaze will continue to thicken as it cools, reaching its perfect brushing consistency.
Pro Tips For Making Chicken Glaze Sauce
- Simmer Low and Slow: Keep the heat at medium-low once the honey and tomato paste go in—I learned this the hard way after burning two batches. The sugars caramelize fast, but you want a thick glaze, not a bitter char.
- Bloom the Garlic: Cook the minced garlic in a little oil for 30 seconds before adding liquids. Sounds fussy, but it removes the raw bite and deepens the flavor in the finished sauce.
- Skip the Cheap Vinegar: Use real apple cider vinegar, not the white stuff. The fruity tang balances the honey’s sweetness way better—after switching, I noticed the difference immediately.
- Thin With Water: If the glaze thickens too much before the chicken’s done, stir in a tablespoon of water at a time. It’s the quickest fix and doesn’t dilute the flavor like adding more vinegar would.
Make-Ahead Tips for Leftovers
Prep Ahead Strategy
I always make a double batch of this glaze—it keeps beautifully and saves time for future meals. Simply whisk all ingredients together in a saucepan and store in an airtight container before cooking. This way, you can pull it out when needed and warm it gently. 💡
Refrigerator Storage
Store your glaze in the fridge for up to 2 weeks. I use glass jars with tight-sealing lids to maintain freshness. Let it come to room temperature before using for smoother brushing—about 30 minutes on the counter does the trick.
Freezing for Later
For longer storage, freeze the glaze in ice cube trays for up to 6 months. Once frozen, transfer the cubes to a freezer bag for easy portioning. Thaw in the fridge overnight or microwave on 50% power in 30-second intervals.
Reheating Tips
Warm the glaze gently in a small saucepan over low heat for 3-5 minutes, stirring occasionally. Avoid high heat to prevent burning the sugars. If it thickens too much, add 1-2 tsp water to restore the perfect consistency. 🔥
Pre-Glaze Chicken
You can brush the glaze on raw chicken and marinate for up to 24 hours in the fridge. This infuses the meat with flavor before cooking. For best results, turn the chicken occasionally to ensure even coating.
Portion Control
I portion the glaze into ¼ cup containers for single-use applications. This prevents contamination and makes it easy to grab just what you need. Label each container with the date to keep track of freshness. ✨
Nutrition Facts
Frequently Asked Questions
Can I make this ahead and store it?
Yes! It keeps for up to 2 weeks in the fridge in an airtight container. For longer storage, freeze in ice cube trays for up to 6 months.
What can I use instead of honey?
Maple syrup or agave work as 1:1 substitutes. Coconut sugar can replace brown sugar, though the flavor profile will shift slightly.
Why did my glaze turn out too thin?
Simmer it longer on low heat to reduce and thicken. If it’s still too runny, mix in 1 tsp cornstarch with 1 tsp water and cook for 1-2 minutes.
Can I use this for other meats?
It works beautifully on pork, salmon, or even roasted vegetables. Brush it on during the last 10 minutes of cooking.

- Jollof Rice Sauce Recipe: West African Tomato and Spice Infusion - September 25, 2026
- Japanese Rice Soup Recipe: Umami-Rich Comfort in a Bowl - September 25, 2026
- Homemade Cream Of Rice Recipe: Silk-Smooth Breakfast in Minutes - September 25, 2026