
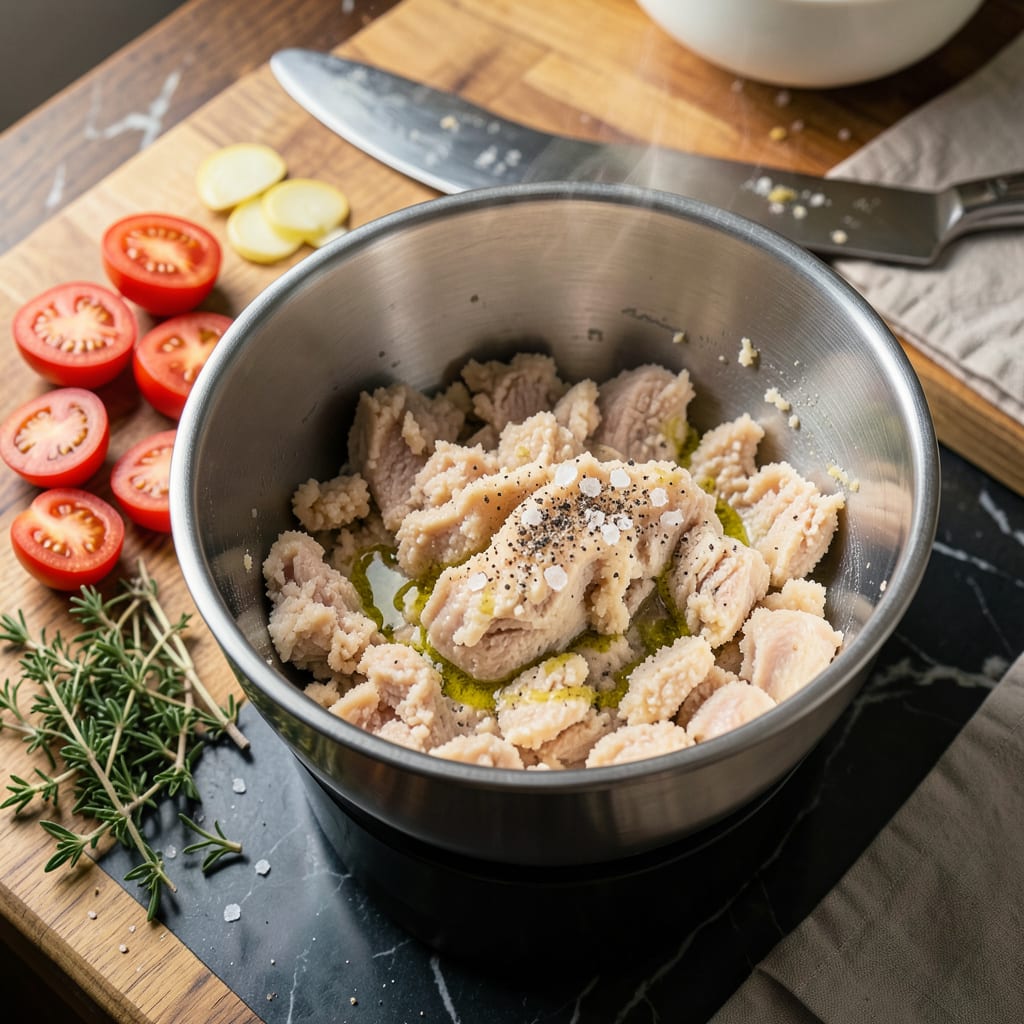
I used to think ground chicken was just a sad substitute for beef—until I discovered the food processor trick that changes everything. This method transforms ordinary chicken into ultra-tender, juicy ground meat that’s perfect for burgers, meatballs, or even homemade sausage. No more dry, crumbly chicken patties that fall apart on the grill.
The secret is all in how you process it. Pulse the chicken in short bursts instead of running the processor continuously—this keeps the texture just right, not pasty. I also add a splash of cold water or broth while processing, which helps distribute the fat evenly and prevents that dreaded rubbery texture. Food safety is key here, so we’ll keep everything chilled and work quickly.
What you end up with is ground chicken that actually holds together, stays moist during cooking, and has the perfect balance of lean protein and just enough fat for flavor. The difference between this and store-bought ground chicken is night and day—your burgers will stay juicy, your meatballs won’t dry out, and your tacos will have that perfect crumbly-but-cohesive texture.
Whether you’re meal prepping for the week or just want to elevate your next burger night, this technique is a total game-changer. The food processor does most of the work, and you’ll get restaurant-quality results with minimal effort. Let’s get that chicken processed the right way.
📚 In This Guide
- What You’ll Need
- Instructions
- Tips and Common Mistakes
What Youll Need
- ● 1–2 lbs boneless, skinless chicken breasts or thighs (cold or partially frozen for easier processing)
- ● Food processor (minimum 7-cup capacity for even grinding)
- ● Sharp chef’s knife (to trim fat or cut chicken into chunks)
- ● Cutting board (preferably non-slip)
- ○ Kitchen scale (optional, for precise measurements)
- ● Plastic wrap or parchment paper (to line the processor for easy cleanup)
- ○ Bowl of ice water (optional, to keep chicken cold while processing)
- ● Rubber spatula (to scrape down sides)
- ● Air-tight container or freezer bags (for storage)
Instructions for Ultra-Tender Ground Chicken
You’re about to transform ordinary chicken into the most tender, flavorful ground meat you’ve ever made—let’s do this!
Select and Prepare Your Chicken
Start with boneless, skinless chicken thighs—they have more fat and connective tissue than breasts, which means juicier, more flavorful results. I always choose thighs for ground chicken because they stay moist and tender after processing. Cut the thighs into 1-inch cubes before processing—this makes them easier to feed through the tube and ensures even grinding.
Make sure your chicken is cold but not frozen. I like to chill the cubed chicken in the freezer for 20 minutes before processing—this firms up the meat slightly, helping it grind more cleanly rather than turning into a paste. Pat the cubes dry with paper towels to remove any excess moisture that could make your ground chicken gummy.
Set Up Your Food Processor for Success
Choose a food processor with at least an 8-cup capacity—you need space for the chicken to move around. Fit it with the standard metal blade (not the dough blade or shredding disc). I pulse in small batches (about 1 pound at a time) to prevent overworking the meat, which can turn it into an unappetizing paste.
Here’s the thing—don’t overfill the processor. The chicken needs room to circulate, so fill it no more than halfway for each batch. I also add a tablespoon of ice water per pound of chicken before processing—this keeps the meat from heating up too much during grinding, preserving that perfect tender texture we’re after.
Pulse to Perfection (Don’t Overdo It!)
Now for the magic! Pulse the chicken in 1-second bursts, about 10-12 times per batch. I stop and scrape down the sides with a rubber spatula between pulses to ensure everything gets processed evenly. You’re aiming for a consistent, fine grind with some texture—think ground beef consistency, not smooth pâté.
Watch closely as you pulse—you’ll see the chicken transform from cubes to coarse crumbles, then to a uniform ground texture. Stop as soon as it reaches this point! Over-processing creates a dense, gluey texture that makes tough burgers and meatballs. The whole process should take less than 30 seconds per batch when done correctly.
Test and Adjust for Ideal Texture
Take a small pinch of the ground chicken and press it between your fingers. It should hold together lightly but still feel tender, not compacted. If it feels too sticky or pasty, you’ve over-processed it—no worries, just mix in a few breadcrumbs (about 1 tablespoon per pound) to absorb excess moisture and restore the proper texture.
For the absolute best results, transfer the ground chicken to a bowl and fold in 1 teaspoon of olive oil per pound by hand. This adds richness and helps bind the meat without making it dense. Use your processed chicken immediately for burgers, meatballs, or meatloaf, or refrigerate for up to 24 hours—it’s best used fresh for maximum tenderness.
Cook with Confidence for Maximum Tenderness
When cooking your ground chicken creations, remember that this ultra-tender meat cooks faster than store-bought ground chicken. Form your patties or meatballs gently—don’t compact them too tightly or they’ll become dense during cooking. I cook burgers over medium heat for about 4-5 minutes per side, just until they reach 165°F internally.
The real payoff comes when you take that first bite—juicy, tender, and bursting with flavor! Because you processed it yourself, there are no added fillers or preservatives, just pure chicken goodness. This method guarantees the most tender ground chicken you’ve ever tasted, perfect for everything from Asian-style meatballs to classic chicken burgers that will have everyone asking for your secret!
Tips and Common Mistakes for Ultra-Tender Ground Chicken
You’re about to make the most tender ground chicken ever—here’s how to nail every step perfectly.
Chilling Secret: That 20-minute freezer chill in Step 1 is game-changing! It firms up the chicken just enough so it grinds cleanly instead of turning mushy. I’ve skipped this before and ended up with paste-like chicken—never again! The slight firmness helps the processor create that perfect ground beef-like texture we want.
Batch Processing Tip: When working in 1-pound batches in Step 2, don’t rush! The 10-12 one-second pulses in Step 3 should transform your chicken from cubes to perfect ground meat in under 30 seconds. I count each pulse out loud to avoid over-processing. Remember to scrape down the sides—this ensures even grinding without dense spots.
Texture Test: After processing, always do the pinch test from Step 4. If your ground chicken feels sticky between your fingers, you’ve gone slightly too far. The breadcrumb fix (1 tablespoon per pound) works miracles here! I keep breadcrumbs nearby just in case—it’s saved many batches of meatballs from being too dense.
Cooking Confidence: Your homemade ground chicken cooks faster than store-bought! Those 4-5 minutes per side at medium heat will get you to 165°F perfectly. I use a meat thermometer religiously—it’s the only way to guarantee juicy results without overcooking. The tenderness you’ve created deserves this precision!
Pro Tips for Chicken In Food Processor
- You’re about to make the most tender ground chicken ever—here’s how to nail every step perfectly.
- Chilling Secret: That 20-minute freezer chill in Step 1 is game-changing! It firms up the chicken just enough so it g…
- Batch Processing Tip: When working in 1-pound batches in Step 2, don’t rush! The 10-12 one-second pulses in Step 3 sh…
Frequently Asked Questions
Got questions about processing chicken in your food processor? You’re not alone! Here are the most common queries—answered fast so you can get cooking.
Can I grind chicken bones in a food processor?
No! Food processors cannot safely grind bones—even small ones. Stick to boneless, skinless chicken (thighs or breasts) to avoid damaging the blades or motor. For bone-in grinding, use a dedicated meat grinder instead.
How long should I pulse chicken in the food processor?
Pulse in 1-2 second bursts for 10–15 seconds total, scraping down the sides as needed. Over-processing turns chicken into a paste (great for pâté, bad for burgers!). Aim for a coarse, even texture like ground beef.
What’s the best chicken cut for processing?
Thighs (with fat) yield juicier results, while breasts stay leaner. For burgers or meatballs, use a 70/30 thigh-to-breast ratio for flavor and moisture. Always chill chicken 30 minutes first for cleaner cuts!
My processed chicken is mushy—what went wrong?
Two likely culprits: over-processing (pulsing too long) or warm chicken (fat smears instead of grinding). Fix it by chilling the chicken and bowl for 20 minutes, then pulse briefly in small batches.
Can I use a blender instead of a food processor?
Not ideal! Blenders lack the wide, sharp blades and pulse control for even grinding. You’ll risk uneven textures or chicken purée. If desperate, use short bursts on low speed and stop often to stir.
Using a food processor for chicken is a game-changer for ultra-tender, flavor-packed burgers, meatballs, and more! 🍔✨ Whether you’re prepping a quick weeknight meal or meal-prepping for the week, this method saves time while delivering restaurant-quality texture every time.
Ready to try it? Grab your processor, pick a recipe (like our Juicy Ground Chicken Burgers), and get blending! Don’t forget to share your creations—we’d love to see (and taste!) your results. 📸👇

- Jollof Rice Sauce Recipe: West African Tomato and Spice Infusion - September 25, 2026
- Japanese Rice Soup Recipe: Umami-Rich Comfort in a Bowl - September 25, 2026
- Homemade Cream Of Rice Recipe: Silk-Smooth Breakfast in Minutes - September 25, 2026