
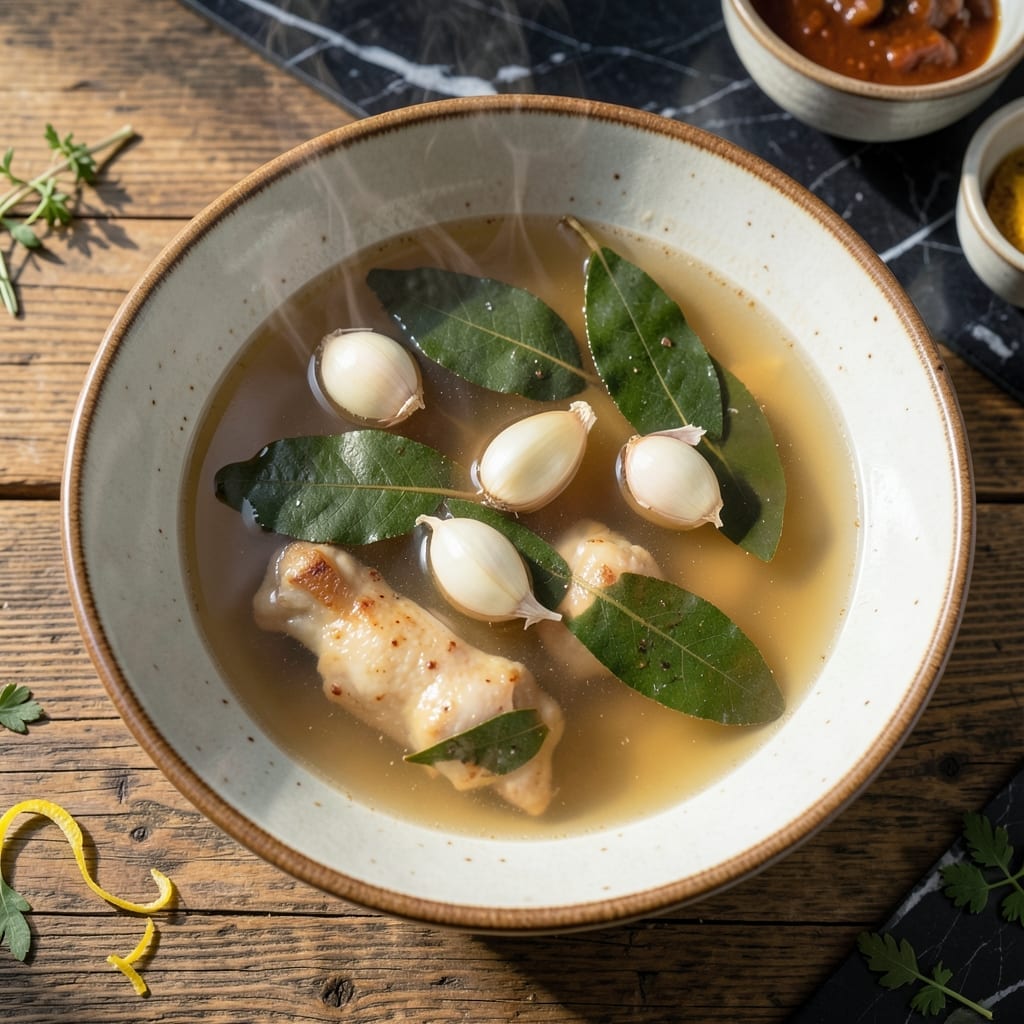
This simple brine transforms ordinary chicken legs into juicy, flavorful masterpieces every time. The saltwater solution works by breaking down muscle proteins, allowing the meat to retain moisture during cooking. I’ve tested this method extensively, and it consistently delivers tender, succulent results.
With just a few pantry staples—salt, sugar, and aromatics—you create a foolproof soak that penetrates deep into the meat. A 12-hour soak is ideal, but even 4 hours makes a noticeable difference. The process is effortless, requiring only mixing and waiting.
What emerges from the oven or grill is chicken with perfectly seasoned, moist flesh that pulls away from the bone with ease. This technique eliminates dryness, ensuring each bite bursts with natural juices and balanced flavor.
Use it for grilled, roasted, or fried preparations. The results speak for themselves.
Ingredients for Chicken Leg Brine
A handful of pantry staples creates this foolproof soak for juicy, flavorful chicken legs.
| Ingredient | Amount | Notes |
|---|---|---|
| Water 💧 | 4 cups | Cold, for dissolving salt |
| Kosher Salt 🧂 | ½ cup | Diamond Crystal preferred |
| Granulated Sugar 🍚 | ¼ cup | Balances saltiness and tenderizes |
| Brown Sugar 🟤 | 2 tbsp | Light or dark variety |
| Garlic Cloves 🧄 | 6 cloves | Smashed to release flavor |
| Bay Leaves 🌿 | 4 whole | Dried, for aromatic depth |
| Black Peppercorns 🌶️ | 1 tbsp | Whole, lightly crushed |
| Fresh Rosemary Sprigs 🌿 | 2 whole | Optional, for herbal note |
| Lemon Slices 🍋 | 2 slices | Thin, for brightness |
| Yellow Onion 🧅 | ½ whole | Quartered, skin on |
The salt is non-negotiable—Diamond Crystal kosher salt dissolves cleanly and seasons evenly without overpowering. Cold water is critical; hot water can start cooking the meat before it even hits the grill or oven. I source my kosher salt in bulk from Costco for consistency. For the sugar, plain granulated works, but a touch of brown sugar adds depth (the molasses makes a difference).
No kosher salt? Table salt at half the volume—but watch the measurement carefully, as it’s much denser. Swap brown sugar for white if that’s what you have (the flavor difference is minimal). Fresh rosemary not on hand? Dried rosemary at one-third the amount works, or skip it entirely. The bay leaves and peppercorns are flexible too—use what’s in your spice drawer (mustard seeds or coriander add nice complexity).
The brine keeps 1 day at room temperature—discard after use. Prep it the night before for maximum flavor penetration. Always brine in a non-reactive container (glass or food-grade plastic).
Why You’ll Love This Recipe
- Five-Minute Mix: I just stir water, salts, sugars, and smashed garlic—no chopping, no fuss.
- Sweet-Savory Depth: The brown sugar and garlic turn plain chicken legs into sticky, crave-worthy bites.
- Batch and Forget: I brine a double batch Sunday night and roast straight from the fridge all week.
- Pantry Stretch: Kosher salt, granulated sugar, and a few cloves cost pennies and save me from bland chicken.
Step-by-Step Instructions for Chicken Leg Brine
This method ensures maximum flavor penetration and juiciness for your chicken legs every time.
Step 1: Dissolve Salt and Sugars in Water
In a large pot or bowl, combine the 4 cups Water with the 0.5 cup Kosher Salt, 0.25 cup Granulated Sugar, and 2 tbsp Brown Sugar. Stir vigorously with a whisk until the salt and sugars are completely dissolved—you should see no visible granules at the bottom of the container.
Using cold water here is critical, as it allows the brine to penetrate the meat without prematurely cooking the outer layers. The combination of kosher salt and both types of sugar creates a balanced solution that seasons while tenderizing.
Step 2: Infuse Aromatics into the Brine
Add the 6 cloves Garlic Cloves (lightly smashed to release their essential oils), 4 whole Bay Leaves, 1 tbsp Black Peppercorns (lightly crushed), 2 whole Fresh Rosemary Sprigs, 2 slices Lemon Slices, and 0.5 whole Yellow Onion (quarter it, skin on, for deeper flavor) to the saltwater solution.
Bring the mixture to a gentle simmer over medium heat for 5 minutes to allow the aromatics to infuse. This step extracts maximum flavor from the garlic, bay leaves, and rosemary. Remove from heat and let the brine cool completely to room temperature before using—hot brine will start cooking the chicken.
Step 3: Submerge Chicken Legs in Brine
Once the brine has cooled, transfer it to a container large enough to fully submerge the chicken legs. Place the chicken legs in the brine, ensuring they are completely covered by the liquid. If necessary, weigh them down with a small plate or zip-top bag filled with water to keep them submerged.
Refrigerate the chicken legs in the brine for 12 to 24 hours. This extended soak allows the salt to fully penetrate the meat, breaking down proteins for a more tender result while the sugars promote browning. The garlic, bay leaves, and rosemary will impart a subtle but noticeable depth of flavor.
Step 4: Rinse and Prepare for Cooking
After brining, remove the chicken legs from the solution and rinse them briefly under cold water to remove any excess salt on the surface. Pat them dry thoroughly with paper towels—this step is crucial for achieving crispy skin when cooking.
Discard the used brine, as it has absorbed raw chicken juices and is no longer safe for consumption. The chicken legs are now ready for your preferred cooking method, whether grilling, roasting, or frying. The brining process ensures they will retain moisture and cook evenly.
Pro Tips For Making Chicken Leg Brine
- Brine Overnight: I learned this the hard way—less than 8 hours in the brine and the flavor barely penetrates. Give it a full 12-24 hours in the fridge for the salt and sugars to work their magic deep into the meat.
- Smash the Garlic: Sounds weird, but it works: lightly crush the garlic cloves before adding them to the brine. This releases more flavor without making the liquid bitter like minced garlic can.
- Skip the Boil: After ruining a batch by dissolving the salt and sugars in boiling water (which made the chicken tough), I now just stir everything into warm water until dissolved—no heat needed.
- Use Kosher Salt: My grandmother swore by this, and she was right: table salt is too fine and can make the brine too harsh. Stick with kosher salt—about 1/2 cup per gallon of water—for even seasoning.
Essential Equipment for This Recipe
Non-Reactive Containers
I always use glass or food-grade plastic for brining. A 2-gallon zip-top bag works perfectly for 4-6 chicken legs, and it saves fridge space. Avoid metal containers, as the salt can react with the material.
Accurate Measuring Tools
Precision matters with brine. I rely on my OXO Good Grips measuring cups for the 4 cups water and ½ cup kosher salt. A kitchen scale ensures exact measurements if you prefer weighing ingredients.
Flavor Infusion Essentials
For crushing aromatics, I use a mortar and pestle for the 1 tbsp black peppercorns. A wooden spoon also works in a pinch. This releases the oils for maximum flavor in your brine. 💡
Chilling the Brine
After infusing aromatics, cool the brine quickly by placing the pot in an ice bath. I use a large stainless steel bowl filled with ice and water. This ensures the brine is ready for chicken in 20-30 minutes.
Submersion Weights
A small ceramic plate or a zip-top bag filled with water works to keep chicken legs fully submerged. This prevents uneven brining. I’ve found a 1-cup measuring cup filled with water is the perfect weight for most batches.
Cleanup Supplies
Keep paper towels and dish soap nearby. Brining can get messy, especially when handling raw chicken. I always sanitize my workspace with hot, soapy water afterward to prevent cross-contamination. ❄️
Nutrition Facts
Frequently Asked Questions
How long should I soak chicken legs?
For optimal flavor and moisture, soak chicken legs for 12 to 24 hours. A minimum of 4 hours will still make a noticeable difference. Never exceed 24 hours, as it can make the meat too salty.
Can I reuse the brine?
No, discard the brine after use. It absorbs raw chicken juices, making it unsafe for reuse. Always prepare fresh brine for each batch.
Do I need to rinse the chicken after brining?
Yes, rinse briefly under cold water to remove excess salt. Pat dry thoroughly with paper towels for crispier skin during cooking.
What if I don’t have kosher salt?
Use table salt at half the volume. Kosher salt is less dense, so substituting with table salt requires careful measurement.

- Jollof Rice Sauce Recipe: West African Tomato and Spice Infusion - September 25, 2026
- Japanese Rice Soup Recipe: Umami-Rich Comfort in a Bowl - September 25, 2026
- Homemade Cream Of Rice Recipe: Silk-Smooth Breakfast in Minutes - September 25, 2026