
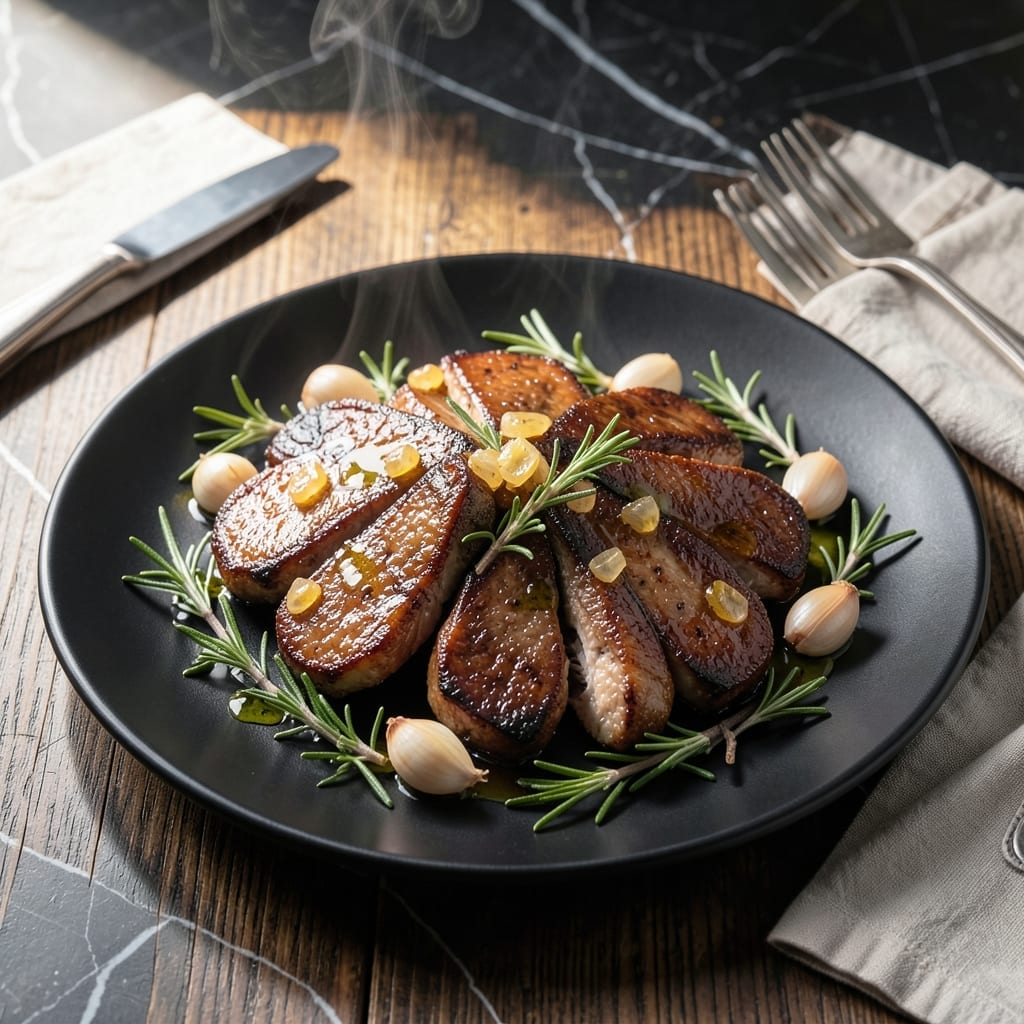
This one-pan chicken liver roast delivers a restaurant-quality main course with minimal effort and maximum flavor.
I’ve refined this method over years of testing, focusing on a velvety texture and rich, deep flavor. The key is a hot oven and precise timing to achieve a tender interior with a golden crust.
What sets this dish apart is the simplicity—just a handful of ingredients, one pan, and about 45 minutes from start to finish. The result is a dish that feels indulgent but is surprisingly approachable.
Serve it with crusty bread or roasted vegetables for a complete, satisfying meal that’s sure to impress.
Ingredients for Chicken Liver Roast
A handful of quality ingredients transforms into this indulgent, one-pan masterpiece with minimal effort.
| Ingredient | Amount | Notes |
|---|---|---|
| Chicken Livers 🍗 | 1 ½ lb | Fresh, trimmed of connective tissue |
| Unsalted Butter 🧈 | ½ cup | Melted, for basting and richness |
| Shallots 🧅 | 2 whole | Finely minced for depth of flavor |
| Garlic Cloves 🧄 | 4 cloves | Minced for aromatic base |
| Fresh Thyme Sprigs 🌿 | 6 sprigs | Leaves stripped, stems discarded |
| Fresh Rosemary Sprigs 🌿 | 2 sprigs | Leaves stripped, stems discarded |
| Dijon Mustard 🟡 | 2 tbsp | For tangy, sharp contrast |
| Dry White Wine 🍷 | ½ cup | For deglazing and acidity |
| Chicken Stock 🥣 | ½ cup | Low-sodium preferred for balance |
| Kosher Salt 🧂 | 1 ½ tsp | Diamond Crystal brand recommended |
| Freshly Ground Black Pepper 🌶️ | 1 tsp | Coarse grind for texture |
| All-Purpose Flour 🌾 | 2 tbsp | For light dusting before roasting |
| Extra-Virgin Olive Oil 🫒 | 2 tbsp | For searing and finishing |
The chicken livers must be impeccably fresh—look for deep red color and no off odors. Whole Foods or a trusted butcher are ideal sources. Trimming connective tissue is non-negotiable; it’s tough and ruins the velvety texture. For the wine, a crisp Sauvignon Blanc adds the right acidity. Avoid pre-minced shallots or garlic; fresh is essential for the aromatic base to shine.
No white wine? Dry vermouth works in a pinch, or substitute apple cider vinegar at half the amount. If you can’t find shallots, yellow onions are acceptable, though slightly sharper. For a gluten-free version, swap the flour for cornstarch. No fresh herbs? Dried at one-third the quantity, but fresh is strongly preferred for brightness and depth.
Livers are best cooked the day of purchase but can be refrigerated for up to 24 hours if stored in an airtight container. Leftovers (if any) keep for 2-3 days in the fridge. Reheat gently in a skillet with a splash of stock to restore the velvety texture.
Why You’ll Love This Recipe
- I’ll be real: this goes from fridge to table faster than takeout, and it’s way more satisfying.
- One Pan Wonder: I toss everything—livers, butter, shallots, thyme—on a single sheet and let the oven do the work.
- Rich and Buttery: That crispy butter-soaked crust on the livers with the sweet caramelized shallots? Ridiculously good.
- Weeknight Hero: I’ll be real: this goes from fridge to table faster than takeout, and it’s way more satisfying.
Step-by-Step Instructions for Chicken Liver Roast
Master this sophisticated technique for a restaurant-quality dish with minimal effort and maximum flavor.
Step 1: Prepare and Season the Chicken Livers
Begin by patting the 1.5 lb Chicken Livers completely dry with paper towels to ensure proper browning. Trim away any connective tissue or membranes, as these can become tough during cooking. This preparation step is crucial for achieving a tender final result.
Season the livers generously with 1.5 tsp Kosher Salt and 1 tsp Freshly Ground Black Pepper. Then lightly dust them with the 2 tbsp All-Purpose Flour, shaking off any excess. This thin coating will create a delicate crust while helping to thicken the pan sauce later.
Step 2: Sear the Livers to Perfection
Heat the 2 tbsp Extra-Virgin Olive Oil in a large oven-safe skillet over medium-high heat until shimmering. Working in batches if necessary to avoid crowding, add the floured chicken livers in a single layer. Sear undisturbed for 2-3 minutes until the edges develop a deep golden-brown crust.
Flip each piece and sear for another 2 minutes on the second side. The livers should be just cooked through but still slightly pink in the center. Transfer to a plate and set aside while you prepare the sauce base.
Step 3: Build the Aromatic Foundation
In the same skillet, reduce heat to medium and add the 2 whole Shallots (finely minced) and 4 cloves Garlic Cloves (minced). Sauté for 1-2 minutes until fragrant and just beginning to soften, being careful not to let the garlic brown.
Add the leaves from 6 sprigs Fresh Thyme Sprigs and 2 sprigs Fresh Rosemary Sprigs, stirring to coat in the rendered fat. Pour in the 0.5 cup Dry White Wine and scrape up any browned bits from the bottom of the pan, deglazing to capture all that concentrated flavor.
Step 4: Finish with Creamy Pan Sauce
Return the seared chicken livers to the skillet along with any accumulated juices. Pour in the 0.5 cup Chicken Stock and add the 2 tbsp Dijon Mustard. Simmer for 3-4 minutes until the sauce reduces slightly and coats the livers in a glossy sheen.
Remove from heat and stir in the 0.5 cup Unsalted Butter, one tablespoon at a time, until fully incorporated and the sauce takes on a rich, velvety consistency. The butter will emulsify with the pan liquids, creating a luxurious finish that perfectly complements the tender livers.
Serve immediately, spooning the sauce over the top, while the dish is still hot and the flavors are at their peak.
Pro Tips For Making Chicken Liver Roast
- Soak the Livers: Cover chicken livers in milk for 30 minutes before cooking—it mellows the bitterness and guarantees a milder, creamier texture. I learned this the hard way after serving a batch that tasted like regret.
- High Heat First: Sear the livers in screaming-hot butter for just 2-3 minutes per side. Any longer and they turn tough; I used to overcook them until I realized they’re done when still slightly pink inside.
- Skip the Salt Early: Season with salt only after searing—salting raw livers draws out moisture and makes them dry. More salt than you think is needed at the end, though, especially with unsalted butter.
- Use the Fond: After removing the livers, toss in shallots, garlic, and thyme to soak up those browned bits—it builds a quick pan sauce that’s too good to waste. Sounds weird, but it works.
Dietary Considerations for This chicken liver roast
Iron-Rich Powerhouse
This dish is a nutritional powerhouse, packed with heme iron—the most easily absorbed form. A 3.5-ounce serving of chicken liver provides over 100% of your daily iron needs, making it excellent for boosting energy and preventing anemia. 💪
Vitamin A Abundance
Chicken liver is one of the richest natural sources of vitamin A, with a single serving delivering more than 600% of the daily value. This supports vision, immune function, and skin health. I notice my skin looks brighter when I include liver in my diet.
Low-Carb Friendly
With virtually no carbohydrates, this recipe fits perfectly into keto or low-carb diets. The 2 tbsp All-Purpose Flour can be easily swapped for cornstarch or almond flour to keep it gluten-free while maintaining that light crust.
Moderate Calorie Count
Despite its rich flavor, chicken liver is relatively low in calories—about 150 calories per 3.5-ounce serving. The butter and olive oil add healthy fats, but the dish remains a balanced option for those watching their intake.
Purine Consideration
Those with gout or kidney issues should enjoy this dish in moderation due to its high purine content. I recommend limiting portions to 4 ounces and pairing with low-purine sides like roasted vegetables. 🥗
Allergen Note
This recipe contains dairy (butter) and gluten (flour). For dairy-free versions, substitute olive oil or coconut oil for the butter, and ensure your mustard and stock are free from hidden dairy derivatives.
Nutrition Facts
Frequently Asked Questions
How do I know when the livers are done?
They should have a golden-brown crust and be slightly pink inside. Overcooking makes them tough, so aim for 2-3 minutes per side on medium-high heat.
Can I use a different pan if I don’t have oven-safe?
Yes! Finish cooking on the stovetop instead. Just ensure even heat distribution and skip the oven step. A heavy skillet works best.
What’s the best way to store leftovers?
Keep them in an airtight container in the fridge for up to 2-3 days. Reheat gently in a skillet with a splash of stock.
Why does the sauce sometimes separate?
This happens if the butter gets too hot. Remove from heat and whisk vigorously to re-emulsify. Keep heat low when adding butter.

- Jollof Rice Sauce Recipe: West African Tomato and Spice Infusion - September 25, 2026
- Japanese Rice Soup Recipe: Umami-Rich Comfort in a Bowl - September 25, 2026
- Homemade Cream Of Rice Recipe: Silk-Smooth Breakfast in Minutes - September 25, 2026