
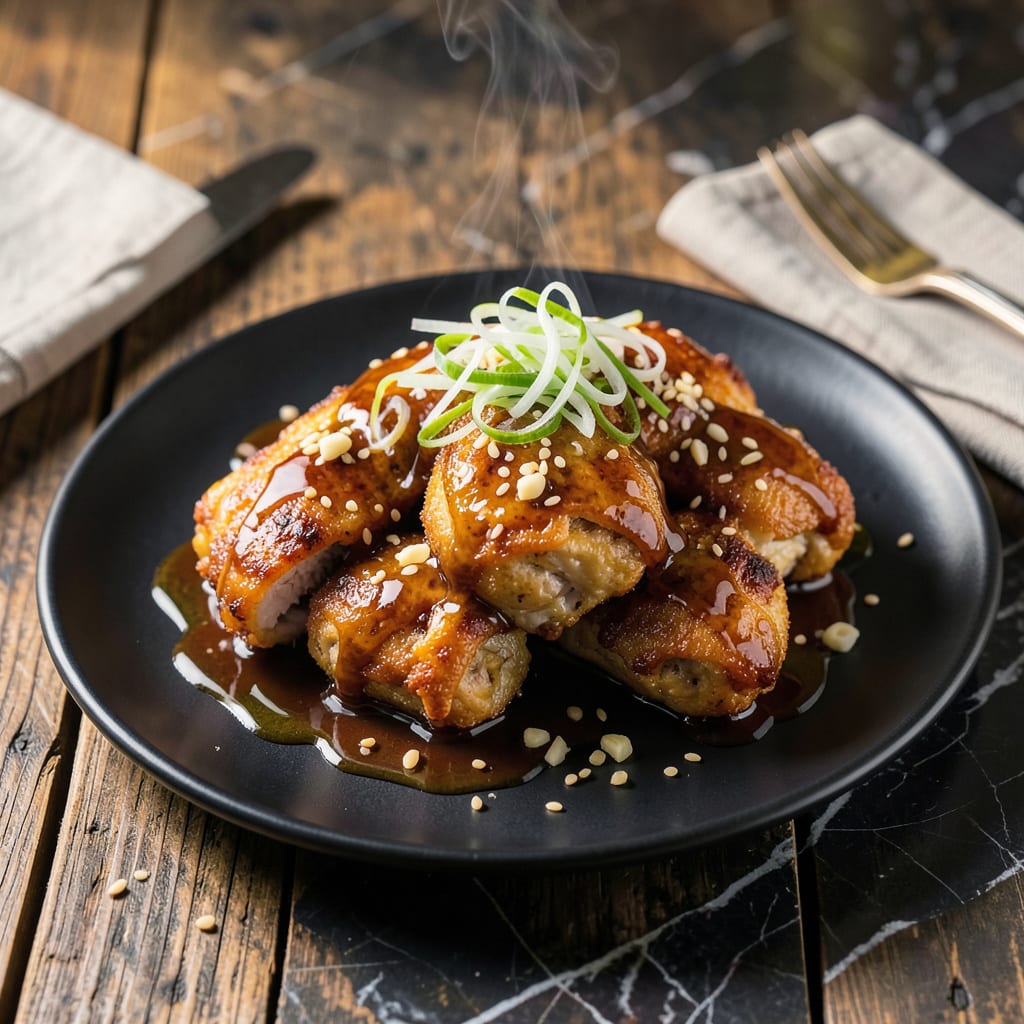
This Japanese-inspired sauce delivers the perfect balance of tangy, sweet, and garlicky depth that transforms simple chicken into something extraordinary.
With just a few pantry staples like vinegar, soy sauce, and mirin, you’ll create a versatile glaze that works beautifully for marinating or dipping. The flavor develops beautifully over time, making it ideal for meal prep.
Ingredients for Chicken Nanban Sauce
Pantry staples come together for this bold, tangy-sweet Japanese-inspired sauce with deep garlic flavor.
| Ingredient | Amount | Notes |
|---|---|---|
| Rice Vinegar 🍶 | ½ cup | Unseasoned for clean acidity |
| Soy Sauce 🥢 | ¼ cup | Low-sodium preferred for balance |
| Mirin 🍯 | 3 tbsp | Sweet rice wine essential |
| Garlic Cloves 🧄 | 4 cloves | Minced for maximum flavor |
| Granulated Sugar 🍚 | 2 tbsp | Dissolves easily in liquid |
| Ginger Root 🌿 | 1 tbsp | Freshly grated for zing |
| Sesame Oil 🫒 | 1 tsp | Toasted for nutty aroma |
| Red Pepper Flakes 🔥 | ½ tsp | Adjust for heat preference |
| Cornstarch 🌾 | 1 tbsp | Slurry thickener for glaze |
| Water 💧 | 2 tbsp | For cornstarch slurry |
[recipeingredientscaler]
The vinegar is non-negotiable here—unseasoned rice vinegar gives that clean, bright tang that balances the sweetness. Kikkoman soy sauce is my go-to (the low-sodium version keeps the salt in check), and mirin is worth hunting down at an Asian market if your regular store doesn’t carry it. The ginger and garlic? Fresh only—pre-minced just doesn’t have the same punch.
No rice vinegar? Apple cider vinegar at half the amount works in a pinch (it’s sharper, so go easy). Swap mirin for 1 tbsp sugar + 2 tbsp water, but you’ll lose some depth. Don’t have sesame oil? Skip it—don’t use regular oil as a sub, it’s not the same. The red pepper flakes can be omitted, but they add that subtle kick that makes this sauce sing.
This glaze keeps 1 week in the fridge. The flavors deepen over time, so make a double batch. Freeze extras in ice cube trays for up to 3 months—perfect for quick weeknight dinners.
Why You’ll Love This Recipe
- 5-Minute Mix: I just dump rice vinegar, soy sauce, mirin, garlic, and sugar in a pot—no fancy steps, no stress.
- Sweet-Savory Punch: The garlic mellows into the tangy vinegar and mirin, hitting that perfect balance between sweet and umami.
- Meal Prep MVP: I batch this sauce on Sunday and use it all week for dipping, marinating, or drizzling over rice bowls.
- Pantry Hero: All the ingredients are shelf-stable staples, so I can make this anytime without a grocery run.
Step-by-Step Instructions for Chicken Nanban Sauce
This method delivers the perfect balance of tangy, sweet, and garlicky depth in your glaze.
Step 1: Bloom Aromatics in Oil
Heat a saucepan over medium heat and add the 1 tsp Sesame Oil. Once it shimmers, add the 4 cloves Garlic Cloves and 1 tbsp Ginger Root, both finely grated or minced. Sauté for 1-2 minutes until fragrant but not browned.
You’ll smell the garlic and ginger releasing their oils—that’s your signal they’re ready. I always keep the heat at medium to prevent burning, which would make the sauce bitter. Watch for the edges of the garlic to just start turning golden.
Step 2: Combine Liquid Ingredients and Simmer
Pour in the 0.5 cup Rice Vinegar, 0.25 cup Soy Sauce, and 3 tbsp Mirin. Stir in the 2 tbsp Granulated Sugar and 0.5 tsp Red Pepper Flakes. Bring to a gentle simmer over medium-high heat.
Let it bubble for 3-4 minutes until the sugar fully dissolves. The mixture should look slightly syrupy and smell like a perfect balance of sweet, tangy, and umami. I like to stir occasionally to ensure the sugar doesn’t stick to the bottom.
Step 3: Thicken with Cornstarch Slurry
In a small bowl, whisk together the 1 tbsp Cornstarch and 2 tbsp Water until smooth. Slowly pour this slurry into the simmering sauce while stirring constantly.
Continue to cook for 2-3 minutes until the sauce thickens enough to coat the back of a spoon. You’ll notice it transforming from a thin liquid to a glossy glaze. Remove from heat immediately once it reaches your desired consistency—it’ll thicken slightly more as it cools.
Step 4: Cool and Use
Let the sauce cool to room temperature. It should have a smooth, glossy texture with tiny specks of garlic and ginger. The flavors will meld together as it cools, creating that signature nanban balance.
Use it to glaze fried chicken, drizzle over grilled meats, or toss with vegetables. For the best results, I recommend letting it sit for 10 minutes before using to allow the flavors to fully develop. Store any leftovers in an airtight container in the fridge for up to 1 week.
Pro Tips For Making Chicken Nanban Sauce
- Bloom the Garlic: Cook the minced garlic in a bit of oil for 30 seconds until fragrant but not brown—I learned this the hard way after burning a batch and having to start over.
- Balance the Sweetness: Use 1 tablespoon of sugar per ¼ cup of rice vinegar, and taste before adding more; the mirin already brings sweetness that sneaks up on you.
- Simmer, Don’t Boil: Keep the sauce at a gentle simmer while reducing, or the vinegar will evaporate too fast and leave the flavor sharp and unbalanced.
- Rest the Sauce: Let the finished sauce sit for 10 minutes off the heat before using—sounds weird, but it mellows the acidity and lets the garlic infuse fully.
Dietary Considerations for This Dish
Gluten-Free Adaptation
Swap the soy sauce for tamari—it’s naturally gluten-free and has a similar depth of flavor. I use San-J tamari for consistent results. Also verify your mirin is gluten-free, as some brands contain wheat. 💡
Reduced Sugar Version
Cut the granulated sugar by half and add 1 tbsp honey or maple syrup for natural sweetness. This lowers the glycemic impact while keeping the balanced flavor. The sauce will be slightly less thick but still delicious.
Vegan Friendly
This recipe is already vegan as written—no animal products needed! Just ensure your soy sauce or tamari doesn’t contain fish-based additives. I often use this glaze on tofu or roasted vegetables for a plant-based twist. 🌱
Low-Sodium Option
Use low-sodium soy sauce and reduce the red pepper flakes to ¼ tsp if you’re watching salt intake. The flavor remains vibrant, but the sodium drops significantly. Taste and adjust with a pinch of salt if needed.
Allergy Considerations
For those with sesame allergies, simply omit the sesame oil—the sauce will still have plenty of flavor from the garlic and ginger. If avoiding corn, replace cornstarch with arrowroot powder at a 1:1 ratio for thickening.
Nutrition Facts
Frequently Asked Questions
Can I use apple cider vinegar instead of rice vinegar?
Yes, but use half the amount since it’s stronger. The flavor will be slightly sharper, but it works in a pinch.
How long does the sauce keep in the fridge?
Store in an airtight container for up to 1 week. The flavors deepen over time, making it ideal for meal prep.
Can I skip the cornstarch slurry?
You can, but the sauce will remain thin. The slurry gives it that glossy, clingy texture perfect for glazing.
What’s the best way to thicken without cornstarch?
Use arrowroot powder or tapioca starch at a 1:1 ratio. Both are great gluten-free alternatives.

- Jollof Rice Sauce Recipe: West African Tomato and Spice Infusion - September 25, 2026
- Japanese Rice Soup Recipe: Umami-Rich Comfort in a Bowl - September 25, 2026
- Homemade Cream Of Rice Recipe: Silk-Smooth Breakfast in Minutes - September 25, 2026