
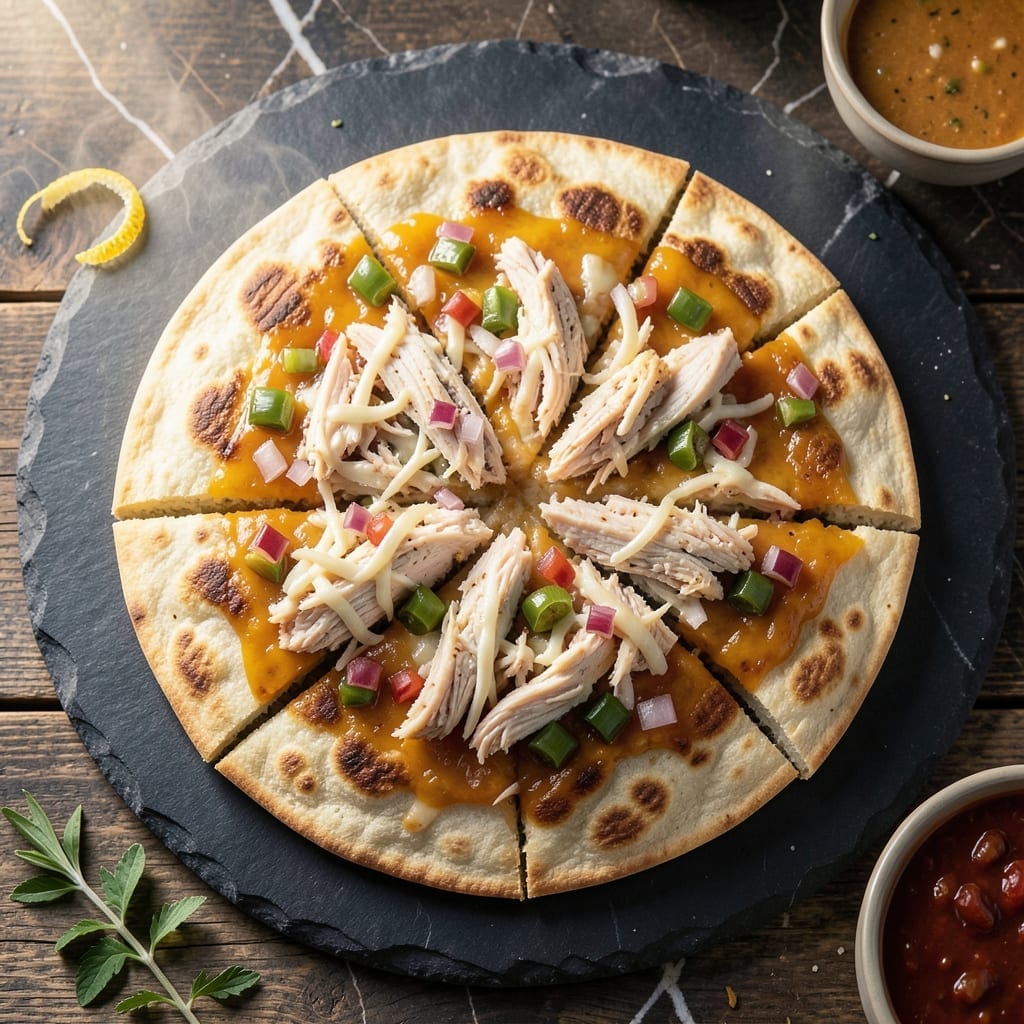
I discovered the secret to quick weeknight dinners with this recipe that transforms pantry staples into something extraordinary.
Canned chicken becomes the star when paired with melted cheese and warm tortillas, creating a dish that’s ready in minutes. The beauty lies in its simplicity—just assemble, cook, and serve.
What you get is a golden, cheesy quesadilla with tender chicken in every bite. It’s the kind of meal that satisfies cravings without the fuss.
Perfect for busy evenings when time is short but flavor can’t be compromised. Here’s how to make it.
Ingredients for Chicken Quesadilla Recipe with Canned Chicken
Pantry staples meet fridge basics for this speedy, satisfying meal.
| Ingredient | Amount | Notes |
|---|---|---|
| Canned Chicken 🍗 | 2 cups | Drained and shredded |
| Flour Tortillas 🌮 | 8 pieces | Large, burrito-sized preferred |
| Cheddar Cheese 🧀 | 2 cups | Shredded from block |
| Monterey Jack Cheese 🧀 | 1 cup | Shredded for meltiness |
| Green Bell Pepper 🌶️ | 1 whole | Diced, about 1 cup |
| Red Onion 🧅 | ½ whole | Finely diced, about 1/2 cup |
| Jalapeño 🌶️ | 1 whole | Seeded and minced |
| Fresh Cilantro 🌿 | ¼ cup | Chopped for garnish |
| Sour Cream 🥛 | ½ cup | For serving |
| Salsa 🍅 | ¾ cup | For serving |
| Olive Oil 🫒 | 1 tbsp | For cooking tortillas |
| Ground Cumin 🌿 | 1 tsp | For seasoning chicken |
| Garlic Powder 🧄 | ½ tsp | For seasoning chicken |
| Lime 🍈 | 1 whole | Cut into wedges for serving |
The canned chicken is the shortcut hero here—look for brands like Tyson or Kirkland with no added salt or preservatives. Draining and shredding it yourself (instead of buying pre-shredded) keeps the texture better. For the cheeses, block cheddar and Monterey Jack melt smoother than pre-shredded, which has anti-caking agents that can make it clumpy.
Out of jalapeños? Pickled jalapeños from a jar work great—just pat them dry first. No cilantro? Flat-leaf parsley is a decent stand-in. Swap the bell pepper for poblano or Anaheim if you want a milder heat. The salsa can be any variety you like, but I prefer a chunky roasted tomato salsa for extra depth.
Assemble the quesadillas just before cooking—no soggy tortillas. Leftovers keep in the fridge for 3-4 days (reheat in a dry skillet to crisp them back up). The sour cream and salsa stay fresh for about 1 week after opening.
Why You’ll Love This Recipe
- No-Cook Protein: I just drain the canned chicken and it’s ready to go—no chopping or cooking raw meat first.
- Cheesy Crisp Perfection: The mix of cheddar and Monterey Jack melts into this gooey, golden layer that’s honestly hard to resist.
- Weeknight Hero: Between us, this is my standby for busy evenings when I need dinner on the table in under 20 minutes.
- Pocket-Friendly Fill: Canned chicken keeps the cost down, and I can stretch it to feed four without breaking the bank.
Step-by-Step Instructions for Chicken Quesadillas
This method delivers crispy, cheesy perfection in minutes—exactly what busy weeknights demand.
Step 1: Season and Sauté the Filling
Drain and shred the 2 cups Canned Chicken, then toss it with 1 tsp Ground Cumin and 0.5 tsp Garlic Powder in a bowl. This simple seasoning wake up the chicken’s flavor and prevents blandness. Heat a large skillet over medium-high heat and add the seasoned chicken.
Cook for 2-3 minutes, stirring occasionally, until the chicken is heated through and the spices smell fragrant. Remove from the skillet and set aside. Real talk: under-seasoning here means a flat final dish, so don’t skip this step.
Step 2: Sauté the Vegetables Until Tender
In the same skillet, add the diced 1 whole Green Bell Pepper, finely diced 0.5 whole Red Onion, and minced 1 whole Jalapeño. Sauté over medium heat for 4-5 minutes until the vegetables soften and the onion turns translucent.
The peppers should still have a slight bite—overcooking them turns the filling mushy. If the pan looks dry, add a splash of water to help steam the veggies. This step builds a flavor base that keeps the quesadillas from tasting one-dimensional.
Step 3: Assemble and Cook the Quesadillas
Lay out 8 pieces Flour Tortillas and sprinkle half of them with half of the 2 cups Cheddar Cheese and 1 cup Monterey Jack Cheese. Top each with a portion of the chicken and vegetable mixture, then the remaining cheese. Fold the tortillas in half to close.
Heat 1 tbsp Olive Oil in the skillet over medium heat. Cook each quesadilla for 2-3 minutes per side until the tortillas are golden brown and the cheese is fully melted. Press down gently with a spatula to ensure even contact with the pan.
Step 4: Rest, Slice, and Serve
Transfer the cooked quesadillas to a cutting board and let them rest for 2 minutes. This brief pause lets the cheese set slightly so it doesn’t ooze out when you cut into them. Slice each quesadilla into wedges and arrange on a platter.
Serve immediately with 0.75 cup Salsa, 0.5 cup Sour Cream, and the chopped 0.25 cup Fresh Cilantro scattered on top. Finish with a squeeze of 1 whole Lime for brightness. The contrast of cool toppings with the hot, melty quesadillas ties everything together perfectly.
Pro Tips For Making Chicken Quesadilla Recipe With Canned Chicken
- Drain the Chicken: Press the canned chicken in a strainer and squeeze out all the liquid—this prevents a soggy quesadilla. I learned this the hard way after my first few turned into a cheesy, watery mess.
- Pre-cook the Peppers: Sauté the green bell peppers for 3-4 minutes before adding them to the tortilla to soften them and remove excess moisture.
- Low and Slow: Cook the quesadilla on medium-low heat to melt the cheddar and Monterey Jack evenly without burning the tortillas. After burning three batches, I finally figured out that patience is the thing that matters most.
- Cheese on Both Sides: Sprinkle a thin layer of cheese directly on the tortilla before adding fillings—this acts as glue to hold everything together. Sounds weird, but it works.
Essential Equipment for Great chicken quesadilla recipe with canned chicken
Essential Skillet
A heavy-bottomed 12-inch cast iron skillet is my go-to for even heat distribution. I use Lodge—it’s affordable and lasts forever. The weight helps press quesadillas flat for maximum crispiness. 🔥
Tortilla Press
While not mandatory, a tortilla press ensures uniform thickness if you’re making homemade tortillas. For store-bought, a large nonstick griddle works great for cooking multiple quesadillas at once.
Cheese Grater
Freshly shredded cheese melts better than pre-shredded. I recommend a box grater with multiple size options. Shredding block cheddar and Monterey Jack yourself takes 2 minutes and makes a noticeable difference.
Sharp Knife
A 10-inch chef’s knife makes quick work of dicing the bell pepper, onion, and jalapeño. Keep it sharp for clean cuts. I use Victorinox Fibrox—it’s budget-friendly and razor-sharp.
Spice Blending Tools
For the seasoning, a small bowl and fork work fine, but I love my OXO Good Grips spice jar for shaking the cumin and garlic powder evenly over the chicken. Simple tools, big flavor impact.
Serving Essentials
A wooden cutting board and pizza cutter make slicing and serving a breeze. The cutter’s wheel glides through the crispy tortillas without dragging the cheese. 💛
Nutrition Facts
Frequently Asked Questions
How do I keep the tortillas from getting soggy?
Assemble and cook immediately. Spread cheese first to create a barrier between filling and tortilla. Cook on medium heat for 2-3 minutes per side.
Can I use a different type of cheese?
Try pepper jack for spice or mozzarella for extra stretch. Avoid hard cheeses like parmesan—they don’t melt well.
What if my quesadilla isn’t crispy enough?
Press down with a spatula while cooking. Ensure your pan is hot enough and use 1 tbsp Olive Oil for each batch.
Can I make these ahead of time?
Assemble without cooking, wrap tightly, and refrigerate for up to 24 hours. Cook from cold, adding 1 minute to each side.

- Jollof Rice Sauce Recipe: West African Tomato and Spice Infusion - September 25, 2026
- Japanese Rice Soup Recipe: Umami-Rich Comfort in a Bowl - September 25, 2026
- Homemade Cream Of Rice Recipe: Silk-Smooth Breakfast in Minutes - September 25, 2026