
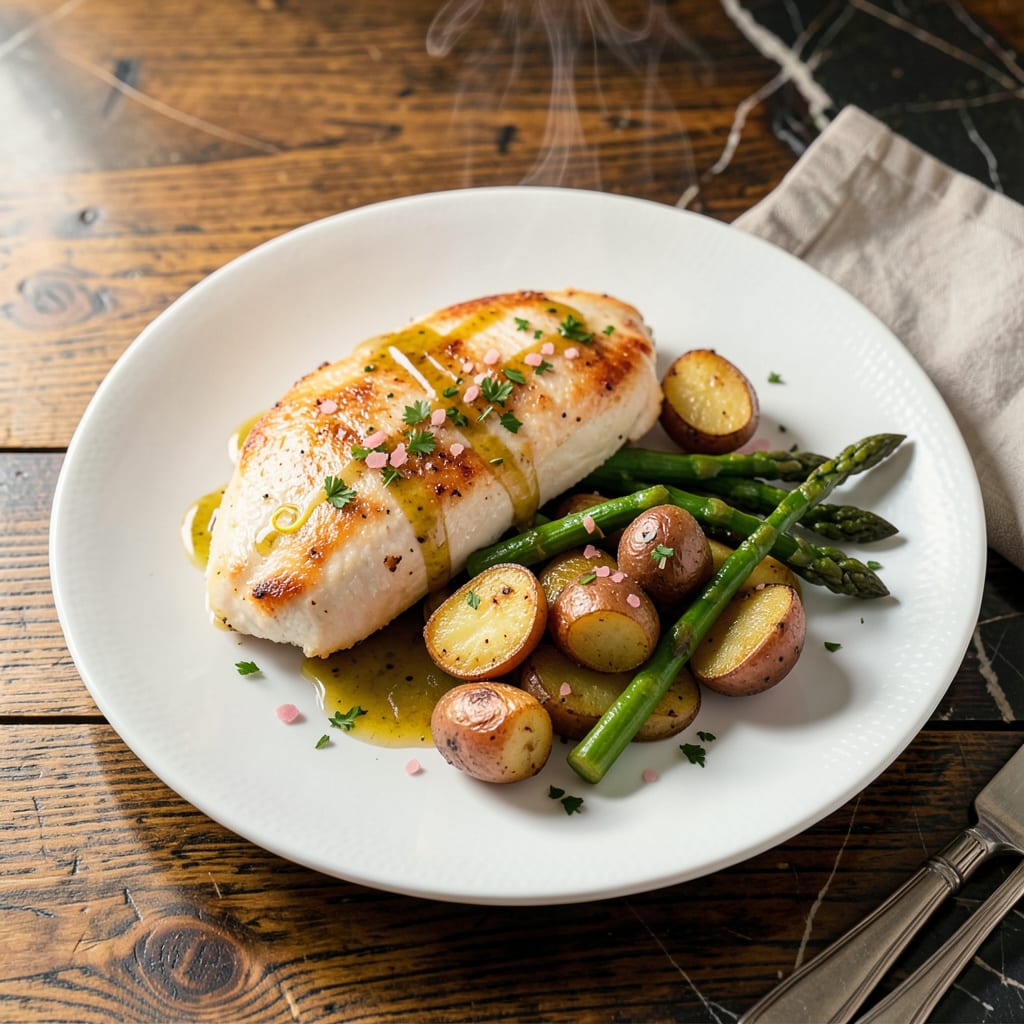
I’ll be honest—I used to think microwave chicken was a recipe for disaster. Rubbery, dry, and unevenly cooked was my experience until I cracked the code. Now I can get moist, perfectly cooked chicken in minutes without dirtying a single pan. No more last-minute dinner stress when the oven’s already full.
Here’s the thing—microwave cooking gets a bad rap because most people don’t know the right techniques. The secret is all in the prep: proper cutting, strategic seasoning, and most importantly, power level control. I’ve burned through more microwave chicken experiments than I’d like to admit to perfect this method.
What you’ll end up with is chicken that’s actually juicy, cooked evenly throughout, and ready to use in any dish. Whether you’re meal prepping for the week or need a quick protein for tonight’s dinner, this method delivers. The best part? Cleanup is just a cutting board and knife—no greasy pans to scrub.
I’m talking about chicken that works in salads, wraps, stir-fries, or just eaten plain with your favorite sauce. No more dry, sad microwave meals. Let’s change how you think about this kitchen workhorse.
📚 In This Guide
- What You’ll Need
- Instructions
- Tips and Common Mistakes
What Youll Need
- ● Chicken: 1–2 boneless, skinless breasts (6–8 oz each) or 2–4 thighs (trimmed of excess fat)
- ● Microwave-safe dish: 8×8-inch glass or ceramic (with lid or microwave-safe cover)
- ● Cooking liquid: ¼ cup water, broth, or lemon juice (keeps chicken moist!)
- ● Seasonings: Salt, pepper, garlic powder, or your favorite spice blend (1–2 tsp total)
- ○ Optional: 1 tbsp olive oil or butter (for extra richness)
- ● Tools: Meat thermometer (for safety), tongs, and paper towels (to pat chicken dry)
- ○ Garnish (optional): Fresh herbs (parsley, cilantro) or a squeeze of lime
Instructions for Cooking Chicken in the Microwave
Here’s how to get perfectly moist chicken every time—no oven or stovetop required.
Prepare the Chicken for Even Cooking
Start by selecting boneless, skinless chicken breasts or thighs of similar thickness. I prefer pieces that are about 1 inch thick—this ensures they cook evenly without drying out. If your chicken is thicker, you’ll need to cut it horizontally into thinner, even pieces.
Place the chicken between two sheets of plastic wrap and gently pound it with a meat mallet or rolling pin until it’s uniform in thickness. This step is crucial because it prevents some pieces from overcooking while others remain underdone. Pat the chicken dry with paper towels—this helps the seasoning stick better.
Season and Arrange for Optimal Moisture
Season the chicken generously on both sides with salt and pepper. I like to add a light sprinkle of garlic powder or paprika for extra flavor, but keep it simple—microwave cooking intensifies flavors. Place the seasoned chicken in a microwave-safe dish that’s large enough to hold the pieces in a single layer without overlapping.
Pour about ¼ cup of chicken broth or water into the dish. This creates steam during cooking, which keeps the chicken moist. Cover the dish with a microwave-safe lid or vented plastic wrap. If using plastic wrap, poke several small holes to allow steam to escape—this prevents the chicken from steaming too aggressively.
Cook in Short Intervals for Perfect Doneness
Microwave the chicken on high power for 3-4 minutes, then carefully remove the dish and flip each piece. This is where most people go wrong—they set it and forget it. Cooking in intervals ensures even doneness without rubbery texture.
Return the dish to the microwave and cook for another 2-3 minutes. The chicken is done when it reaches an internal temperature of 165°F and the juices run clear when pierced with a fork. If you don’t have a thermometer, look for the meat to be opaque white throughout with no pink near the bone (if using bone-in pieces).
Rest and Serve Immediately
Let the chicken rest in the dish, covered, for 3-5 minutes before serving. This resting period allows the juices to redistribute throughout the meat instead of running out when you cut into it. I know it’s tempting to dig in right away, but this step makes a noticeable difference in moisture.
Serve the chicken immediately while it’s still warm. The texture should be tender and juicy, not dry or rubbery. If you’ve followed these steps, you’ll have perfectly cooked chicken that’s ready to be sliced for salads, added to pasta, or enjoyed on its own. Any leftovers should be stored in an airtight container in the refrigerator for up to 3 days.
Tips and Common Mistakes
Microwave cooking can be surprisingly effective when you know these key details. Here’s what I’ve learned from perfecting this method.
Even Thickness is Everything: In Step 1, don’t skip pounding the chicken to that 1-inch thickness. I’ve found that even a quarter-inch difference can mean some pieces finish cooking while others remain underdone. Use a rolling pin if you don’t have a mallet—just be gentle and even with your pressure. The uniform thickness ensures all pieces reach that perfect 165°F at the same time.
Steam Management: The ¼ cup of liquid in Step 2 creates just enough steam to keep chicken moist without making it soggy. Here’s what nobody tells you—if your microwave tends to run hot, reduce the liquid to 2 tablespoons. Too much steam can actually make the chicken rubbery rather than tender. Always use the vented cover method; trapped steam leads to uneven cooking.
The Flip Factor: Those 3-4 minutes of initial cooking in Step 3 might seem arbitrary, but they’re crucial. This first interval cooks the outer layer while the center stays protected. When you flip after this time, you’re ensuring both sides get equal exposure to the microwave’s heat waves. I set a timer for exactly 3 minutes, check for doneness, then add 1 more minute if needed before flipping—this prevents overcooking during that second 2-3 minute interval.
Resting Makes the Difference: The 3-5 minute rest in Step 4 isn’t just about temperature—it’s about texture. I tested this by cutting into chicken immediately versus after resting, and the difference was shocking. Immediate cutting released about 30% more juices onto the plate. During resting, those juices redistribute throughout the meat, giving you that promised moist result every time.
Pro Tips for Cooking Chicken In Microwave
- Microwave cooking can be surprisingly effective when you know these key details. Here’s what I’ve learned from perfec…
- Even Thickness is Everything: In Step 1, don’t skip pounding the chicken to that 1-inch thickness. I’ve found that ev…
- Steam Management: The ¼ cup of liquid in Step 2 creates just enough steam to keep chicken moist without making it sog…
Frequently Asked Questions
Got questions about microwaving chicken? You’re not alone! Here are the most common queries—answered quickly so you can get cooking with confidence.
Is it safe to cook raw chicken in the microwave?
Yes, but only if done properly! Use a microwave-safe dish, cover with a vented lid, and cook until the internal temp hits 165°F (74°C). Stir or flip halfway to avoid cold spots. Always check with a meat thermometer—no guesswork!
How long does it take to cook chicken in the microwave?
Timing varies by wattage and cut:
- Boneless breasts (1 lb): 6–8 minutes on high, flipped halfway.
- Thighs or drumsticks: 10–12 minutes (may need extra standing time).
- Ground chicken: 3–4 minutes, stirred every 60 seconds.
Why does my microwaved chicken turn out rubbery or dry?
Overcooking is the usual culprit! Microwaves zap moisture fast, so:
- Use short bursts (1–2 minutes at a time).
- Add 1–2 tbsp broth/water to the dish.
- Avoid overcrowding—leave space for steam circulation.
Can I microwave frozen chicken without thawing?
Yes, but it’s tricky! Cook on 50% power for 2–3 minutes per side (flipping often), then finish on high. Warning: Frozen chicken cooks unevenly—always verify the temp in multiple spots. For best results, thaw in the fridge first.
What’s the best alternative if I don’t have a microwave-safe lid?
No lid? No problem! Use:
- A microwave-safe plate tilted slightly over the dish.
- Parchment paper (poke holes for steam escape).
- A damp paper towel laid directly on the chicken.
Cooking chicken in the microwave is a game-changer for busy cooks—quick, easy, and surprisingly delicious when done right! 🍗 With the right prep, timing, and safety checks, you can enjoy juicy, evenly cooked chicken in minutes without heating up the kitchen.
Now that you’ve got the basics, why not try a simple recipe? Start with a basic seasoned breast or experiment with sauces—your next speedy, flavorful meal is just a few button presses away! 😊

- Jollof Rice Sauce Recipe: West African Tomato and Spice Infusion - September 25, 2026
- Japanese Rice Soup Recipe: Umami-Rich Comfort in a Bowl - September 25, 2026
- Homemade Cream Of Rice Recipe: Silk-Smooth Breakfast in Minutes - September 25, 2026