
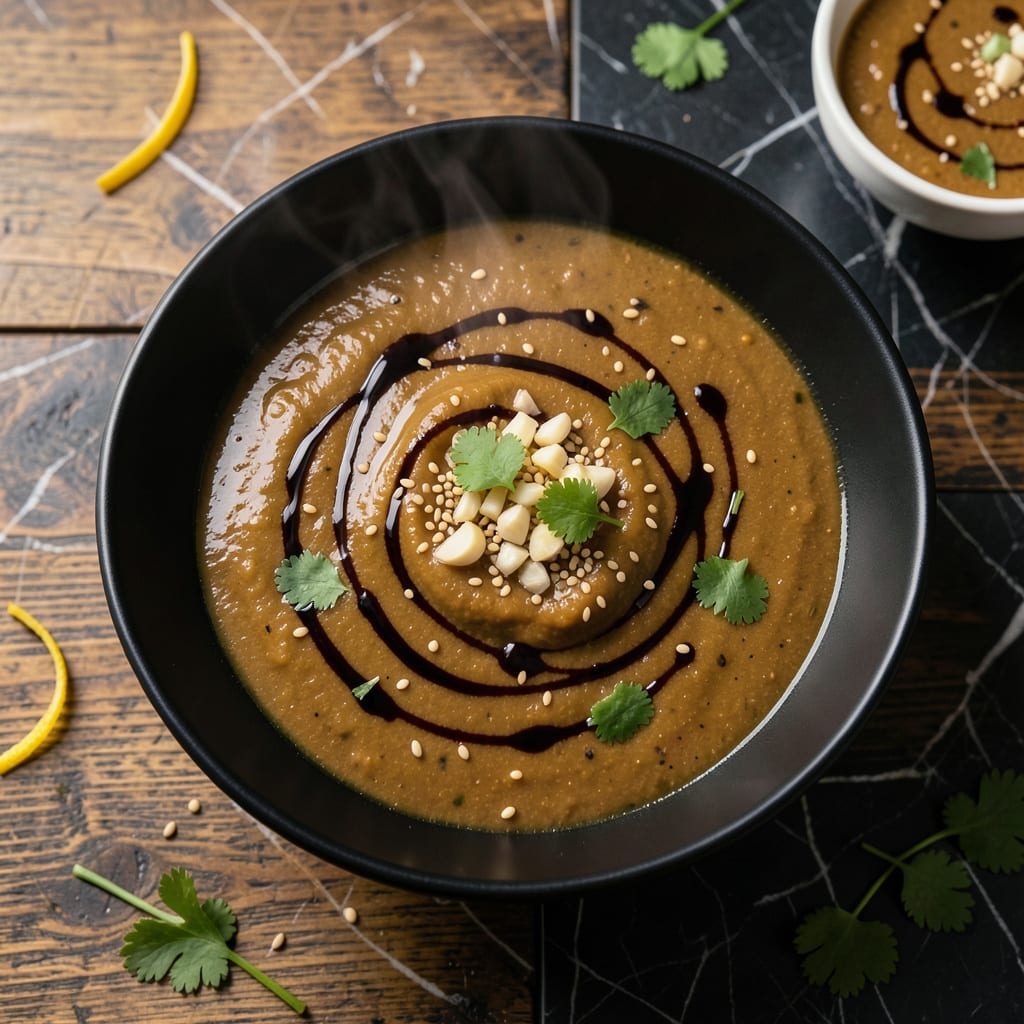
This rich umami sauce transforms simple chicken soup into a deeply flavorful base for noodle bowls. A few pantry staples come together to create a velvety, savory liquid that enhances every spoonful.
It takes just 20 minutes to make and stores beautifully in the fridge for up to a week. The secret is layering ingredients for maximum depth without overwhelming the natural taste of the soup.
Ingredients for Chicken Soup Sauce
A few pantry staples create this deeply savory, velvety sauce to elevate your soup.
| Ingredient | Amount | Notes |
|---|---|---|
| Chicken Stock 🍲 | 3 cups | Low-sodium preferred for control |
| Soy Sauce 🫙 | ¼ cup | Low-sodium or tamari variety |
| Miso Paste 🍜 | 2 tbsp | White or red miso both work |
| Sesame Oil 🫒 | 1 tbsp | Toasted for depth of flavor |
| Garlic Cloves 🧄 | 4 cloves | Minced for even distribution |
| Fresh Ginger 🌿 | 1 tbsp | Peeled and finely grated |
| Rice Vinegar 🍶 | 1 tbsp | Balances richness with acidity |
| Brown Sugar 🍚 | 1 tsp | Dark or light, for subtle sweetness |
| Red Pepper Flakes 🌶️ | ½ tsp | Adjust to preferred heat level |
| Cornstarch 🌾 | 1 tbsp | Mixed with water for thickening |
[recipeingredientscaler]
The chicken stock is the foundation. Low-sodium varieties from Whole Foods or Trader Joe’s allow you to control the salt content perfectly. Miso paste is non-negotiable for that umami depth—look for it in the refrigerated section for freshest quality. Sesame oil should be toasted; Kadokawa brand offers consistent flavor. Always check the label for additives in soy sauce.
No miso paste? Fish sauce at half the amount works, but skip if keeping vegetarian. Tamari can replace soy sauce in a 1:1 ratio. Fresh ginger is ideal, but ground ginger at one-quarter the amount saves time. Brown sugar can be swapped with honey or maple syrup. For heat, gochujang paste adds complexity beyond just red pepper flakes.
This sauce keeps for 1 week in the fridge in an airtight container. Freeze in ice cube trays for 3 months for easy portioning. The flavors deepen after a day, so make it ahead if possible. Stir well before using as ingredients may settle.
Why You’ll Love This Recipe
- One Pot Wonder: I just dump everything in and let the stock, miso, and soy do the work—no fuss, no stress.
- Umami Bomb: The garlic and sesame oil hit you first, then that deep, salty-sweet miso finish lingers.
- Weeknight Hero: Honestly, it’s my Tuesday lifesaver for stir-fries, noodles, or even just drizzled over rice.
- Stretch Your Dollar: A batch costs pennies, keeps for days, and turns cheap chicken into something crave-worthy.
Step-by-Step Instructions for Chicken Soup Sauce
Master this umami-rich base with precise technique for restaurant-quality results every time.
Step 1: Build the Aromatic Foundation
Heat the 1 tablespoon Sesame Oil in a heavy saucepan over medium heat until shimmering. Add the 4 cloves Garlic Cloves and 1 tablespoon Fresh Ginger, sautéing for 1 minute until the mixture becomes fragrant and just golden at the edges.
This step releases the essential oils and creates the aromatic backbone of your sauce. Watch closely—the garlic should never brown, as burnt garlic imparts bitterness. The sesame oil’s nutty depth begins to bloom here.
Step 2: Develop the Umami Base
Pour in the 3 cups Chicken Stock, 0.25 cup Soy Sauce, and 2 tbsp Miso Paste. Whisk vigorously until the miso fully dissolves into the liquid, creating a smooth, rich mixture. Bring to a gentle simmer over medium-high heat.
The miso’s fermented complexity marries with the soy sauce’s saltiness, while the chicken stock provides depth. You’ll notice the color deepen to a warm amber as the flavors meld. Simmer for 5 minutes to allow the umami to intensify.
Step 3: Balance and Season
Stir in the 1 tbsp Rice Vinegar, 1 tsp Brown Sugar, and 0.5 tsp Red Pepper Flakes. The vinegar’s acidity cuts through the richness, while the brown sugar adds subtle sweetness to round out the flavor profile. The red pepper flakes introduce a gentle warmth.
Taste and adjust seasoning here—the balance of salty, sweet, tangy, and spicy should be harmonious. Simmer for an additional 3-4 minutes to let the flavors marry completely.
Step 4: Thicken to Perfection
Mix the 1 tbsp Cornstarch with 2 tablespoons cold water to create a slurry. Slowly pour this into the simmering sauce while whisking constantly. Continue to cook for 1-2 minutes until the sauce thickens to a velvety consistency that coats the back of a spoon.
The cornstarch activates in the heat, transforming the liquid into a luscious, glossy sauce. This final step ensures your sauce will cling beautifully to noodles or proteins. Remove from heat immediately once thickened to prevent over-reducing.
Pro Tips For Making Chicken Soup Sauce
- Bloom the Garlic: Cook minced garlic in sesame oil for 30 seconds until fragrant—any longer and it turns bitter. I learned this the hard way after ruining a batch with burnt garlic.
- Whisk Miso First: Mix miso paste with 2-3 tablespoons of warm stock before adding to the pot to prevent clumping. Sounds weird, but it works every time.
- Skip the Boil: Keep the sauce at a gentle simmer, never a rolling boil, or the soy sauce will over-reduce and turn salty. After burning three batches, I finally figured this out.
- Finish with Oil: Stir in sesame oil at the very end, off the heat, to preserve its nutty aroma. My grandmother swore by this, and she was right.
Make-Ahead Tips for Leftovers
Batch Prep Method
I always double this recipe—it takes the same effort and gives you 6 cups of sauce. Use a 4-quart pot to accommodate the larger volume. The flavors actually improve after 24 hours in the fridge as the miso and soy meld together. 💡
Fridge Storage
Cool completely before transferring to airtight containers. I use Ball Mason jars for easy portioning. The sauce stays fresh for 7 days refrigerated. Stir before using as the miso may settle slightly.
Freezer Option
Pour into ice cube trays for 2-tbsp portions or freezer bags for larger batches. Freeze flat to save space. It keeps for 3 months without quality loss. Thaw overnight in the fridge for best results.
Reheating Tips
Gently warm on the stove over low heat, stirring occasionally. Add 1-2 tbsp water if it thickens too much. Avoid microwaving as it can separate the sauce. 🔥
Flavor Boost
If making ahead, under-season slightly—the flavors concentrate during storage. I add an extra ½ tsp soy sauce or pinch of sugar when reheating if needed. Taste and adjust right before serving.
Portion Control
For noodle bowls, use ¼ cup sauce per serving. This ensures every bite gets that rich umami punch without overwhelming the broth. I keep a measuring cup in my sauce container for easy pouring.
Nutrition Facts
Frequently Asked Questions
Can I make this sauce gluten-free?
Yes! Simply swap the soy sauce for tamari and ensure your chicken stock is certified gluten-free. The miso should also be gluten-free, as some varieties contain barley.
How do I adjust the spice level?
Start with ¼ tsp red pepper flakes for mild heat, or increase to 1 tsp for a bolder kick. You can also add a dash of sriracha at the end for extra warmth.
Can I use this sauce for dishes other than soup?
It works beautifully as a stir-fry sauce, marinade, or drizzle over roasted vegetables. The umami-rich flavor pairs well with grains like rice or quinoa.
What if my sauce is too thin?
Mix 1 tsp cornstarch with 1 tbsp cold water and stir it into the simmering sauce. Cook for 1-2 minutes until it reaches your desired consistency.

- Jollof Rice Sauce Recipe: West African Tomato and Spice Infusion - September 25, 2026
- Japanese Rice Soup Recipe: Umami-Rich Comfort in a Bowl - September 25, 2026
- Homemade Cream Of Rice Recipe: Silk-Smooth Breakfast in Minutes - September 25, 2026