
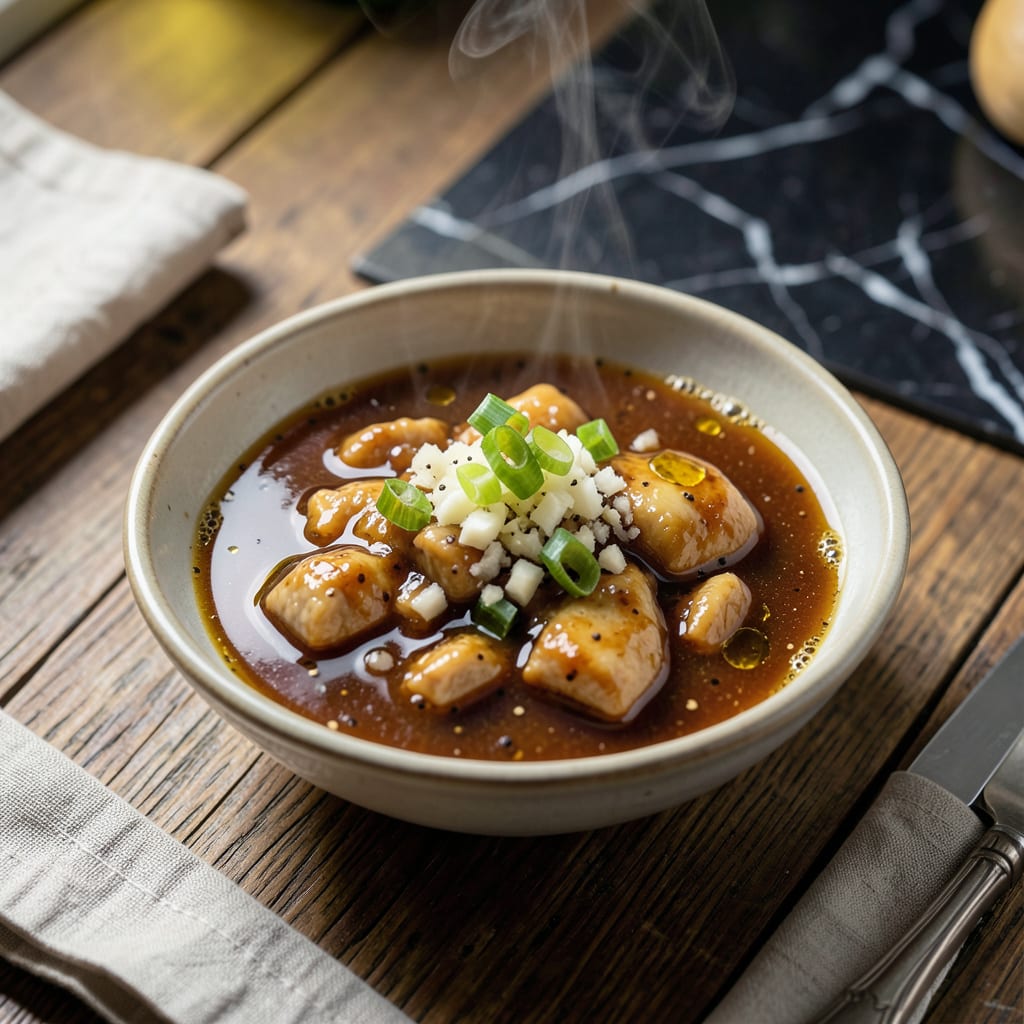
This sauce transforms any protein into a restaurant-quality stir-fry. The secret lies in balancing sweet, savory, and umami flavors with just the right thickness to cling perfectly to chicken or vegetables.
With a few pantry staples and 5 minutes of simmering, you’ll create a glossy, flavor-packed sauce that’s far superior to store-bought versions. It keeps well in the fridge for 1 week, ready to elevate your next meal.
Ingredients for Chicken Stirfry Sauce
Nine pantry staples create a glossy, umami-rich sauce with perfect cling. Ready in minutes.
| Ingredient | Amount | Notes |
|---|---|---|
| Low-Sodium Soy Sauce 🥜 | ½ cup | For deep umami base |
| Rice Vinegar 🍶 | ¼ cup | Adds bright acidity |
| Brown Sugar 🍚 | 3 tbsp | Balances salt and acid |
| Fresh Garlic Cloves 🧄 | 4 cloves | Minced for maximum flavor |
| Fresh Ginger Root 🌿 | 1 tbsp | Finely grated, peeled |
| Sesame Oil 🫒 | 1 tbsp | Toasted variety preferred |
| Cornstarch 🌾 | 2 tsp | Slurry with water to thicken |
| Water 💧 | ¼ cup | For cornstarch slurry |
| Oyster Sauce 🍜 | 2 tbsp | Optional for extra depth |
| Red Pepper Flakes 🌶️ | ½ tsp | Adjust to taste preference |
[recipeingredientscaler]
The soy sauce is the backbone—Kikkoman low-sodium is my go-to for consistent flavor without overwhelming saltiness. Fresh ginger and garlic are non-negotiable (the jarred stuff just doesn’t cut it). Hit an Asian market for the best prices on these, plus they’ll have properly toasted sesame oil that smells like heaven. Brown sugar adds that caramelized depth, but light or dark both work fine.
No oyster sauce? Hoisin or fish sauce can step in, though they’ll tweak the flavor profile slightly. Vegetarian? Swap in vegetarian oyster sauce (yes, it exists). Cornstarch is your thickener—arrowroot powder works too if that’s what’s in your pantry. The red pepper flakes are flexible—leave them out for mild heat or double for serious spice.
This keeps beautifully for 1 week in the fridge (that’s a lie—it’ll be gone in 2 days). The flavors actually deepen after a day, so make it ahead if you can. Freezes for 3 months too, though it’s so quick to whip up you probably won’t need to.
Why You’ll Love This Recipe
- One Bowl Wonder: I just dump soy sauce, vinegar, sugar, garlic, and ginger in a bowl and stir—no fancy prep, no fuss.
- Umami Bomb: The garlic and ginger hit different with that sweet-tangy soy base, honestly it’s ridiculous how good it tastes.
- Meal Prep Hero: Works for chicken, tofu, or veggies, and keeps in the fridge for days so I can use it all week.
- Penny Pincher: Low-sodium soy and pantry staples mean I’m not breaking the bank for restaurant-quality flavor.
Step-by-Step Instructions for Chicken Stirfry Sauce
This method builds layers of flavor quickly and efficiently for a restaurant-quality result.
Step 1: Bloom Aromatics in Sesame Oil
Heat the 1 tablespoon sesame oil in a saucepan over medium heat until it shimmers. Add the 4 cloves fresh garlic cloves (minced) and 1 tablespoon fresh ginger root (finely grated) all at once. Stir constantly for 30-45 seconds until fragrant.
You’ll know it’s ready when the garlic turns light golden at the edges and the ginger releases its pungent aroma. Don’t let the garlic brown—it should sizzle but not scorch. This base layer is crucial for the sauce’s depth.
Step 2: Build the Umami Foundation
Pour in the 0.5 cup low-sodium soy sauce, 0.25 cup rice vinegar, 3 tablespoons brown sugar, and 2 tablespoons oyster sauce. Stir well to combine, then add the 0.5 teaspoon red pepper flakes for a subtle kick.
Bring the mixture to a gentle simmer over medium-high heat, stirring occasionally. The brown sugar should dissolve completely, and the sauce will darken slightly as it reduces. This step marries all the bold flavors together.
Step 3: Create and Incorporate the Slurry
In a small bowl, whisk together the 2 teaspoons cornstarch and 0.25 cup water until smooth. The mixture should look like thin, milky liquid with no lumps—this is your thickening agent.
Slowly pour the slurry into the simmering sauce while whisking continuously. The sauce will immediately begin to thicken. Cook for an additional 1-2 minutes until it reaches your desired consistency—it should coat the back of a spoon but still be pourable.
Step 4: Finish and Adjust
Remove the sauce from heat. Taste and adjust the balance if needed—the rice vinegar should provide a bright tang, while the brown sugar tempers the saltiness. If it’s too thick, whisk in a teaspoon of water to loosen.
Let it cool slightly before using. The sauce will thicken further as it cools, so don’t over-reduce it on the stove. This makes enough to generously coat 4 servings of protein and vegetables.
Pro Tips For Making Chicken Stirfry Sauce
- Bloom the Aromatics: Cook the minced garlic and ginger in a bit of oil for 30 seconds before adding liquids—this wakes up their flavor and prevents a raw, harsh bite in your sauce.
- Balance the Sweetness: I learned this the hard way—taste before adding all the brown sugar, as soy sauce brands vary in saltiness and may need less sweetener to keep the sauce from being cloying.
- Skip the Cold Sauce: Always bring your sauce to a gentle simmer after mixing; cold soy sauce and vinegar won’t meld properly, and the brown sugar won’t dissolve evenly.
- Grate the Ginger: Sounds tedious, but finely grating the ginger instead of mincing it releases more juice and flavor, so you get that bright zing in every bite without chewy bits.
Make-Ahead Tips for This Recipe
Prep Ahead Strategy
I always make a double batch of this sauce on Sunday. It takes the same 5 minutes but gives you 2 weeks of quick meals. Store in an airtight container—I use 16oz mason jars. The flavors meld beautifully overnight, so it tastes even better the next day. 💡
Refrigerator Storage
Your sauce will stay fresh for 1 week in the fridge. I recommend glass containers over plastic to prevent odor absorption. Give it a good stir before using as the cornstarch may settle slightly at the bottom.
Freezer Method
For longer storage, freeze in ice cube trays first. Once solid, transfer cubes to a freezer bag. Each cube is about 2 tablespoons—perfect for single servings. Thaw overnight in the fridge or microwave directly from frozen.
Reheating Tips
Gently warm in a saucepan over low heat, adding 1-2 tablespoons water if it thickens too much. Avoid boiling to prevent breaking the cornstarch bond. Microwave works too—30-second intervals with stirring between each.
Sauce Revitalization
If your sauce separates after storage, simply whisk in 1 teaspoon cornstarch mixed with 1 tablespoon water. Heat gently while stirring until it regains its glossy consistency. This trick works every time. ✨
Nutrition Facts
Frequently Asked Questions
Can I use honey instead of brown sugar?
Yes, substitute honey in a 1:1 ratio. It adds a floral note but may darken the sauce slightly. Reduce other liquids by 1 teaspoon to compensate for honey’s moisture.
Why did my sauce turn out too thin?
This usually means the cornstarch slurry didn’t cook long enough. Return it to medium heat and simmer for another 1-2 minutes while stirring constantly. If needed, mix 1/2 teaspoon cornstarch with water and add gradually.
How can I make this gluten-free?
Swap the soy sauce for tamari or a certified gluten-free alternative. Check that your oyster sauce is also gluten-free, as many contain wheat. All other ingredients are naturally gluten-free.

- Jollof Rice Sauce Recipe: West African Tomato and Spice Infusion - September 25, 2026
- Japanese Rice Soup Recipe: Umami-Rich Comfort in a Bowl - September 25, 2026
- Homemade Cream Of Rice Recipe: Silk-Smooth Breakfast in Minutes - September 25, 2026