
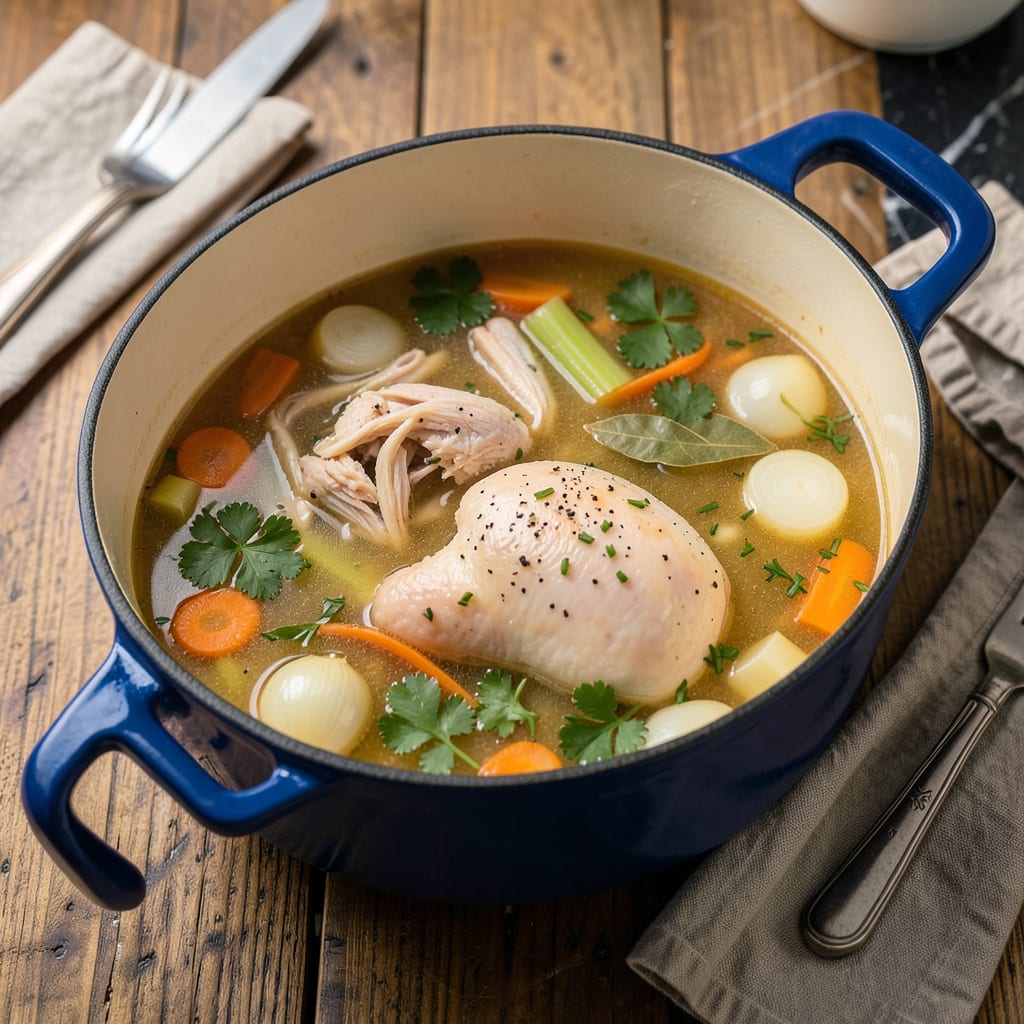
A chicken stock pot combines bones, vegetables, and aromatics simmered for 3-4 hours to create a rich, flavorful broth. Use a large pot, cover ingredients with cold water, and skim foam for a clear, golden result.
This method transforms kitchen scraps into liquid gold through slow extraction. 🔥 The bones release collagen that melts into gelatin, giving body to soups and sauces, while vegetables and herbs infuse complex layers of flavor. I’ve found that starting with cold water helps draw out impurities gradually, resulting in a cleaner taste compared to boiling. The skimming process isn’t just about appearance—it removes bitter compounds that could otherwise dominate the final product.
What sets homemade versions apart is the control over ingredient quality and concentration. Store-bought options often contain preservatives or excessive sodium, while your own pot lets you adjust richness by simmering longer or adding more bones. The aroma alone—warm, savory, and slightly sweet—signals when it’s reached peak flavor development.
💡 In This Article
- How Simmering Time Affects Chicken Stock Pot Flavor
- Essential Ingredients for the Perfect Chicken Stock Pot
How Simmering Time Affects Chicken Stock Pot Flavor
The magic of stock-making happens at the molecular level during simmering. Collagen in chicken bones and connective tissues gradually breaks down into gelatin through hydrolysis—a process that requires gentle, sustained heat. At 180-200°F, collagen fibers unwind and transform into gelatin over 2-4 hours, giving stock its signature body and mouthfeel.
This is why rushed boiling at 212°F produces cloudy, less viscous results. ✨
Time dramatically alters flavor extraction. In the first 90 minutes, you’ll extract water-soluble compounds from vegetables and surface proteins from bones. Between 2-4 hours, deeper flavor layers emerge as cartilage and marrow release their richness. A 6-hour simmer develops even more complexity but risks over-extracting bitter compounds from bones and herb stems.
I’ve found 3.5 hours hits the sweet spot for balanced intensity without harshness.
Vegetable timing matters too. Onions and carrots release sugars early, while celery’s fibrous structure needs 2+ hours to fully infuse its grassy notes. Adding herbs like thyme or parsley stems in the final 30-60 minutes prevents their volatile oils from evaporating.
The gradual process also allows amino acids to react with sugars through the Maillard reaction, creating subtle savory notes that define a well-developed stock.
Compare a 2-hour stock (light, clear, with basic chicken flavor) to a 6-hour version (deep amber, unctuous, with layered umami). The longer simmer extracts more gelatin, making the stock coat the back of a spoon when chilled.
However, extended cooking can also break down proteins into smaller peptides that taste bitter—this is why professional kitchens often use multiple stockpots with staggered start times for different ingredients.
Temperature control is your secret weapon. A true simmer should produce tiny bubbles breaking the surface at 190-205°F, not a rolling boil. This gentle agitation maximizes flavor extraction while keeping impurities suspended for easy skimming. The difference is visible: properly simmered stock glistens with fine fat droplets, while boiled stock looks murky with broken emulsions.
🔥
Pro tip: For extra depth, refrigerate your stock overnight and remove the solidified fat cap before using. This concentrates flavors and gives you control over the final richness. The gelatin content will be so pronounced that the chilled stock may resemble jelly—a sure sign you’ve maximized collagen extraction through patient simmering.

- Jollof Rice Sauce Recipe: West African Tomato and Spice Infusion - September 25, 2026
- Japanese Rice Soup Recipe: Umami-Rich Comfort in a Bowl - September 25, 2026
- Homemade Cream Of Rice Recipe: Silk-Smooth Breakfast in Minutes - September 25, 2026