
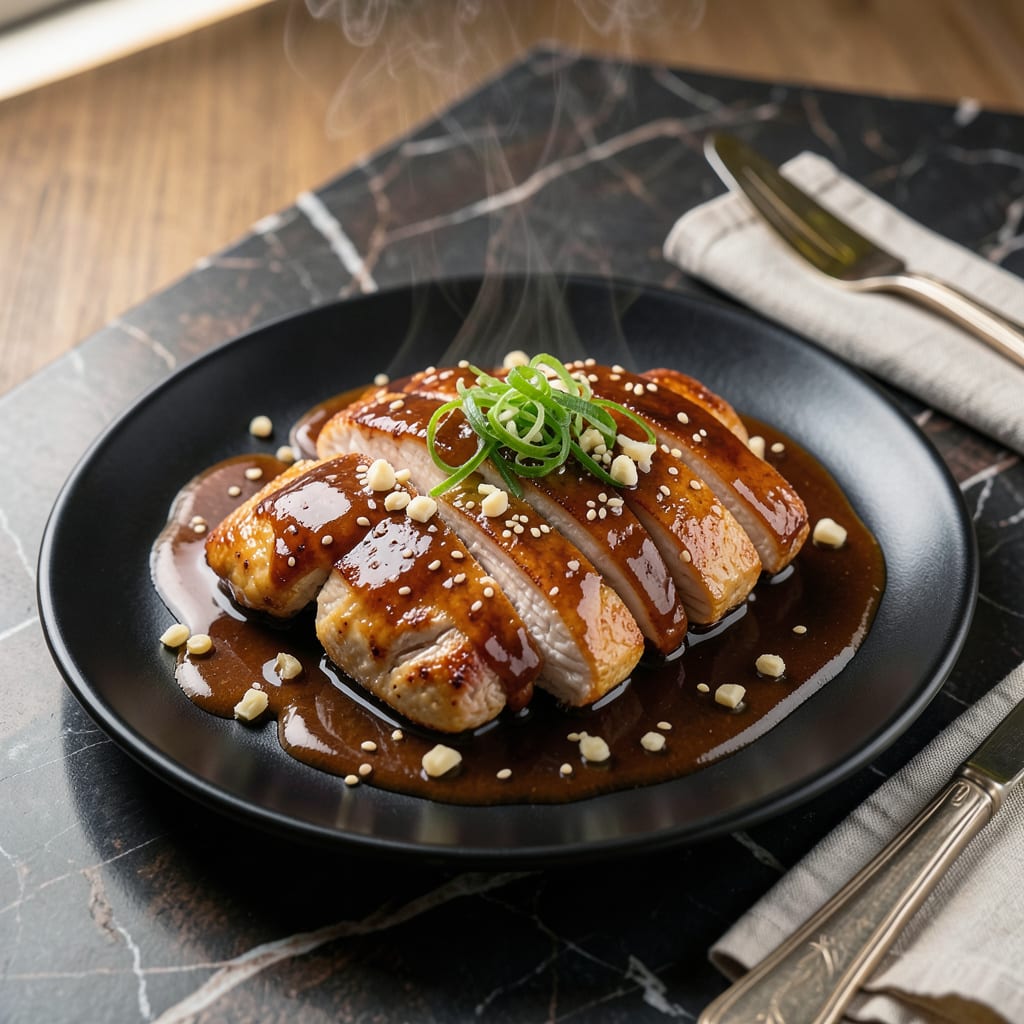
This teppanyaki sauce transforms simple ingredients into a sweet-savory umami masterpiece that elevates any dish. I developed this version after testing countless ratios to achieve the perfect balance of flavors.
With soy sauce as the base, this sauce comes together in 5 minutes using pantry staples. It’s versatile enough for dipping, drizzling, or marinating, and keeps beautifully in the fridge for weeks.
Ingredients for Chicken Teppanyaki Sauce
Nine pantry staples create this sweet-savory umami sauce in minutes for any dish.
| Ingredient | Amount | Notes |
|---|---|---|
| Soy Sauce 🫒 | ½ cup | Low-sodium for balance control |
| Mirin 🍶 | ¼ cup | Sweet rice cooking wine |
| Sake 🍶 | 2 tbsp | Dry variety preferred |
| Granulated Sugar 🍚 | 2 tbsp | Dissolves completely in sauce |
| Garlic Cloves 🧄 | 3 cloves | Minced for even distribution |
| Fresh Ginger 🌿 | 1 tbsp | Peeled and finely grated |
| Rice Vinegar 🍯 | 1 tbsp | Unseasoned variety essential |
| Sesame Oil 🫒 | 1 tsp | Toasted for depth of flavor |
| Cornstarch 🌾 | 1 tsp | Mixed with water for slurry |
[recipeingredientscaler]
The soy sauce is your foundation—Kikkoman or Yamasa deliver consistent quality. Mirin and sake are non-negotiable for authentic flavor; find them in the Asian aisle of Whole Foods or any well-stocked grocery store. For the ginger, fresh is mandatory—powdered lacks the bright, zesty punch this sauce requires. Look for plump, smooth roots without wrinkles.
No mirin? Substitute with 2 tbsp sugar plus 1 tbsp water. Sake can be replaced with dry white wine at half the amount. The cornstarch slurry is optional but recommended for a glossy finish—skip it if you prefer a thinner consistency. For the garlic, jarred minced works in a pinch but fresh is always superior.
This keeps beautifully in an airtight container for up to 3 weeks in the fridge. The flavors deepen over time, so make a double batch. Freeze portions for 6 months if you won’t use it quickly—just thaw in the fridge overnight before use.
Why You’ll Love This Recipe
- 5-Minute Mix: I just dump soy sauce, mirin, sake, sugar, and crushed garlic in a pan—no fancy steps.
- Umami Bomb: The garlic cloves and sake create this deep, savory-sweet flavor that clings to chicken like it was made for it.
- Meal Prep Hero: I batch this sauce on Sunday and it turns plain chicken into teppanyaki magic all week long.
- Pantry Savior: Honestly, I always have these ingredients on hand, so it’s my last-minute dinner lifesaver.
Step-by-Step Instructions for Chicken Teppanyaki Sauce
Master this method to create a perfectly balanced sweet and savory sauce every time.
Step 1: Bloom Aromatics in Liquid Base
In a small saucepan, combine the 0.5 cup Soy Sauce, 0.25 cup Mirin, 2 tbsp Sake, and 2 tbsp Granulated Sugar. Place over medium heat and stir until the sugar dissolves completely—this should take about 2-3 minutes.
Add the 3 cloves Garlic Cloves (minced) and 1 tbsp Fresh Ginger (peeled and finely grated). Simmer for 3-4 minutes until the mixture becomes fragrant and the raw edge of the garlic and ginger disappears. This blooming step extracts maximum flavor from the aromatics.
Step 2: Introduce Acid and Depth
Stir in the 1 tbsp Rice Vinegar and 1 tsp Sesame Oil. The vinegar adds a subtle tang that balances the sweetness, while the sesame oil provides a nutty depth characteristic of authentic teppanyaki sauce.
Reduce the heat to low and let the mixture simmer gently for 5 minutes. You should see small bubbles forming at the edges and a glossy sheen developing across the surface. This simmering allows the flavors to meld and intensify.
Step 3: Thicken to Ideal Consistency
In a small bowl, mix the 1 tsp Cornstarch with 1 tablespoon cold water to create a smooth slurry. Slowly pour this into the saucepan while stirring constantly. The mixture will begin to thicken almost immediately.
Continue cooking for 1-2 minutes until the sauce reaches a syrupy consistency that coats the back of a spoon. Remove from heat as soon as it thickens—overcooking will make it too viscous. The finished sauce should be smooth, glossy, and richly colored.
Step 4: Cool and Verify Flavor Balance
Let the sauce cool to room temperature, about 15-20 minutes. As it cools, it will thicken slightly more. Taste and adjust seasoning if needed, though the balance of salty, sweet, and umami should be perfect.
The sauce should have a complex flavor profile with distinct layers: the initial sweetness from the mirin, followed by the umami depth of soy sauce, and finishing with the aromatic warmth of garlic and ginger. Use it immediately or store in an airtight container for up to 1 week in the refrigerator.
Pro Tips For Making Chicken Teppanyaki Sauce
- Simmer Gently: Keep the heat at medium-low and let the sauce reduce slowly—I learned this the hard way after scorching two batches by cranking the heat too high.
- Grate the Garlic: Use a microplane or fine grater for the garlic instead of mincing; it blends seamlessly into the sauce and avoids those sharp raw bites.
- Skip the Sugar Clumps: Mix the granulated sugar with a splash of warm sake or mirin first to dissolve it completely before adding to the pan—saves you from stirring a grainy mess later.
- Reduce by Half: Aim for a syrupy consistency by reducing the liquid by about half; this takes roughly 8-10 minutes and guarantees the sauce clings perfectly to the chicken.
Dietary Considerations for These Flavors
Gluten-Free Option
Swap regular soy sauce for tamari—it’s naturally gluten-free and maintains the same deep umami flavor. I use San-J Tamari for consistent quality. Ensure your mirin is also gluten-free, as some brands contain wheat. 💡
Lower Sodium Version
Use low-sodium soy sauce as the base to reduce sodium by nearly 40%. You can also cut the total soy sauce by 2 tablespoons and add 1 tablespoon water to compensate for volume without sacrificing flavor depth.
Vegan Adaptation
This sauce is already vegan as written. For extra richness, I sometimes add 1 teaspoon white miso paste at the end. It deepens the umami without altering the sweet-savory balance. Stir it in off-heat to preserve its delicate enzymes.
Sugar Alternatives
Replace granulated sugar with honey or maple syrup at a 1:1 ratio. For keto, use monk fruit sweetener—but note it may lack the caramel notes of traditional sugar. Taste and adjust sweetness before thickening.
Allium-Free Variation
For garlic and onion sensitivity, omit the garlic and add ½ teaspoon asafoetida powder (hing) when blooming the ginger. It provides a similar savory depth without the allium family compounds. This works surprisingly well in teppanyaki sauce.
Storage Considerations
This sauce keeps beautifully for 3 weeks refrigerated in an airtight container. The flavors meld and improve over time. For longer storage, freeze in ice cube trays for up to 6 months—perfect for single-serving portions. ✨
Nutrition Facts
Frequently Asked Questions
Can I make this without mirin?
Yes! Substitute with 2 tbsp sugar plus 1 tbsp water for each 0.25 cup mirin. The flavor will be slightly less complex but still delicious.
How long does it keep in the fridge?
Store in an airtight container for up to 3 weeks. The flavors deepen over time. For longer storage, freeze for 6 months.
Can I use powdered ginger?
Fresh ginger is best for bright flavor, but in a pinch, use 1/4 tsp powdered per 1 tbsp fresh. Add it with the liquids to prevent clumping.
Why is my sauce too thin?
You may have skipped the cornstarch slurry. Simmer 1 tsp cornstarch mixed with 1 tbsp cold water into the sauce for 1-2 minutes to thicken.

- Jollof Rice Sauce Recipe: West African Tomato and Spice Infusion - September 25, 2026
- Japanese Rice Soup Recipe: Umami-Rich Comfort in a Bowl - September 25, 2026
- Homemade Cream Of Rice Recipe: Silk-Smooth Breakfast in Minutes - September 25, 2026