
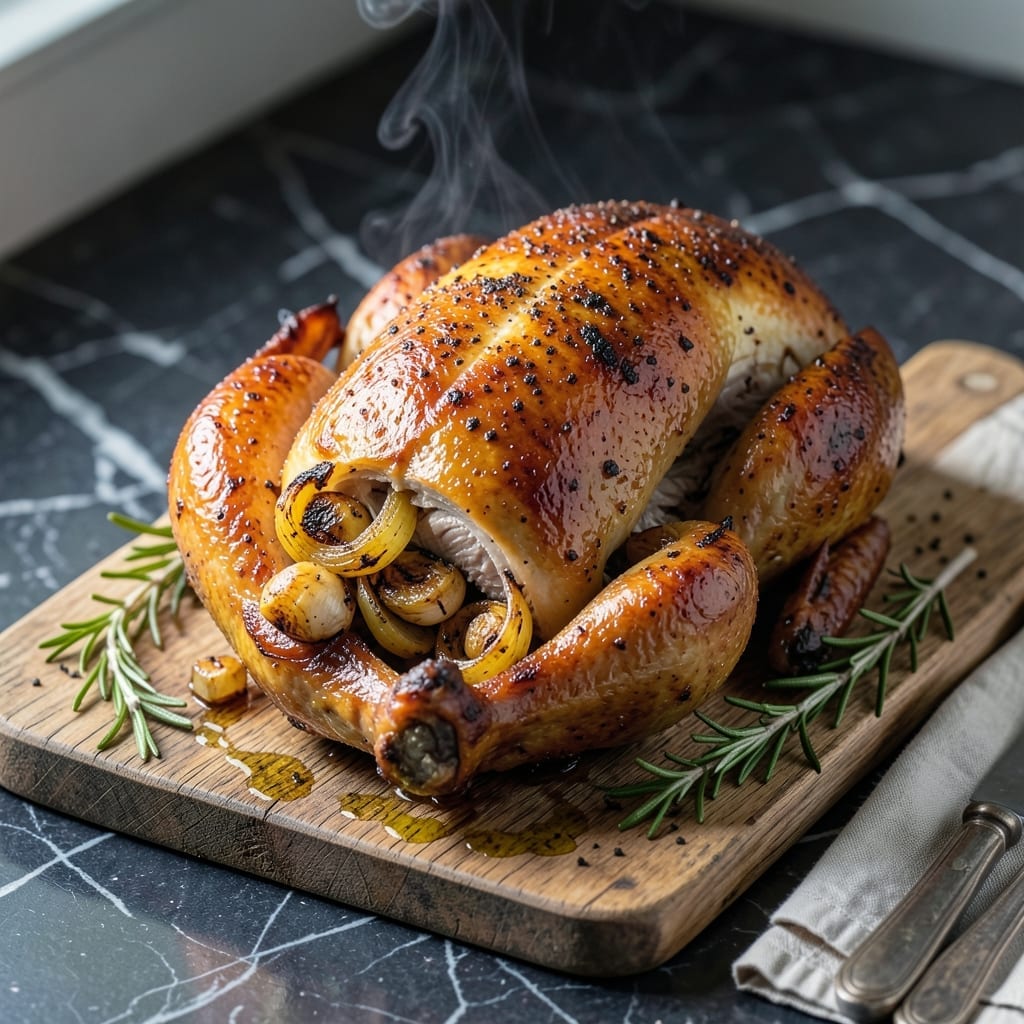
Achieving that signature rotisserie taste at home is simpler than you think. This method delivers juicy meat with golden skin, just like the store-bought favorite.
I’ve refined this technique to use basic pantry staples and a straightforward approach. The secret lies in a well-seasoned rub and a specific roasting temperature that locks in moisture.
You’ll get tender, flavorful chicken with a crisp exterior, all without specialty equipment. The aroma alone will have everyone gathered in the kitchen.
Perfect for weeknight dinners or Sunday suppers. Here’s how to make it.
Ingredients for Costco Roasted Chicken
Pantry staples plus a whole bird. Nothing exotic, just smart seasoning and technique.
| Ingredient | Amount | Notes |
|---|---|---|
| Whole Chicken 🍗 | 4 lb | Giblets removed, patted dry |
| Kosher Salt 🧂 | 1 ½ tbsp | Diamond Crystal preferred |
| Black Pepper 🌶️ | 1 tsp | Freshly ground for best flavor |
| Garlic Powder 🧄 | 2 tsp | Not garlic salt |
| Onion Powder 🧅 | 2 tsp | Fresh ground preferred |
| Paprika 🌶️ | 1 ½ tsp | Sweet or smoked variety |
| Dried Thyme 🍃 | 1 tsp | Rubbed between fingers to release oils |
| Dried Rosemary 🌿 | 1 tsp | Crushed before using |
| Unsalted Butter 🧈 | 4 tbsp | Melted for basting |
| Yellow Onion 🧅 | 1 whole | Quartered for cavity |
| Fresh Garlic Cloves 🧄 | 4 cloves | Smashed, unpeeled |
| Fresh Lemon 🍋 | 1 whole | Halved for cavity and basting |
| Fresh Rosemary Sprigs 🌿 | 2 sprigs | For cavity aromatics |
| Fresh Thyme Sprigs 🍃 | 2 sprigs | For cavity aromatics |
The chicken is the star here—Costco’s rotisserie chickens are a great benchmark for size and quality, so aim for a 4-pound bird. Look for one with smooth, unblemished skin and a plump breast. The kosher salt is key for that crisp skin, and Diamond Crystal is my go-to. Don’t skip the fresh herbs for the cavity; they infuse the meat with subtle aroma as it roasts (worth the extra minute).
No fresh herbs? Dried work in a pinch—just use half the amount. Out of paprika? A pinch of cayenne adds color and a little heat. The butter can be swapped for olive oil if you’re avoiding dairy, but butter gives that signature Costco richness. For extra flavor, add a splash of chicken broth to the cavity. Whatever you do, don’t skip the lemon—it brightens everything up.
Leftovers keep beautifully in the fridge for 4-5 days, perfect for sandwiches or salads. The roasted bones make incredible stock—simmer with veggie scraps for 2-3 hours. If you’re feeding a crowd, double the rub and roast two birds side by side (swap oven racks halfway through).
Why You’ll Love This Recipe
- Set It and Forget: I just rub the chicken with salt, pepper, garlic and onion powder, pop it in the oven, and walk away.
- Crispy and Juicy: The skin comes out golden and crackling while the meat stays tender every time.
- Feeds the Week: One roast gives me sandwiches, tacos, and soup without extra effort.
- Budget Hero: A whole chicken costs less than buying parts and still tastes like a million bucks.
Step-by-Step Instructions for Roasted Chicken
Here’s the method I use to achieve that perfect rotisserie-style result right in your own kitchen.
Step 1: Season the Chicken Inside and Out
Pat the 4 lb Whole Chicken completely dry with paper towels. This is crucial for crispy skin, so be thorough—get into all the nooks and crannies.
In a small bowl, combine the 1.5 tbsp Kosher Salt, 1 tsp Black Pepper, 2 tsp Garlic Powder, 2 tsp Onion Powder, 1.5 tsp Paprika, 1 tsp Dried Thyme, and 1 tsp Dried Rosemary. Rub this spice blend all over the chicken, including under the skin and inside the cavity.
I press the seasoning in firmly so it adheres well. This dry brine method ensures flavor penetrates deeply and helps create that signature golden crust we all love.
Step 2: Prepare the Aromatics and Truss
Quarter the 1 whole Yellow Onion and place it in the cavity along with the 4 cloves Fresh Garlic Cloves (smashed but unpeeled), the 2 sprigs Fresh Rosemary Sprigs, and the 2 sprigs Fresh Thyme Sprigs.
Cut the 1 whole Fresh Lemon in half and add one half to the cavity, saving the other for basting. The citrus adds brightness while the herbs infuse subtle aromatic notes throughout the meat.
Truss the legs together with kitchen twine and tuck the wings under the body. This compact shape promotes even cooking and prevents the wings from over-browning.
Step 3: Roast at High Heat
Preheat your oven to 425°F. Place the chicken breast-side up on a roasting rack set in a rimmed baking sheet. Melt the 4 tbsp Unsalted Butter and brush half over the chicken—this helps the skin crisp while adding rich flavor.
Roast for 1 hour to 1 hour 15 minutes, basting with the remaining melted butter and lemon juice every 20 minutes. The skin should turn deep golden brown and the juices should run clear when you pierce the thickest part of the thigh.
I check the internal temperature with an instant-read thermometer—you’re aiming for 165°F in the thickest part of the thigh, not touching bone.
Step 4: Rest and Serve
Transfer the chicken to a cutting board and tent loosely with foil. Let it rest for 15-20 minutes before carving. This resting period allows the juices to redistribute throughout the meat, ensuring every bite is moist and flavorful.
During this time, the internal temperature will rise a few degrees (carryover cooking), and the meat will become more tender. I use this time to make a quick pan sauce from the drippings or prepare side dishes.
Carve against the grain and serve immediately. The skin should be crispy, the meat juicy, and the aroma should remind you of that famous rotisserie chicken we all love.
Pro Tips For Making Costco Roasted Chicken
- Dry the Skin: Pat the chicken completely dry with paper towels before seasoning—I learned this the hard way after ending up with steamed skin instead of crispy.
- Season Under Skin: Slide your fingers under the skin and rub the salt, garlic powder, and onion powder directly onto the meat. It actually changes the outcome, giving you juicier flesh.
- Start Hot, Finish Low: Roast at 425°F for the first 20 minutes to get that golden crust, then drop to 375°F to cook through without drying out.
- Rest Before Carving: Let the chicken rest 10-15 minutes under foil after roasting. My grandmother swore by this, and she was right: it keeps all the juices inside.
Essential Equipment for Perfect Results
Roasting Pan Essentials
I recommend a sturdy rimmed baking sheet with a roasting rack for even air circulation. The rack elevates the bird so hot air can crisp the skin on all sides. A half-sheet pan (18×13 inches) gives plenty of room for a 4 lb chicken without crowding. 🔥
Thermometer for Precision
An instant-read thermometer is non-negotiable for perfect results every time. I use a ThermoWorks Thermapen—it reads 165°F in 2-3 seconds. Cheaper options work too, just ensure ±2°F accuracy for food safety.
Basting Tools
A pastry brush helps evenly distribute melted butter during cooking. Silicone brushes handle 425°F heat better than natural bristles. I keep a small bowl nearby for dipping—just 2 tbsp of melted butter at a time prevents waste.
Trussing Supplies
Simple kitchen twine keeps the chicken compact for even cooking. I buy unbleached cotton twine in bulk—it’s sturdy and won’t burn. For a quick alternative, skewers can pin the legs, though twine gives a more professional finish.
Resting Setup
After roasting, transfer to a cutting board with a groove to catch juices. A tent of foil keeps it warm during the 15-20 minute rest. This step ensures juicy meat rather than a dry bird. 💡
Optional Upgrade
For extra crispiness, a cast iron skillet can replace the roasting rack. Preheat it in the oven for 10 minutes before adding the chicken. The heavy pan retains heat beautifully, mimicking rotisserie results.
Nutrition Facts
Frequently Asked Questions
What oven temperature works best?
Use 425°F for crispy skin and juicy meat. This high heat mimics rotisserie cooking while keeping the interior moist.
How do I know when it’s done?
Check the thickest part of the thigh with a thermometer—it should read 165°F. Juices should run clear when pierced.
Can I skip the resting time?
Never skip the 15-20 minute rest. This lets juices redistribute for tender, flavorful meat rather than a dry bird.
What if I don’t have fresh herbs?
Use dried herbs in the cavity—just halve the amount. They’ll still infuse flavor, though fresh adds more aroma.

- Jollof Rice Sauce Recipe: West African Tomato and Spice Infusion - September 25, 2026
- Japanese Rice Soup Recipe: Umami-Rich Comfort in a Bowl - September 25, 2026
- Homemade Cream Of Rice Recipe: Silk-Smooth Breakfast in Minutes - September 25, 2026