
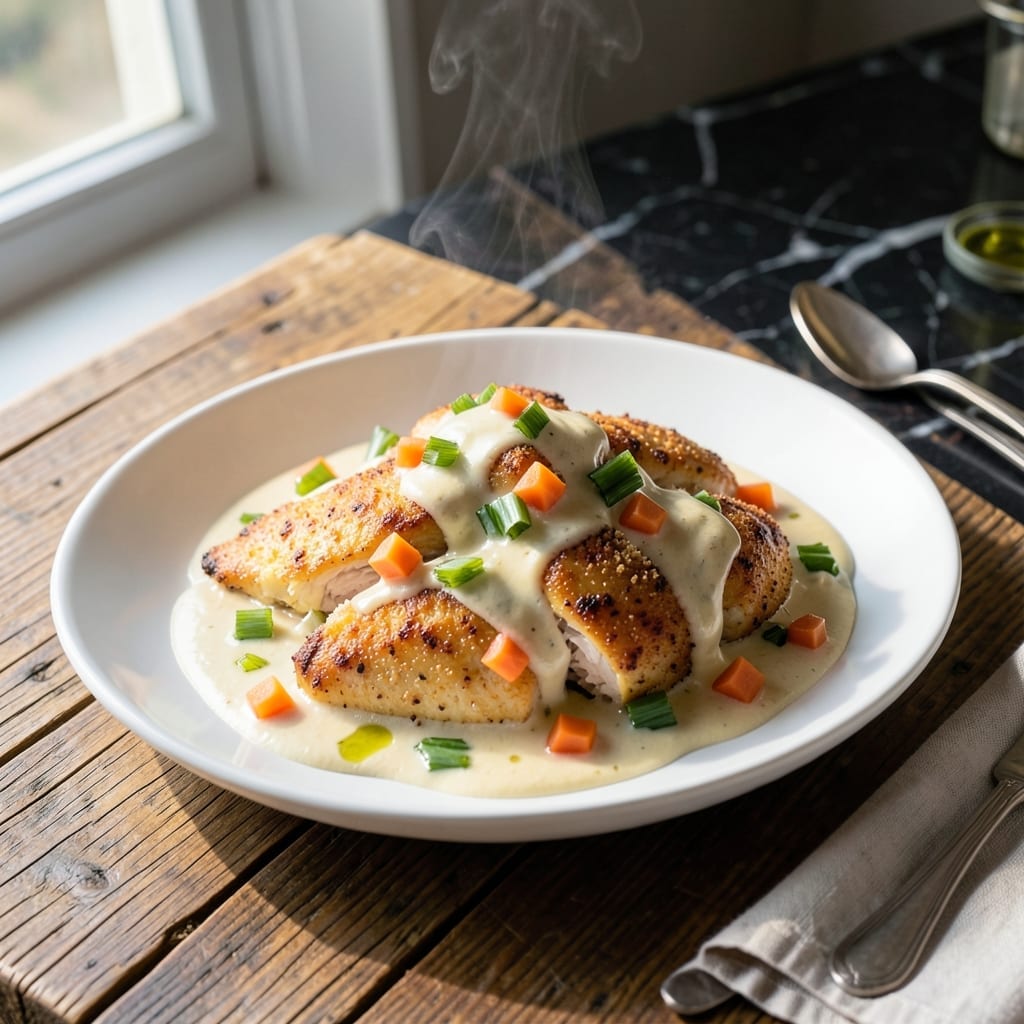
This creamed chicken delivers on the promise of tender meat enveloped in a silky, rich sauce that clings perfectly to every bite. The technique is straightforward but precise, ensuring the chicken stays moist while the sauce achieves that ideal velvety texture.
I’ve refined this method over time, focusing on a careful balance of cream, broth, and seasonings to create depth without heaviness. The chicken is seared first to lock in juices, then simmered gently in the sauce to finish cooking.
What you’ll serve is a comforting, elegant dish with tender chicken pieces coated in a luscious, golden sauce. It’s the kind of meal that feels indulgent but comes together with minimal effort.
Pair it with mashed potatoes or buttered noodles to soak up every drop of that luxurious sauce.
Ingredients for Creamed Chicken
Simple ingredients transform into this velvety, comforting dish with tender chicken in every bite.
| Ingredient | Amount | Notes |
|---|---|---|
| Boneless Skinless Chicken Breasts 🍗 | 1 ½ lb | Cut into bite-sized pieces |
| All-Purpose Flour 🌾 | ½ cup | For dredging chicken |
| Unsalted Butter 🧈 | 4 tbsp | Divided for cooking |
| Olive Oil 🫒 | 2 tbsp | For searing chicken |
| Chicken Broth 💧 | 1 ½ cups | Low-sodium preferred |
| Heavy Cream 🥛 | 1 cup | Full-fat for richness |
| Whole Milk 🥛 | ½ cup | For balancing sauce |
| Garlic Cloves 🧄 | 3 cloves | Minced finely |
| Yellow Onion 🧅 | 1 whole | Finely diced |
| Dry White Wine 🍷 | ¼ cup | Optional for depth |
| Salt 🧂 | 1 tsp | Kosher or sea salt |
| Black Pepper 🌶️ | ½ tsp | Freshly ground preferred |
| Dried Thyme 🌿 | ½ tsp | For aromatic depth |
| Fresh Parsley 🌿 | 2 tbsp | Chopped, for garnish |
The chicken quality matters here. Boneless, skinless breasts stay most tender when cut evenly and cooked gently. I source mine from Whole Foods or Costco—look for plump, pale pieces without bruising. The heavy cream is non-negotiable for that silky texture; organic or local dairy makes a noticeable difference in richness and mouthfeel.
No white wine? Substitute with extra chicken broth plus a squeeze of lemon for brightness. Fresh thyme can replace dried at three times the amount. For a lighter version, half-and-half works but the sauce won’t be as velvety. The flour for dredging can be swapped for cornstarch (use half the quantity) for a gluten-free option.
Leftover creamed chicken keeps beautifully in the fridge for 3-4 days. Reheat gently on the stove with a splash of milk to restore the sauce’s consistency. Freezes well for up to 3 months—portion before freezing for easy meals later.
Why You’ll Love This Recipe
- One Pan Magic: I love that I only dirty one skillet—brown the chicken in butter and olive oil, then make the creamy sauce right in the same pan.
- Rich & Creamy: The butter and flour create this velvety sauce that clings to every bite of tender chicken. Honestly, it’s the kind of comfort food I crave.
- Weeknight Hero: Between us, this is my go-to for busy evenings. Ready in 30 minutes and pairs with anything from mashed potatoes to toast.
- Budget Friendly: Boneless chicken breasts stretch far here, and the simple pantry staples keep costs low. Leftovers? Even better the next day.
Step-by-Step Instructions for Creamed Chicken
Here’s the method that guarantees silky sauce and perfectly tender chicken every time.
Step 1: Dredge and Brown the Chicken
Pat the 1.5 lb Boneless Skinless Chicken Breasts dry and cut them into bite-sized pieces. Season lightly with 1 tsp Salt and 0.5 tsp Black Pepper, then dredge each piece in the 0.5 cup All-Purpose Flour, shaking off any excess.
Heat 2 tbsp Olive Oil and 2 tbsp Unsalted Butter in a large skillet over medium-high heat until the butter melts. Add the floured chicken pieces in a single layer, working in batches if needed. Cook for 4-5 minutes until golden brown on all sides. The chicken doesn’t need to cook through at this stage—just develop that beautiful crust. Transfer to a plate and set aside.
Step 2: Build the Aromatic Base
In the same skillet, melt the remaining 2 tbsp Unsalted Butter over medium heat. Add the finely diced 1 whole Yellow Onion and cook for 3-4 minutes until softened and translucent.
Add the 3 cloves Garlic Cloves (minced) and 0.5 tsp Dried Thyme, stirring constantly for 30 seconds until fragrant. Be careful not to let the garlic burn. For extra depth, pour in the 0.25 cup Dry White Wine and deglaze the pan, scraping up any browned bits. Let it simmer for 2 minutes until the liquid reduces by half.
Step 3: Create the Velvety Sauce
Pour in the 1.5 cups Chicken Broth and bring to a gentle simmer. Let it reduce for 3-4 minutes until slightly thickened. This step intensifies the flavor base before adding the dairy.
Lower the heat to medium-low and stir in the 1 cup Heavy Cream and 0.5 cup Whole Milk. The combination creates a sauce that’s rich but balanced. Simmer for 3-5 minutes, stirring occasionally, until the sauce coats the back of a spoon. Taste and adjust seasoning if needed.
Step 4: Finish and Serve
Return the chicken to the skillet along with any accumulated juices. Simmer for 3-4 minutes until the chicken is cooked through and heated in the sauce. The internal temperature should reach 165°F.
Garnish with 2 tbsp Fresh Parsley (chopped) and serve immediately over mashed potatoes, rice, or buttered noodles. The sauce should be velvety and cling beautifully to every piece of chicken, delivering that promised tenderness in every bite.
Pro Tips For Making Creamed Chicken
- Pound the Chicken: Use a rolling pin or meat mallet to pound the breasts to an even ½-inch thickness—this guarantees they cook through in the same 4-5 minutes without drying out.
- Toast the Flour: After cooking the chicken, use the same pan to toast the flour in the butter for 1-2 minutes until golden; it removes the raw taste and builds deeper flavor.
- Skip the Overcrowding: I learned this the hard way—cook the chicken in batches if needed so each piece browns properly instead of steaming in its own juices.
- Use Warm Broth: Adding cold broth to the hot roux can make it seize up; I keep mine warm in a small pot so it blends in smoothly every time.
Pro Cooking Tips for Perfect Results
Perfect Searing Technique
Don’t rush the sear—heat your large skillet over medium-high heat until the butter stops foaming. I use a stainless steel All-Clad for even browning. Work in batches to avoid crowding, which steams instead of sears. 🔥
Deglazing for Depth
After removing chicken, add 0.25 cup white wine to the hot pan. Use a wooden spoon to scrape up all those flavorful browned bits—they’ll dissolve into your sauce. Simmer until reduced by half for maximum flavor extraction.
Sauce Thickness Control
Whisk liquids constantly as they come to a simmer to prevent lumps. If your sauce thickens too much, add 1-2 tbsp milk. For a richer version, let it reduce longer before adding chicken back in.
Temperature Management
Keep the simmer gentle—bubbles should barely break the surface. Too-high heat can cause the cream to separate. I maintain low heat during the final 5 minutes for perfect consistency.
Resting the Chicken
Let seared pieces rest on a plate for 2-3 minutes before adding to sauce. This keeps juices inside the meat. The residual heat will continue cooking slightly—pull chicken at 160°F internal temp.
Final Consistency Check
Your sauce should coat the back of a spoon. If too thin, simmer uncovered for 1-2 minutes longer. Taste and adjust salt—remember the sauce will intensify as it reduces. 💡
Nutrition Facts
Frequently Asked Questions
Can I use chicken thighs instead of breasts?
Thighs stay even more tender and add richer flavor. Use 1.5 lb boneless, skinless thighs and follow the same method. They may cook slightly faster, so check for 165°F internal temperature.
What can I substitute for heavy cream?
For a lighter version, use half-and-half or whole milk with 1 tbsp cornstarch mixed in. The sauce won’t be quite as rich but will still be creamy. Avoid low-fat milk as it may curdle.
How do I prevent the sauce from curdling?
Keep heat at medium-low and stir constantly once dairy is added. If it starts to separate, remove from heat immediately and whisk vigorously. Adding a pinch of flour can help stabilize it.
Can I make this ahead of time?
The dish keeps well for 3-4 days refrigerated. Reheat gently on the stove with a splash of milk. For freezing, portion before storing and thaw overnight in the fridge.

- Jollof Rice Sauce Recipe: West African Tomato and Spice Infusion - September 25, 2026
- Japanese Rice Soup Recipe: Umami-Rich Comfort in a Bowl - September 25, 2026
- Homemade Cream Of Rice Recipe: Silk-Smooth Breakfast in Minutes - September 25, 2026