
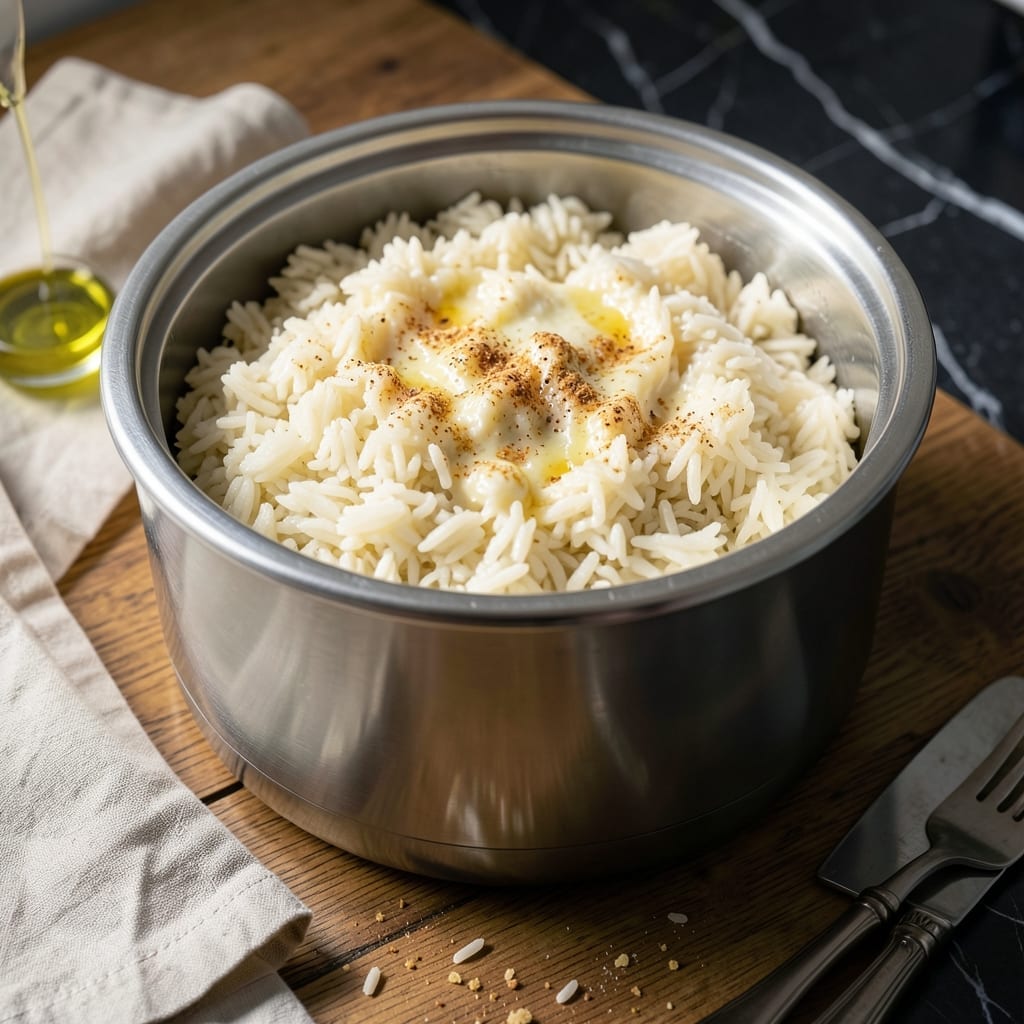
Achieving perfectly fluffy rice in a Fagor pressure cooker is simpler than you think. This method eliminates guesswork with precise timing and water ratios.
I’ve tested multiple approaches to ensure consistent results every time. The pressure cooker locks in steam, creating rice that’s light, separate, and never mushy.
Ingredients for Fagor Pressure Cooker Rice
Precision ingredients for fluffy, separate grains every single time.
| Ingredient | Amount | Notes |
|---|---|---|
| Long-Grain White Rice 🍚 | 2 cups | Rinsed until water runs clear |
| Water 💧 | 2 ½ cups | Or use vegetable broth |
| Unsalted Butter 🧈 | 1 tbsp | Optional for richness |
| Kosher Salt 🧂 | 1 tsp | Diamond Crystal preferred |
| Garlic Powder 🧄 | ½ tsp | For subtle depth |
| Onion Powder 🧅 | ½ tsp | Complements the garlic |
| Bay Leaf 🍃 | 1 whole | Optional aromatic |
| Fresh Cilantro 🌿 | ¼ cup | Chopped, for garnish |
| Lime 🍈 | 1 whole | Zested and juiced |
| Olive Oil 🫒 | 1 tsp | For sautéing aromatics |
The rice quality is paramount. Long-grain white rice like basmati or jasmine delivers the best texture—avoid instant or parboiled varieties as they don’t absorb liquid consistently. For the water, filtered water prevents mineral buildup in your Fagor pressure cooker. If using broth, choose a low-sodium version to control seasoning. The butter is optional but adds a subtle richness that elevates the final dish.
No long-grain white rice? Jasmine or basmati work equally well, though texture may vary slightly. For a different flavor profile, substitute half the water with coconut milk for a tropical twist. The bay leaf can be omitted, but it adds a subtle depth. If using fresh garlic or onion instead of powder, sauté them in the olive oil before adding rice to prevent burning.
Store uncooked rice in an airtight container in a cool, dry place for up to 2 years. Cooked rice keeps in the refrigerator for 4-5 days or can be frozen for 6 months. Always let the rice cool completely before freezing to prevent ice crystals.
Why You’ll Love This Recipe
- Set and Forget: I toss everything in the Fagor, lock the lid, and walk away—no stirring, no watching, just perfect rice every time.
- Buttery Garlic Magic: The butter and garlic powder turn plain rice into something rich and aromatic. Honestly, it’s the little things that make this taste so good.
- Meal Prep Hero: This rice holds up beautifully in the fridge, so I make a big batch for lunches all week.
- Pennywise Perfection: Long-grain white rice and a few pantry staples mean I’m feeding my family for practically nothing.
Step-by-Step Instructions for Fagor Pressure Cooker Rice
Achieve perfectly fluffy grains every time with this precise pressure cooking method.
Step 1: Rinse and Prepare the Rice
Place the 2 cups Long-Grain White Rice in a fine-mesh strainer and rinse under cold running water until the water runs completely clear. This removes excess starch that could make your finished dish gummy rather than light and separate.
Drain thoroughly, shaking the strainer gently to remove all excess water. Properly rinsed rice absorbs liquid more evenly during pressure cooking, which is essential for consistent texture throughout each grain.
Step 2: Sauté Aromatics in the Pressure Cooker
Set your Fagor pressure cooker to the sauté function. Add the 1 tsp Olive Oil and 1 tbsp Unsalted Butter, allowing the butter to melt completely. The combination creates a rich base that enhances the rice’s natural flavor.
Once the butter stops foaming, stir in the 0.5 tsp Garlic Powder, 0.5 tsp Onion Powder, and 1 whole Bay Leaf. Sauté for exactly 30 seconds until fragrant—this brief cooking time blooms the spices without risking bitterness. The aromatics should release their scent but not brown.
Step 3: Pressure Cook with Precise Timing
Add the drained rice to the pressure cooker, stirring to coat the grains with the aromatic butter mixture. Pour in the 2.5 cups Water and add the 1 tsp Kosher Salt. Stir once to distribute the salt evenly, then level the rice with a spatula for uniform cooking.
Secure the lid and set the pressure cooker to high pressure for 3 minutes. Once pressure is reached, the cooking time begins. After the timer sounds, allow a natural pressure release for 10 minutes, then carefully quick-release any remaining pressure. The rice should absorb all liquid and appear tender with distinct grains.
Step 4: Fluff and Finish with Fresh Elements
Remove the lid and discard the bay leaf. Gently fluff the rice with a fork, separating any clumps while preserving the individual grain structure. This step prevents the rice from becoming dense or sticky as it cools slightly.
Zest the 1 whole Lime directly over the rice, then cut the lime in half and squeeze the juice evenly across the surface. The acidity brightens the dish and balances the richness from the butter. Stir in the 0.25 cup Fresh Cilantro just before serving to maintain its vibrant color and fresh herbal notes.
Pro Tips For Making Fagor Pressure Cooker Rice
- Use Exact Water Ratio: For Fagor pressure cookers, 1.5 cups water per 1 cup long-grain white rice is non-negotiable—any more and you’ll get mush, any less and it’ll scorch.
- Toast the Rice: I learned this the hard way—sauté the rice in the butter for 2 minutes before adding water to deepen the flavor and prevent stickiness.
- Skip the Peek: Resist the urge to open the lid early—releasing pressure too soon turns the rice gummy and undercooked.
- Add Salt Last: Stir in the kosher salt and garlic powder after pressure cooking; adding them earlier can make the rice taste flat or overly sharp.
Flavor Customization for This Dish
Citrus and Herb
Boost freshness by doubling the lime zest and adding 2 tbsp chopped mint alongside the cilantro. The bright, citrusy notes pair beautifully with the pressure-cooked fluffiness. This works especially well with jasmine rice.
Spiced and Warm
Add ½ tsp ground cumin and ¼ tsp turmeric to the water before cooking for a golden hue and earthy warmth. These spices complement the garlic and onion without overpowering the base recipe.
Coconut and Tropical
Replace 1 cup water with full-fat coconut milk and add ½ cup diced pineapple after cooking. This creates a sweet, tropical twist that pairs wonderfully with grilled proteins. 🌴
Savory and Umami
Stir in 1 tbsp soy sauce and 1 tsp sesame oil after fluffing for an Asian-inspired flavor profile. Top with toasted sesame seeds for extra crunch and depth.
Herb-Infused Broth
Use 2.5 cups low-sodium chicken broth instead of water and include 2 sprigs fresh thyme during cooking. The herbs infuse the rice with subtle, aromatic complexity.
Cheesy and Creamy
Mix in ½ cup grated Parmesan and 2 tbsp cream cheese after cooking for a rich, creamy texture. This variation turns the dish into a decadent side for vegetables or meats. 💛
Nutrition Facts
Frequently Asked Questions
What’s the ideal rice-to-water ratio?
Use 1:1.25 rice to water for perfect results. For 2 cups rice, that means 2.5 cups water. This ratio ensures fluffy grains without mushiness.
Can I use brown rice instead?
Yes, but increase pressure time to 22 minutes with a natural release. Brown rice needs more time to soften. Use the same 1:1.25 water ratio.
Why did my rice turn out sticky?
Sticky rice usually means too much water or not rinsing first. Always rinse until water runs clear and measure liquids precisely. Fluff with a fork after cooking.
How do I double the recipe?
Keep the same ratio – 4 cups rice to 5 cups water. Never exceed 2/3 of your cooker’s capacity. Cooking time remains 3 minutes.

- Gambia Jollof Rice Recipe: West African One-Pot Spice Fusion - October 5, 2026
- Cream of Wild Rice Soup Recipe Minnesota: Northwoods Creaminess With Foraged Grains - October 5, 2026
- Frozen Cauliflower Fried Rice Recipe: Quick Low-Carb Wok Magic - October 5, 2026