
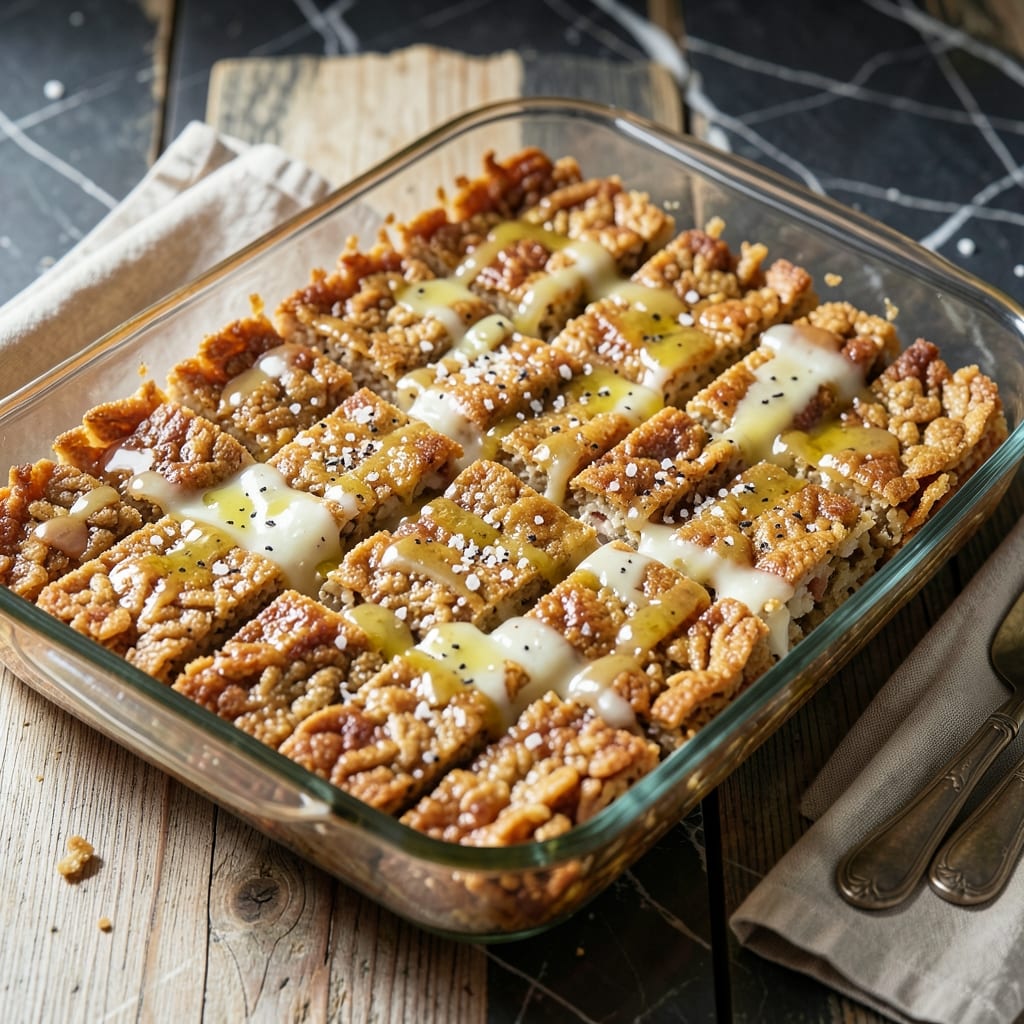
This no-bake recipe delivers chewy, perfectly-textured treats in under 15 minutes—no oven required. I developed this method after testing multiple batches in my small Boston kitchen, focusing on speed without sacrificing quality.
The secret is melting the butter and marshmallows together just until smooth, then quickly folding in the cereal while the mixture is still warm. This ensures every piece gets evenly coated, creating that signature crispy-chewy texture we all love.
You’ll end up with golden-brown squares that hold their shape when cut but still have that satisfying stickiness. They’re ideal for last-minute gatherings, lunchboxes, or when a sweet craving hits unexpectedly.
No special equipment needed—just a pot, a spoon, and a baking dish. This is foolproof comfort food at its fastest.
Ingredients for Fast Rice Krispie Treats
Six ingredients, one pot, endless chewy goodness. Ready in minutes.
| Ingredient | Amount | Notes |
|---|---|---|
| Unsalted Butter 🧈 | ½ cup | Melted for binding |
| Mini Marshmallows ⚪ | 10 oz | Fresh for best melt |
| Rice Krispies Cereal 🥣 | 6 cups | Crisp rice cereal |
| Vanilla Extract 🌿 | 1 tsp | Pure for best flavor |
| Sea Salt 🧂 | ¼ tsp | Fine grain for balance |
| Light Corn Syrup 💧 | 2 tbsp | Optional for extra chew |
| Cooking Spray 🫗 | 1 can | For greasing pan |
The marshmallows are non-negotiable here—Jet-Puffed or Kraft are my go-tos. Freshness matters (old marshmallows get dry and won’t melt right). Butter should be unsalted so you control the salt level. I grab mine at Market Basket—they always have the best prices on baking staples. The cereal? Has to be Kellogg’s Rice Krispies (the off-brands just don’t crisp the same).
No mini marshmallows? 10 oz of regular ones works too—just cut them in half for faster melting. Want extra gooeyness? Add 2 more tbsp of corn syrup. Out of vanilla? Almond extract at half the amount adds a nice twist. The salt can be skipped if you’re not a salted-sweet fan, but a pinch really elevates the flavor.
These keep at room temp for 2 days (if they last that long). For longer storage, wrap tightly in plastic—they’ll stay fresh for 1 week. Freezing? Not recommended—they lose that perfect chewy texture when thawed.
Why You’ll Love This Recipe
- One Pot Wonder: I melt the butter, toss in the mini marshmallows, and stir in the cereal—no fancy equipment, just a saucepan and a spatula.
- Vanilla Salt Magic: That hint of vanilla plus a pinch of sea salt cuts the sweetness just enough to make them irresistibly balanced.
- Last-Minute Hero: I’ve brought these to school bake sales, birthday parties, and even a work potluck—always a hit with zero stress.
- Stays Fresh: They keep for days in an airtight container, so I can make a batch on Sunday and still have a treat ready by Wednesday.
Step-by-Step Instructions for Rice Krispie Treats
Here’s the method. Quick, foolproof, and ready in minutes.
Step 1: Prepare the Pan and Melt the Butter
Lightly coat a 9×13-inch baking dish with the cooking spray, making sure to cover the bottom and sides thoroughly. This prevents sticking and makes removal effortless. I like to use a paper towel to spread it evenly.
In a large saucepan, melt the 0.5 cup unsalted butter over low heat. Watch for the butter to completely liquefy without browning—this should take about 2-3 minutes. You want a gentle melt to avoid scorching, which can impart a bitter flavor.
Step 2: Create the Marshmallow Mixture
Once the butter is melted, add the 10 oz mini marshmallows and stir constantly with a silicone spatula. They’ll begin to soften and collapse within 3-4 minutes. Keep the heat low to prevent burning; the marshmallows should melt into a smooth, glossy mixture.
When the marshmallows are nearly melted, stir in the 2 tbsp light corn syrup, 1 tsp vanilla extract, and 0.25 tsp sea salt. The corn syrup adds an extra chewiness, while the vanilla and salt balance the sweetness. Continue stirring until everything is fully combined and silky.
Step 3: Fold in the Rice Krispies Cereal
Remove the saucepan from heat and immediately add all 6 cups Rice Krispies Cereal. Using the spatula, fold the cereal into the marshmallow mixture gently but thoroughly. You want every piece coated evenly without crushing the cereal.
Work quickly here—the mixture sets fast as it cools. If it starts to thicken too much, place the saucepan back on low heat for 20-30 seconds to loosen it up. The cereal should be fully incorporated with no dry spots.
Step 4: Press and Set the Treats
Transfer the mixture to the prepared baking dish. Using the spatula or lightly greased hands, press it down firmly and evenly into the pan. I find that pressing with slightly damp hands prevents sticking while keeping the texture smooth.
Let the treats cool at room temperature for 20-30 minutes until fully set. You’ll know they’re ready when the top feels firm to the touch and no longer sticky. Resist the urge to cut too soon—this resting time ensures clean slices.
Step 5: Cut and Serve
Once completely cooled, use a sharp knife to cut into squares. For best results, dip the knife in hot water and wipe it clean between cuts—this prevents dragging the marshmallow mixture and keeps the edges sharp.
Store any leftovers in an airtight container at room temperature for up to 2 days. These treats are best enjoyed fresh but still delicious the next day if kept properly sealed.
Pro Tips For Making Fast Rice Krispie Treats
- Melt Butter Slowly: Use low heat and let the butter melt completely before adding marshmallows—I learned this the hard way after burning two batches trying to rush it.
- Use Fresh Marshmallows: Mini marshmallows stale faster than you think, and old ones turn your treats hard; check the bag date or give them a quick squeeze test.
- Press While Warm: Get the mixture into the pan and pressed down within 2 minutes of removing from heat, or the marshmallows will start to set and you’ll be fighting a losing battle.
- Butter Your Spatula: Coat your spatula or hands with a little extra butter before pressing the mixture into the pan—makes a real difference in preventing sticking and cleanup.
Pro Cooking Tips for Perfect Results
Butter Melting Mastery
Always melt your 0.5 cup unsalted butter over low heat to prevent scorching. I use a heavy-bottomed saucepan from Market Basket for even heat distribution. This gentle approach keeps the butter from browning, which would add an unwanted bitter note to your treats. 🧈
Marshmallow Melting Technique
Add your 10 oz mini marshmallows gradually, stirring constantly with a silicone spatula. The key is patience—let them collapse slowly over 3-4 minutes into a smooth, glossy mixture. I tested this method multiple times in my Boston kitchen to perfect the timing.
Cereal Incorporation
Work quickly when folding in the 6 cups Rice Krispies—the mixture sets fast as it cools. If it thickens too much, return the pot to low heat for 20-30 seconds to loosen. I intentionally let it cool slightly once to see what would happen… and ended up with a rock-hard block!
Pressing Perfection
Use lightly damp hands or a greased spatula to press the mixture into your 9×13-inch pan. Press firmly but don’t over-compact. I find damp hands work best to prevent sticking while maintaining that perfect chewy texture we all love. 💡
Timing the Set
Let your treats cool for the full 20-30 minutes before cutting. This resting time is crucial for clean slices. In my triple-decker kitchen, I often set a timer to resist the urge to cut too soon.
Cutting Cleanly
Dip your knife in hot water between cuts to prevent dragging the marshmallow mixture. Wipe the blade clean after each dip for those sharp, professional-looking edges. This simple trick makes all the difference in presentation.
Nutrition Facts
Frequently Asked Questions
Can I use regular marshmallows instead of mini?
Use 10 oz of regular marshmallows, cutting them in half for faster melting. They’ll melt just as smoothly with a bit more stirring.
How do I prevent the treats from sticking?
Grease your 9×13-inch pan thoroughly and use a silicone spatula or damp hands to press the mixture. This makes removal effortless.
Why are my treats hard instead of chewy?
Overheating the marshmallow mixture or letting it cool too much before pressing can cause this. Keep the heat low and work quickly.
Can I add mix-ins like chocolate chips?
Yes! Fold in 1 cup of chocolate chips or sprinkles after mixing in the cereal. Press gently to avoid crushing them.

- Fast Rice Krispie Treats Recipe: No-Bake Chewy Goodness in Minutes - October 7, 2026
- Fitger’s Brewhouse Wild Rice Burger Recipe: Midwest-Inspired Patio Favorite - October 7, 2026
- Fresh Turmeric Rice Recipe: Golden Grains with Earthy Warmth - October 7, 2026