
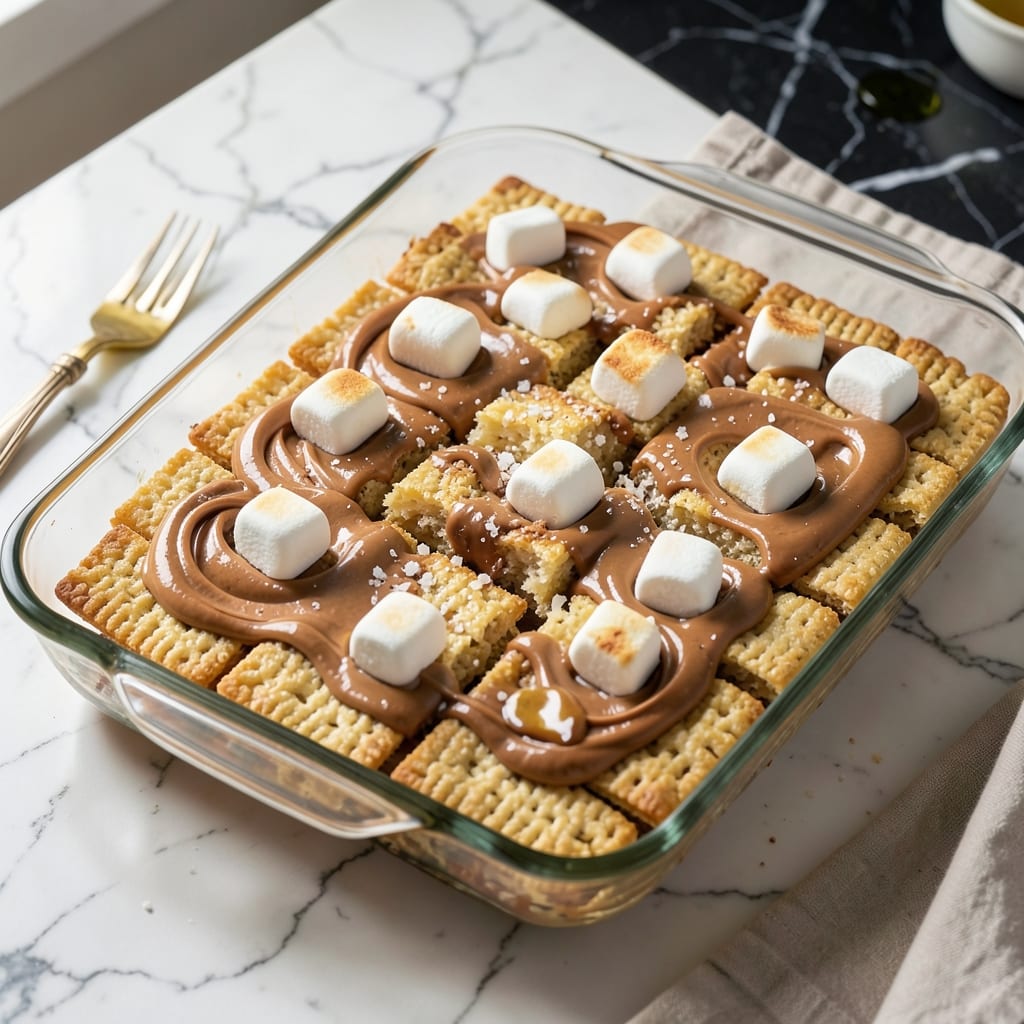
This elevated take on classic Rice Krispie treats combines creamy peanut butter with melted marshmallows for a nostalgic fluffernutter twist. The result is a perfect balance of sweet and salty with that signature crispy texture.
With just a few simple ingredients and 10 minutes of prep, you’ll have a crowd-pleasing treat that’s impossible to resist. The peanut butter adds richness while keeping the squares light and airy.
Ingredients for Fluffernutter Rice Krispie
Seven simple ingredients transform into a nostalgic treat with perfect crunch and sweetness.
| Ingredient | Amount | Notes |
|---|---|---|
| Rice Krispies Cereal 🌾 | 6 cups | Fresh for best crispness |
| Mini Marshmallows 🍬 | 10 oz | Or 40 regular marshmallows |
| Creamy Peanut Butter 🥜 | 1 cup | Natural or commercial variety |
| Unsalted Butter 🧈 | ½ cup | For melting marshmallows |
| Vanilla Extract 💧 | 1 tsp | Pure for best flavor |
| Sea Salt 🧂 | ¼ tsp | Fine grain preferred |
| Granulated Sugar 🍚 | ¼ cup | Optional for extra sweetness |
The marshmallows are non-negotiable for texture. Jet-Puffed mini marshmallows melt fastest and most evenly (the regular size works but takes longer). For peanut butter, Jif or Skippy creamy give that classic fluffernutter richness, though natural peanut butter works if well-stirred. The cereal must be fresh Rice Krispies—stale ones lose their signature snap. Grab these at any major grocery store; no specialty shopping needed.
No marshmallows? Vegan marshmallows from Dandies work but may set firmer. Peanut butter swap? Almond or cashew butter at a 1:1 ratio, though flavor changes. Out of Rice Krispies? Puffed rice or Corn Flakes (crushed slightly) can substitute. The vanilla is subtle but worth it—use pure extract, not imitation. Salt is essential to balance sweetness; don’t skip even if your peanut butter is salted.
Store in an airtight container at room temperature for 3-4 days (they soften but remain edible for 1 week). Freezing extends life to 2 months—thaw at room temperature. For best texture, serve the same day. Cut into squares only after fully cooled and set.
Why You’ll Love This Recipe
- One Bowl Magic: I melt the butter, marshmallows, and peanut butter together in one pot—no fancy equipment, no fuss.
- That PB&M Combo: The creamy peanut butter and marshmallows create this rich, nutty-sweet flavor that’s pure nostalgia.
- Potluck MVP: I bring these to parties and they’re always the first to disappear—kids and adults alike.
- Stays Fresh: They keep for days in an airtight container, so I can make a batch on Sunday and snack all week.
Step-by-Step Instructions for Fluffernutter Rice Krispie Treats
Master the technique for perfectly chewy, nutty squares with professional precision and consistency.
Step 1: Melt and Bloom the Marshmallow Base
In a large, heavy-bottomed pot, melt the 0.5 cup unsalted butter over low heat. The butter should foam gently but not brown—this ensures even melting without burning the solids. Immediately add all 10 oz mini marshmallows and stir constantly with a silicone spatula.
The marshmallows will first soften, then collapse completely into a glossy, molten mixture. Continue stirring for an additional 30-45 seconds after they’ve fully melted to eliminate any lumps. You’ll notice the mixture pull away slightly from the pot edges when ready.
Remove from heat and stir in the 1 tsp vanilla extract and 0.25 tsp sea salt. The vanilla deepens the flavor profile, while the salt balances the sweetness. This is the foundation for your fluffernutter transformation.
Step 2: Incorporate the Peanut Butter Element
Working quickly while the marshmallow mixture is still hot, add the entire 1 cup creamy peanut butter. The heat from the marshmallows will soften the peanut butter, making it easier to integrate. Stir vigorously until the mixture becomes completely homogeneous—no streaks of peanut butter should remain.
If using natural peanut butter, ensure it’s well-stirred before measuring, as the oil separation can affect the final texture. The mixture will thicken noticeably as it cools slightly. For enhanced sweetness, sprinkle in the 0.25 cup granulated sugar and stir until dissolved.
Return the pot to low heat for 20-30 seconds if the mixture becomes too stiff to work with, but avoid overheating. The ideal consistency should coat the back of a spoon with a thick, ribbony texture.
Step 3: Fold in the Cereal for Optimal Coating
Add all 6 cups Rice Krispies cereal at once to the pot. Using the same spatula, employ a folding motion rather than stirring to prevent crushing the cereal. The goal is to coat every piece evenly without breaking the crisp structure.
Press down gently with the spatula to submerge all the cereal into the marshmallow-peanut butter mixture. You’ll hear the characteristic snap, crackle, and pop as the cereal interacts with the warm mixture—this is normal and indicates proper incorporation.
Continue folding until no dry cereal remains visible and the mixture appears uniformly coated. The texture should be sticky but manageable, with individual cereal pieces still distinguishable.
Step 4: Press and Set for Professional Finish
Transfer the mixture to a 9×13-inch baking dish lined with parchment paper. Use the spatula to spread it evenly across the pan, then switch to lightly buttered hands for the final pressing. The warmth of your hands helps adhere the mixture to itself.
Press firmly but not compactly—you want the treats to hold together when cut but maintain a slightly airy texture. Focus pressure on the edges and corners where the mixture tends to be less dense. Use an offset spatula to smooth the surface for a professional appearance.
Allow the treats to set at room temperature for 1-2 hours until completely cool and firm to the touch. Resist the temptation to cut too soon; premature slicing will result in crumbly, misshapen pieces.
Pro Tips For Making Fluffernutter Rice Krispie
- Melt Butter First: Start by melting the butter completely before adding marshmallows—this prevents uneven melting and ensures the peanut butter blends in smoothly.
- Warm the Peanut Butter: Microwave the peanut butter for 15-20 seconds to soften it; this makes mixing it into the marshmallow butter base effortless and lump-free.
- Skip the Overmixing: Stir the Rice Krispies just until coated, then stop. Overmixing crushes the cereal and turns your treats dense instead of light and crispy.
- Press Lightly: Use a buttered spatula to press the mixture into the pan, but don’t compact it too hard—this keeps the texture airy and prevents them from turning rock-solid.
Creative Variations of This Dish
Chocolate Lovers
Melt ½ cup semi-sweet chocolate chips with the marshmallow mixture for a rich chocolate-peanut butter combination. I also sprinkle ¼ cup mini chocolate chips over the top before pressing into the pan for extra texture and visual appeal. 🌟
Nutty Crunch
Add ½ cup chopped roasted peanuts along with the cereal for enhanced crunch. For a gourmet touch, use honey-roasted peanuts and press a few whole peanuts into the top before setting.
Marshmallow Swirl
Reserve ½ cup mini marshmallows and fold them in with the cereal for gooey pockets throughout. This creates a delightful surprise in every bite, reminiscent of classic s’mores.
Spiced Variation
Add ½ tsp cinnamon and ¼ tsp nutmeg to the marshmallow mixture for warm spice notes. This pairs beautifully with the peanut butter, evoking memories of fall desserts.
Cereal Blend
Replace 2 cups Rice Krispies with Cocoa Krispies for a subtle chocolate flavor without being overwhelming. This maintains the crispy texture while adding depth to the dish.
Salty-Sweet
Sprinkle flaky sea salt over the top before cutting for a sophisticated finish. The salt enhances all the flavors, balancing the sweetness perfectly. 💛
Nutrition Facts
Frequently Asked Questions
Can I use crunchy peanut butter instead of creamy?
Yes, but it will create a slightly different texture. The crunchy bits add extra nuttiness and a heartier bite. For best results, stir it well before measuring to distribute the peanut pieces evenly.
How do I prevent the treats from sticking to my hands?
Lightly butter or oil your hands before pressing the mixture into the pan. This creates a barrier that keeps the sticky marshmallow from clinging to your skin.
Why did my treats turn out too hard?
Overheating the marshmallow mixture can make the final product dense. Always use low heat and remove from the stove as soon as everything melts. Pressing too firmly can also compact them.
Can I make these gluten-free?
Just swap regular Rice Krispies for a certified gluten-free puffed rice cereal. All other ingredients are naturally gluten-free, but always check labels for cross-contamination.

- Fried Rice Mix Recipe: Customizable Pantry Staple for Quick Meals - October 6, 2026
- Fruit Loop Rice Crispy Treats Recipe: Colorful Crunch With Marshmallow Magic - October 6, 2026
- Erewhon Rice Balls Recipe: Copycat Crispy and Creamy Bites - October 6, 2026